Before attempting to carve the lines of the hair, make sure that you have carved the shape of the hair mass that you want. There is no point in putting nice details on the wrong shape. In fact, the correct shape with no details will look better. There should be no straight lines and no parallel lines—unless you are looking for a special effect that demands them. Take a look at your work before getting into the detailing. If you see straight lines on a face, there is something wrong. Fix it.
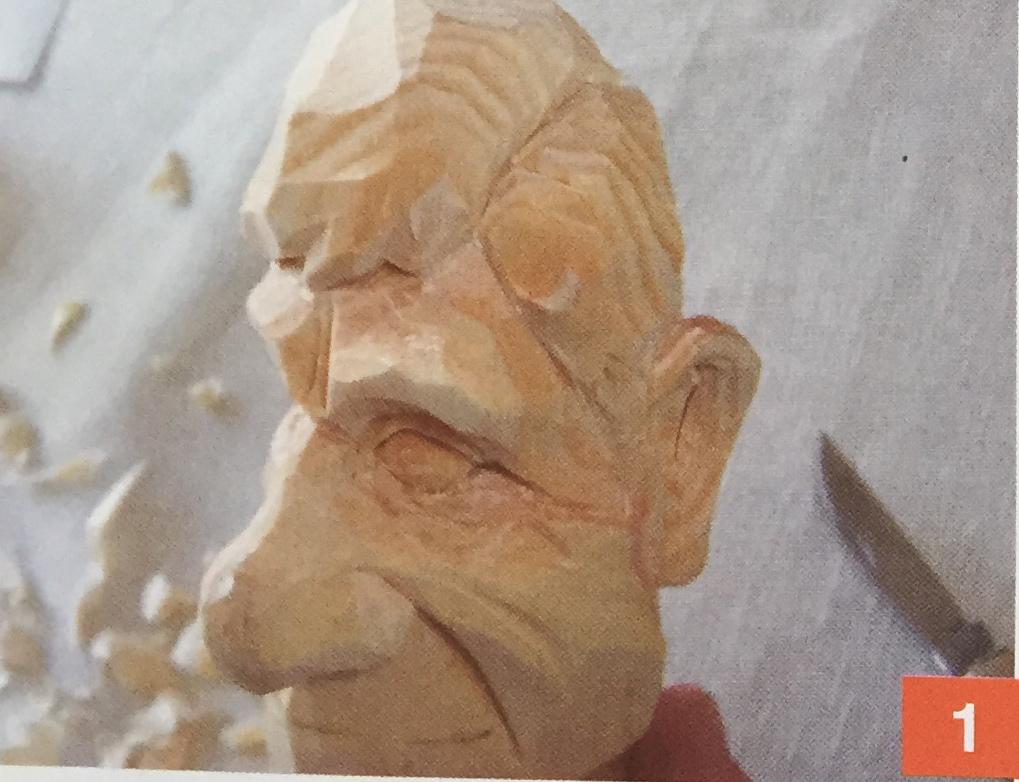
1. Here is a figure with the hair mass ready to be detailed.
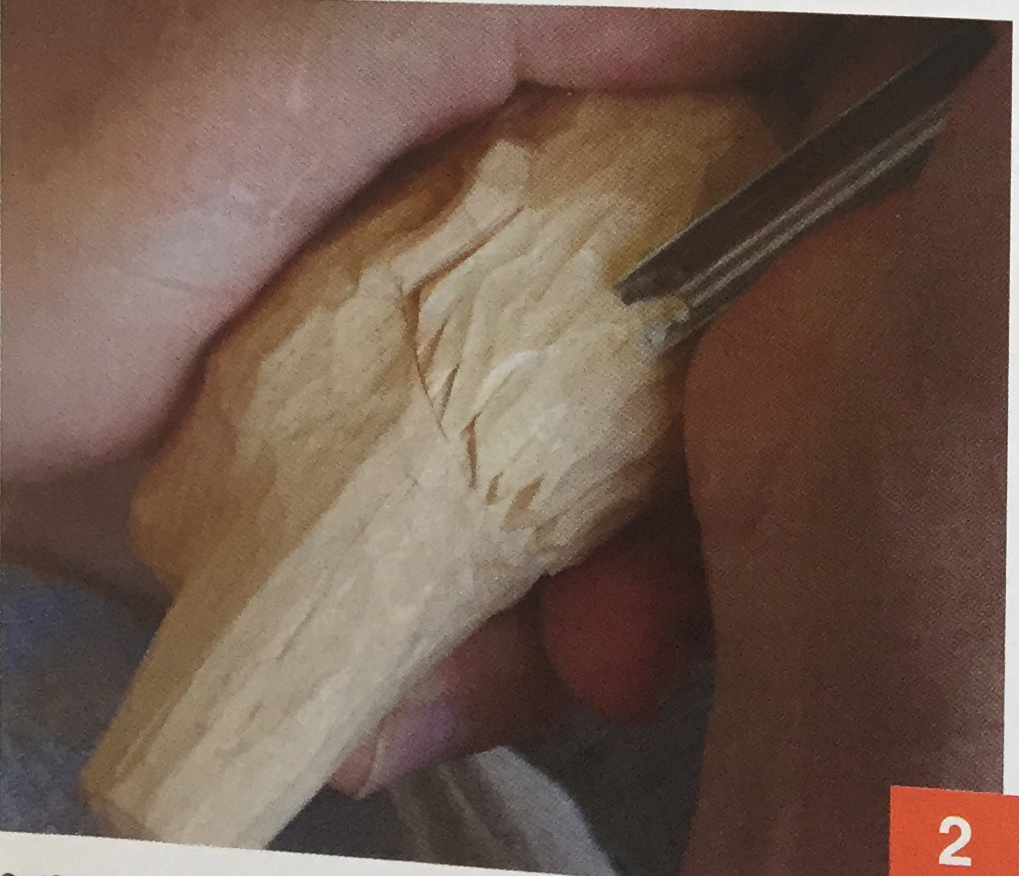
2. If the figure is quite large, you may wish to do some of the preliminary “waving" of the hair with a deep gouge, such as a #9 or #11.
For most common caricature sizes (those that are handheld while being carved), it is feasible to do a pretty good job with just a veiner (#11 gouge) or a V-tool, or even a combination of the two.
Here is the approach with the V-tool:
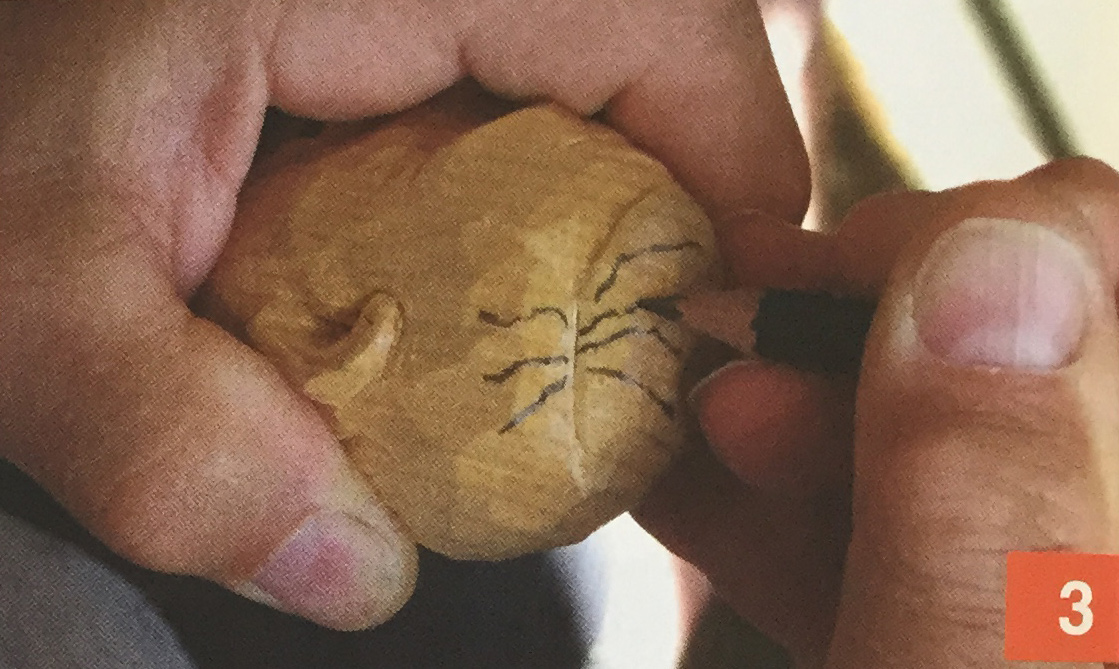
3. Sketch a few lines in the figure to indicate the general “flow” of the hair.
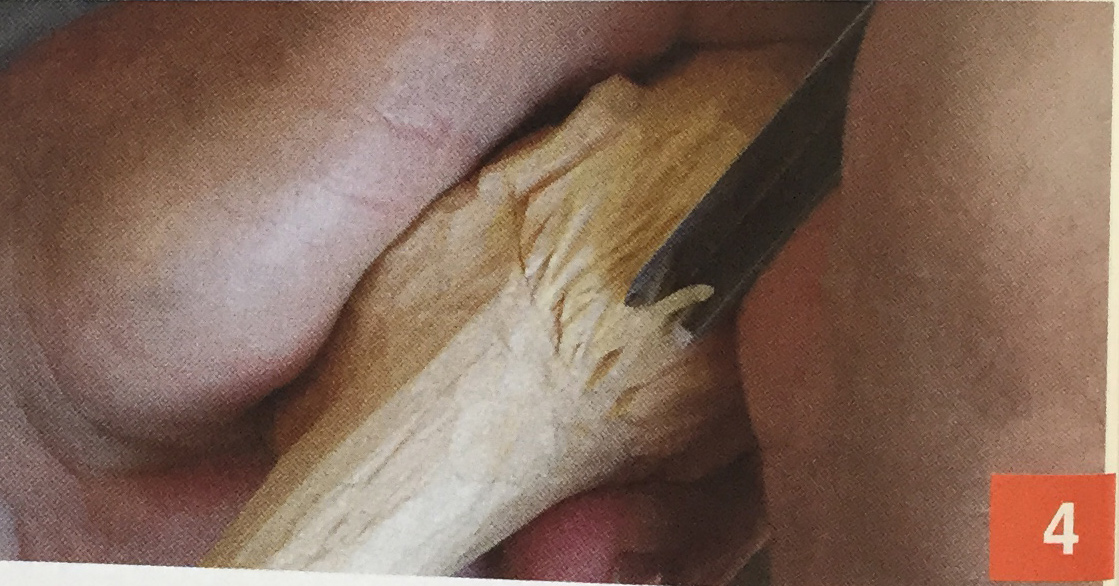
4. While generally following the flow, vary the lenght, depth and angle of the cuts, making no two adjacent ones parallel.
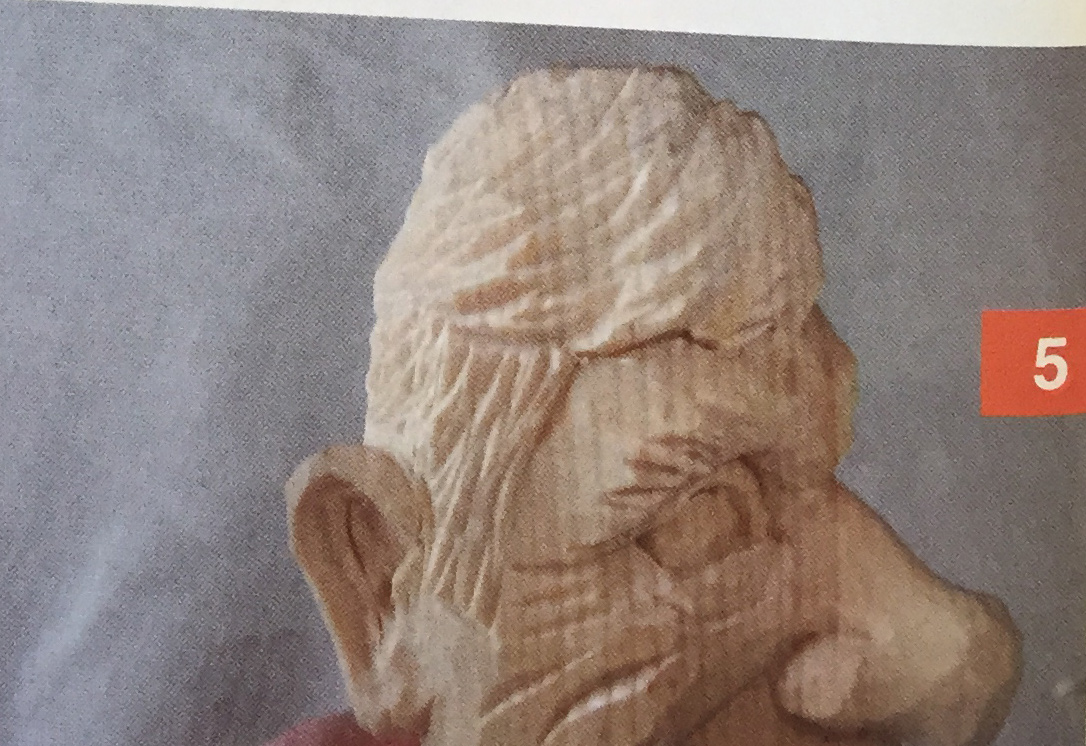
5. Notice the absence of parallel straight lines in the hair. It absolutely drives me nuts to see a few widely spaced, straight parallel lines used to depict hair on a figure. Help me with my mental health. Do it right.
6. Don't be afraid to cross over previous cuts. Actually, the little "diamonds" produced by doing so will enchance the effect.
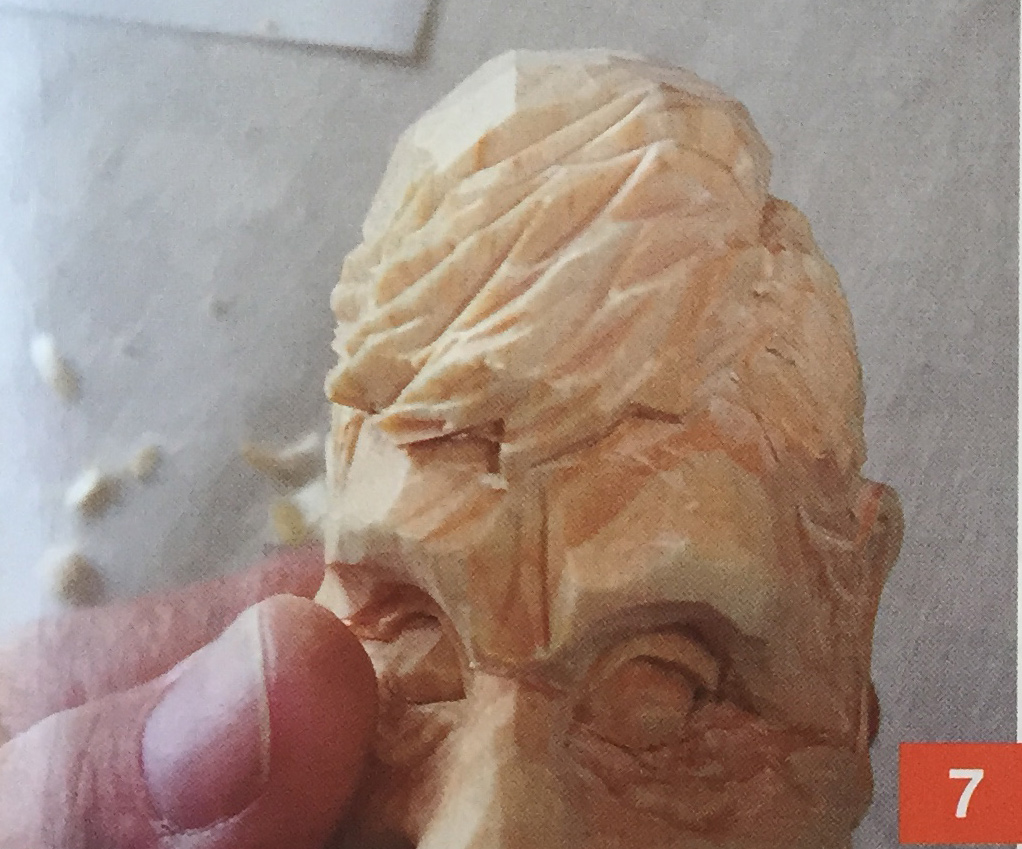
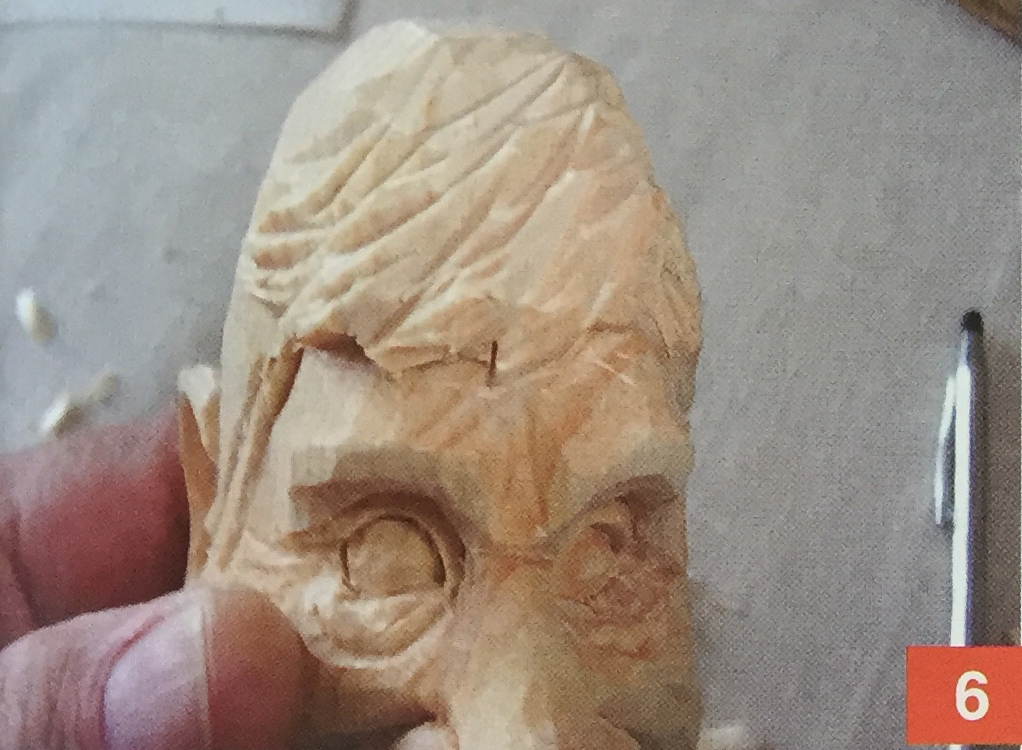
7 & 8. Totally cover the hair mass with tooling. Do not leave flat spots.
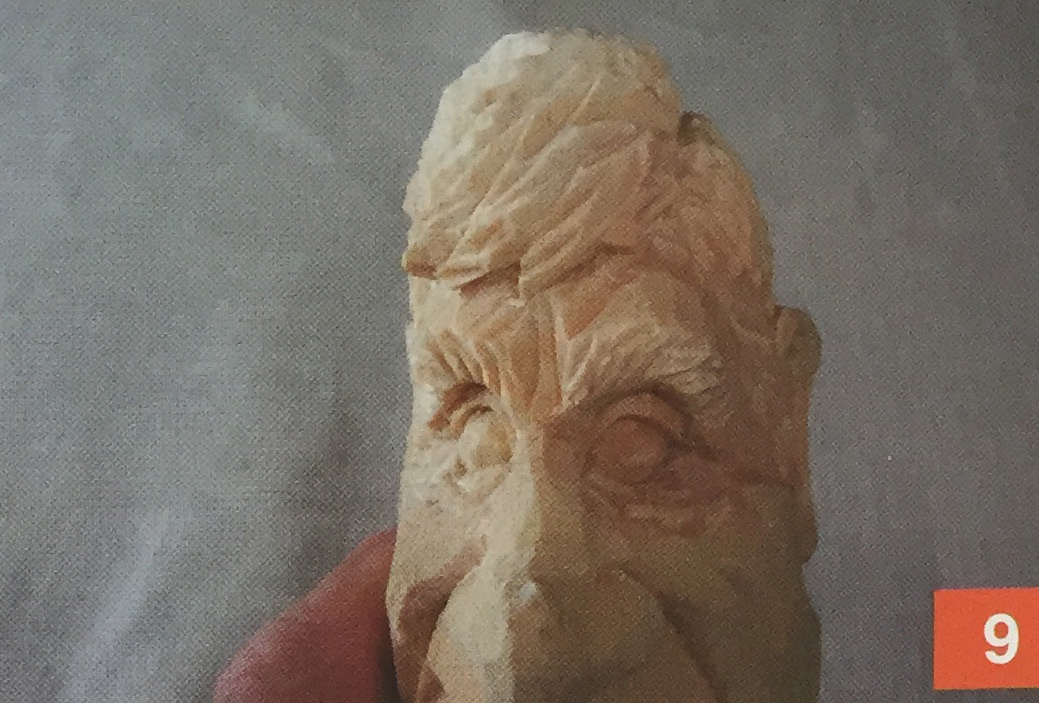
9. Don’t forget the eyebrows.
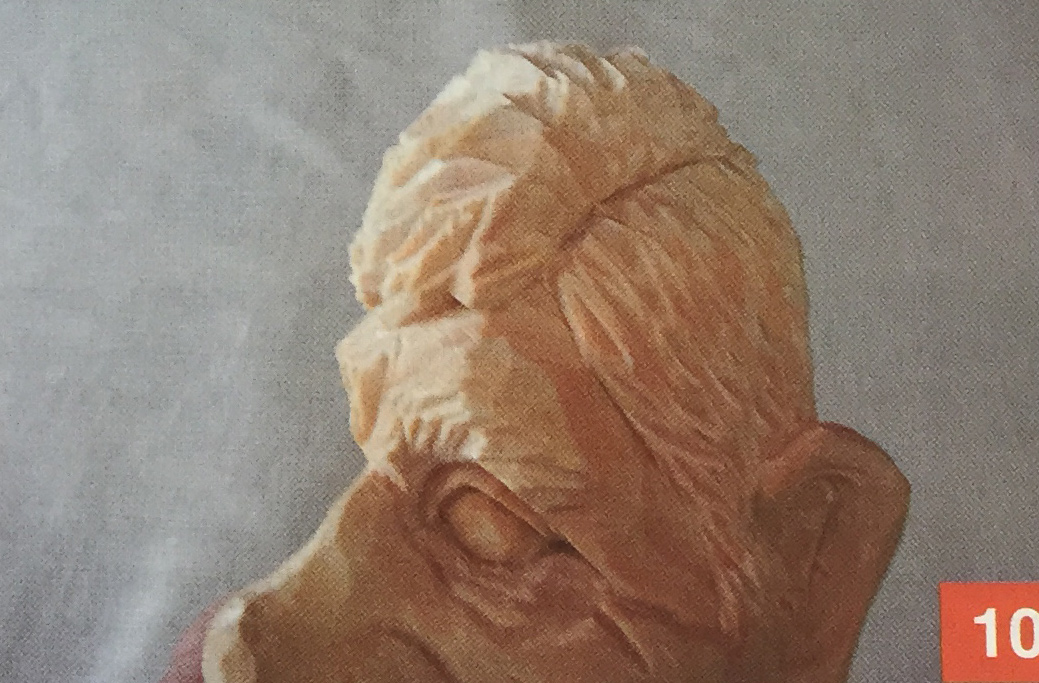
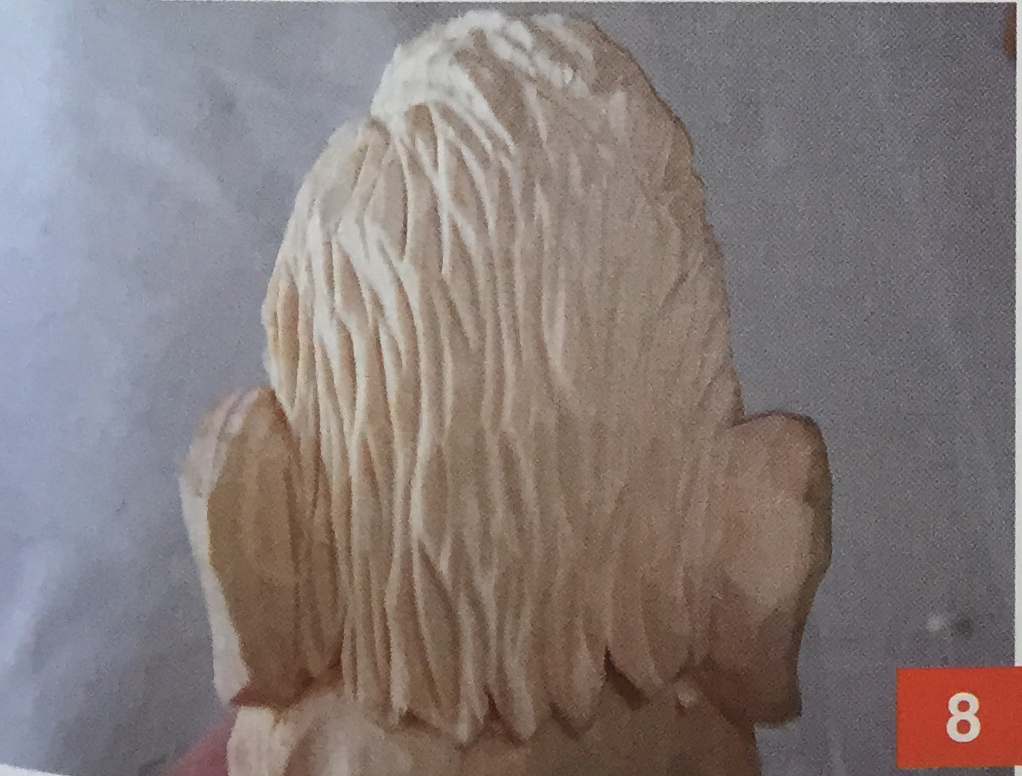
10. There you are... hair the way you want it!
By the way, a woodburner is very useful in putting in detail in caricatures, including hair. It is particularly useful on smaller figures. It can be effective on larger ones, too, especially when the hair Is burned in over the hair masses that have been textured with a veiner first.
About the Author
Rick Wiebe has been whittling and carving for as along as he can remember. He has been selling his work for over 24 years and teaching for over 20. Within the last few years, Rick has started to write some instructional booklets. He operates a woodcarving tool & supply business.
Read our latest articles at Carving Magazine homepage.
