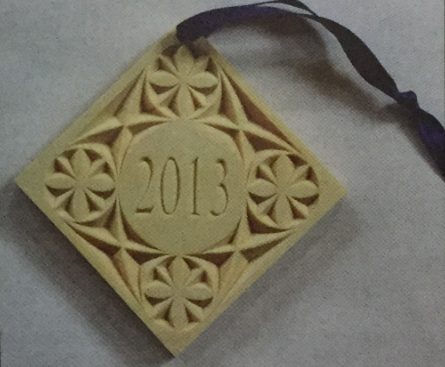
Chip carving a unique ornament is a long-standing tradition for me. Friends and family have their trees decorated with the ornaments that I've carved for them over the years. They expect a new design every year and I’m not about to disappoint them in 2013. I've provided you with two patterns to choose from. The skill level varies between the two patterns, so choose one that appeals to you and your chip carving skills.
For this ornament, I am carving on a 3/8" thick piece of basswood. Always prepare your wood surface before you begin carving your project. You can use a cabinet scraper or sandpaper to create a smooth surface. I am preparing my surface with 220-grit sandpaper.
Woodcarvers love to create; we carve to give our ideas physical form. Along with this love to create comes a need to follow our own path. Unfortunately, the available tools often don't fit our needs, hands, or budget. While there are high-quality custom toolmakers out there, the tools can be expensive. Wouldn't it be great to have a quality tool that fits your hand and carving needs without breaking the bank?
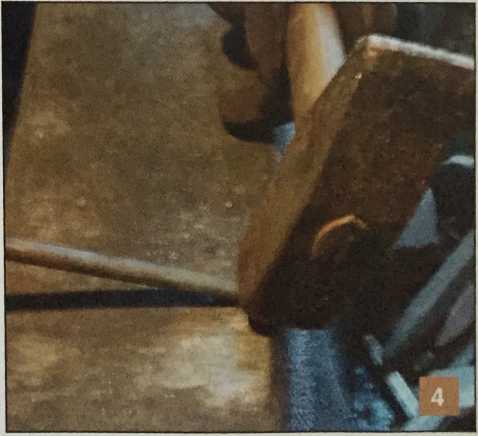
Forging hand-carving tools can be done by anyone with a little practice and time. You don't even need a full blacksmith shop, although it does help. As you begin forging your own tools, you will want to read a bit on blacksmithing and how to temper different steels. There are many well-written books that go more in depth than I am able to in this article, as well as a growing body of information on the Internet, but the following will get you carving with your own tools in no time. It is a good idea to practice the steps on chilled modeling clay, as it moves like hot metal and you can re-form it into a rod to start over if you make a mistake.
Solly Schoultz, from Cape Town, South Africa, asks a question on sharpening. Solly says he's having trouble keeping his tools sharp. He would like general sharpening information and advice about the various angles that need to be considered. Solly adds, “I am currently sharpening on an oilstone and polishing on 1200-grit water paper followed by honing on leather.”
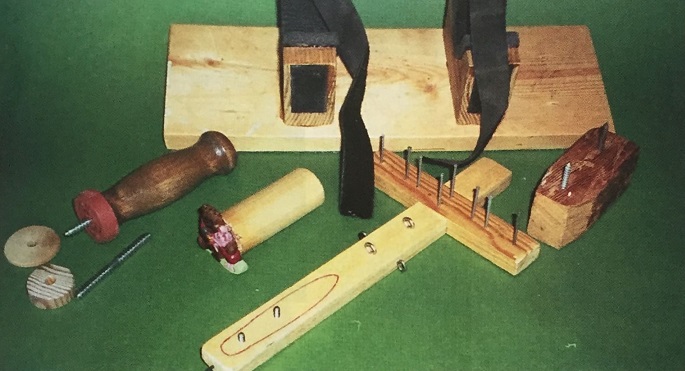
Welcome to the second part of my article. In the last article in Carving Magazine I covered mallets, drawknives, bench knives, detail knives, chip carving knives, chisels, firmers, background stamps, and thumb guards. In this issue I will cover lap boards, a chest protector, holding devices, a carver’s arm, strops, handles, and one of my spare time activities — “junkin’."