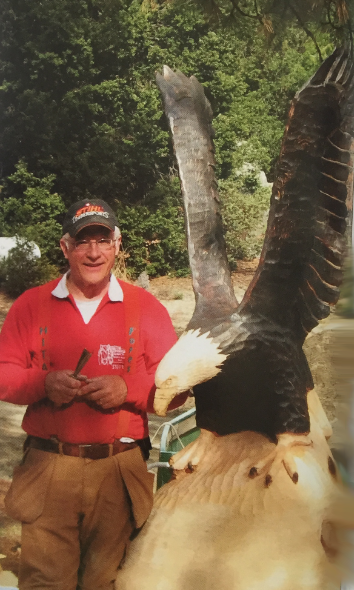
A while back, I made a fairly large carving and took some photos that will help guide you through the process when the day finally comes for you and it is no longer a “someday"—it is a “NOW!” There are a few things you should keep in mind. Understand, I’m not telling you not to do it. Far from it! Do it! But to really get the most out of doing it and to actually enjoy the process (which is what this is about, right?), you need to be aware of some things and prepare for them.
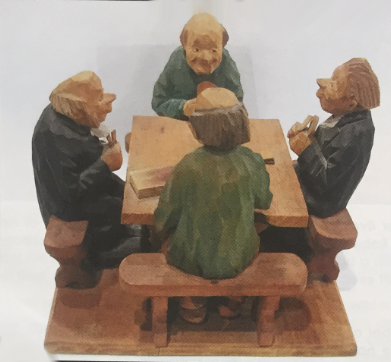
I had an unexpected treat a few months ago during one of my monthly club meetings. A fellow club member, Dick Zawacki, brought in a woodcarving that he had borrowed from a friend and thought that I might like to take a look at it. Normally, not much leaves me speechless, but what Dick showed me left me shocked beyond belief (and, yes, speechless!).
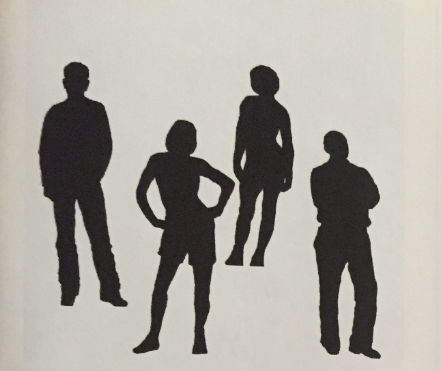
Upon examining a figure carving by a student, the master carver noted that, while the detail was fairly well done, the carving was “still in the block."
He explained that some beginners are so preoccupied with quickly getting to the details that they don't give enough attention to fully shaping the figure itself; still others have a fear of removing too much wood with the result that they don't take away enough.
In each case, the outcome is a carving "still in the block." In much of his own work, the master carver took care that none of its planes were parallel to those of the original block of wood.
On the most fundamental level, getting a figure out of the block is accomplished by completely shaping the forms—"getting rid of the corners.” For example, real dogs don't have flat sides, but many amateur carvings of dogs do have flat sides.
The fear of taking too much wood away leaves the carving still with the corners and the flat sides of the original block of wood. It's not only an issue with “realistic" carving. An incompletely carved caricature will often have flat sides, still reflective of the original block of wood.
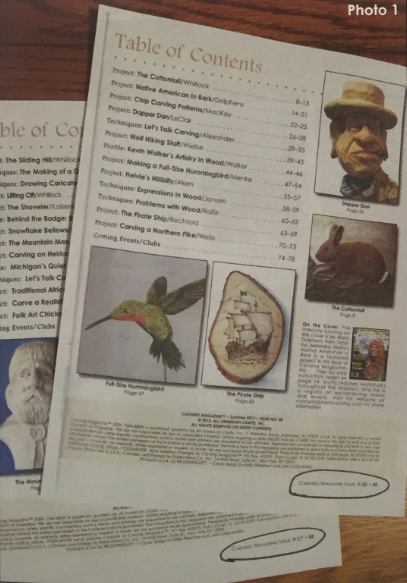
Welcome to Let’s Talk Carving, a column devoted to beginning and intermediate carvers. With only five years of carving, I’m the same as you—loving to carve, learning, and making mistakes. In every issue, we'll get together and I'll share what I’ve learned (TIPS), plus I'll often pass on nuggets of information gleaned from past issues of Carving Magazine.
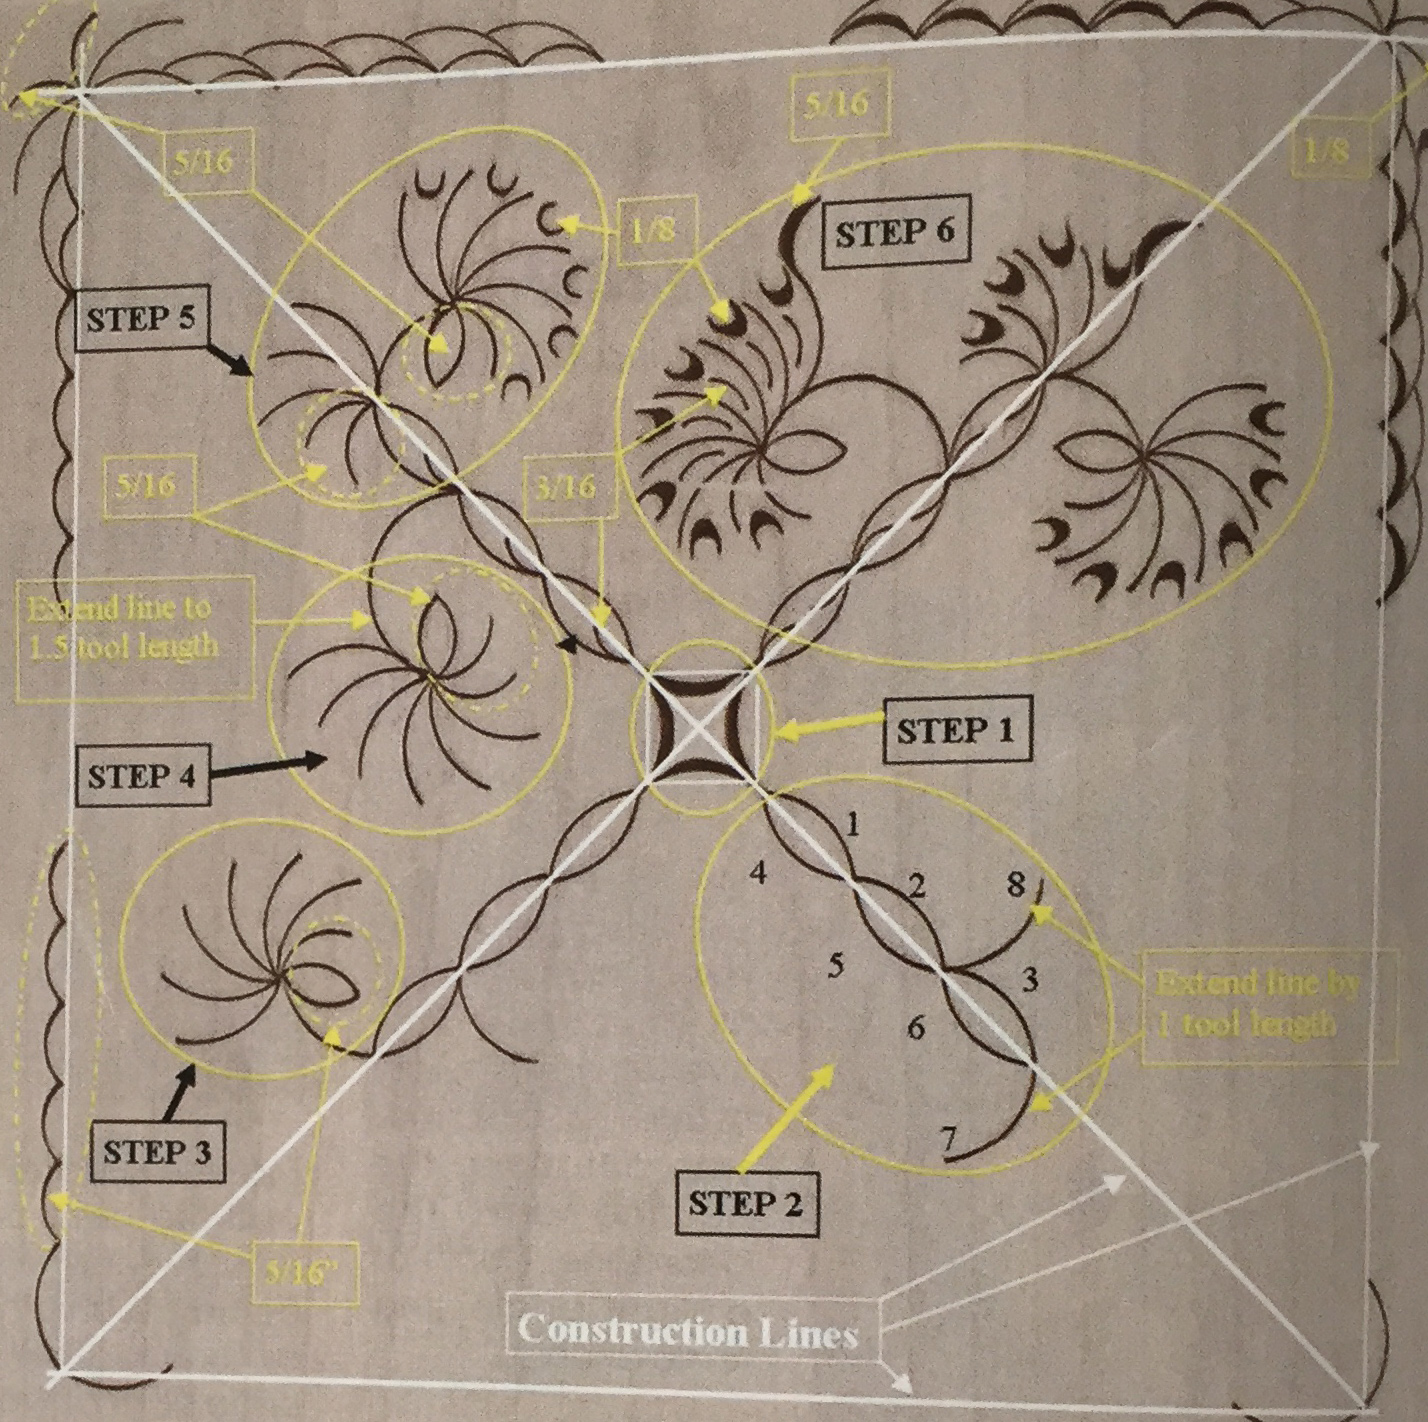
Welcome to the world of gouge chip carving. Russ shares this beautiful snowflake design that you can use for most decorative applications.
Gouge chip carving is creating a design using only two cuts (a vertical cut and the removal of a chip). The technique works best in hardwoods (e.g., cherry, maple, walnut).
Page 1 of 2