Here Is a List of Tools and Supplies That You Will Need for These Burnings
- Burning pens—ball pen (1/16), bent-wire skew or burnishing pen, skew (with a round heel), spear point shader, writing pen
- Colored pen or pencil
- Graphite paper
- Masking tape
- Pencil with eraser
- Sanding block with 200-300 grit
- Scissors
- Wood
As springtime is in full bloom, we continue with our heirloom project and find ourselves working on Four Colly Birds, Five Gold Rings, and Six Geese a-Laying. Despite the seasonal slant of this project, it lends itself well to the idea of wall quilts. The patterns can be reduced to fit in a standard 4" x 4" square. You can trade them among friends and create a wonderful wall decoration. It is so exciting to see how different people envision the same design.
This article will cover burning detail and techniques for reflective metal, and form black-on-black and white-on-white. I will offer basic fips so that you can achieve these effects and add them to your burning repertoire.
Note: In case you are wondering—yes, you have heard “four calling birds" referred to in the “Twelve Days of Christmas," but originally the lyrics were "four colly birds," which are European blackbirds. I have reverted to the older version of “colly birds," since I didn't think a bird with a cell phone would be very festive.
General Burning Instructions
Sand your surface along the grain until it is smooth. Make a copy of the pattern, resize for your wood, and position the pattern on the wood for transferring. Tape your image in place, and slide your transfer paper between the pattern and the wood. Be sure the paper is facing down so that your image transfers properly. Use a colored pen or pencil to trace the pattern. The color will help you keep track of what you are transferring.
Now You Are Ready to Burn
The instructions in Steps 1-4 will give you general tips for techniques that are used on all the projects; specific project instructions follow.
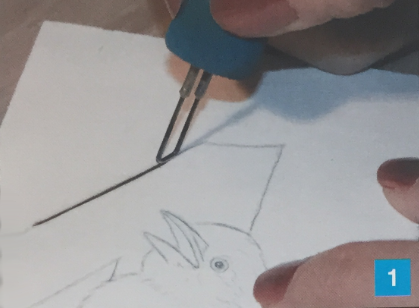
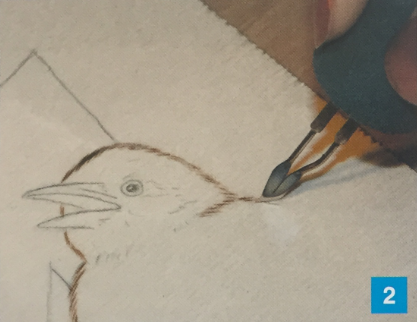
Be sure to outline as much of your pattern as possible to avoid confusion. Use the appropriate technique for your outline so that the image has a realistic feel to it (refer fo Photo 2).
- To outline the numbers, I use the bent-wire skew or burnishing pen. This pen allows me to make both straight lines and curves with a good amount of control.
- When outlining your project elements, make sure that you use the appropriate technique. Use solid lines for solid objects, feathered lines for feathery objects, and smudged edges for soft-shaded areas.
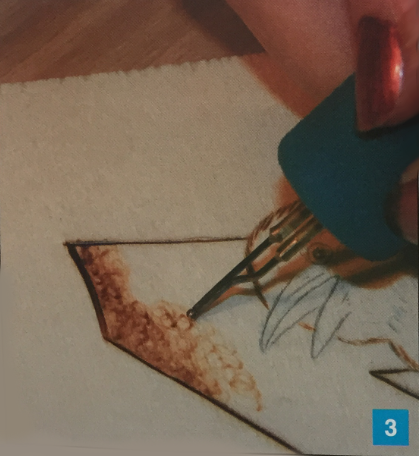
- I use the ball pen (1/16) with a scribble stroke to shade in the number on each pattern. This helps not only with shading and value, but it also gives a different texture that sets the number apart from the rest of the image.
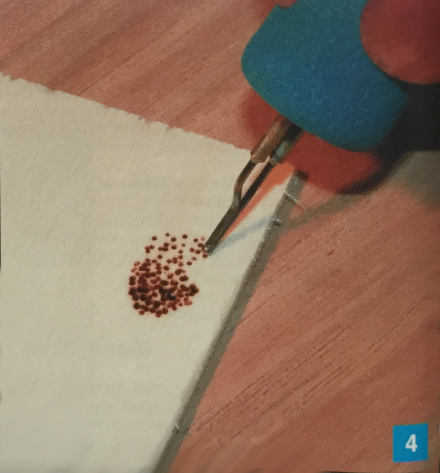
- If you find an area where two elements are in sharp contrast and you feel it is disturbing to the eye, you can soften the area with a stippling technique. Using your ball pen or writing pen, simply use dots to transition between the areas or fill in empty background spaces to bring out detail.
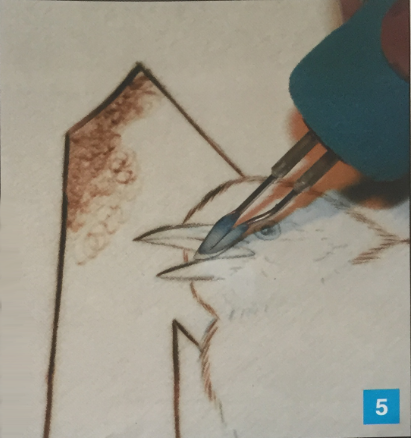
- Use the skew and a feather stroke to outline your bird. You can use the skew and a solid line for the beak.
- Using the skew, fill in the bird with short soft strokes (refer to the photo for stroke direction) Slow down for darker areas and speed up for lighter areas. The amount ^ that your pen is on the wood will determine how da?k burn will be. Be sure to note the highlights on th blackbird, since they give the bird its shape and keep i! from being a black blob.
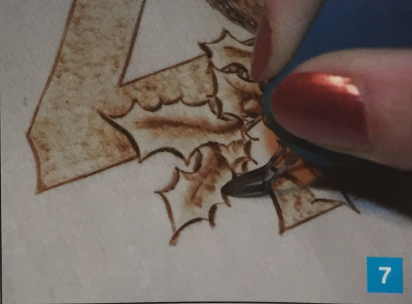
- With a shader, pull a soft shadow from the center of each leaf. Shadow the berries and pick one side of each leaf to show shading; then add a drop shadow to each leaf as shown.
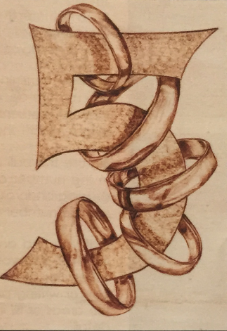
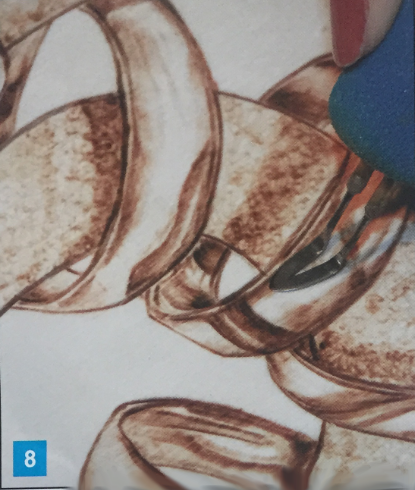
- Use the shader to carefully put in shading, beginning with the darker shapes and progressing to the lighter shapes. Do not use a skew, since any hard lines will ruin the illusion of a reflective surface. Although the shapes are distinct and the edges seem sharp, be careful to keep the texture of the wood smooth. The best way to achieve this is by slow, consistent shading to build up to your desired darkness.
- Make sure that you shade the number as shown. This will further emphasize the fact that the rings are wrapping around the number. Use a scribble stroke and either a slower movement or multiple layers in these areas in order to darken them.
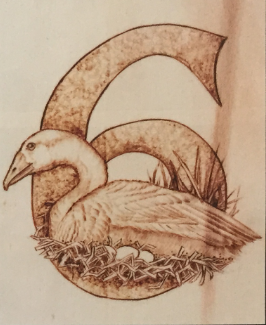
- Due to the texture of the feathers and the fact that they are white-on-white, I use a different technique to burn in the details. Use the shader and a low-heat smudge technique in the feathers as shown. This is done by landing a very low-heat pen and dragging it slowly to create a burned smudge; gradually increase your speed until the burn mark disappears. I cannot emphasize this enough— the pen must be very cool to pull off this technique. If the wood darkens immediately when you land, the pen is too hot for this technique. Take your time; you want a very soft look.
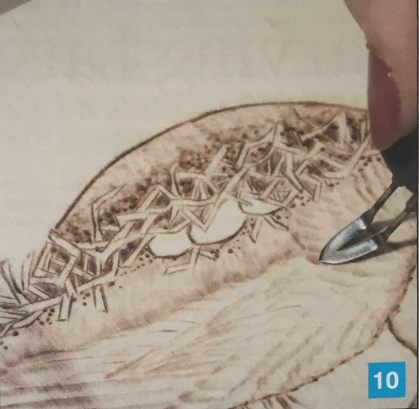
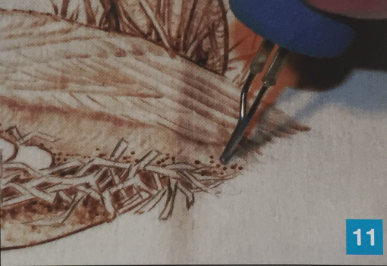
- After outlining the grass, eggs, and straw in the nest, use a combination of a scribble stroke and stippled dots to create depth and to blend the elements together (as shown in the photo).
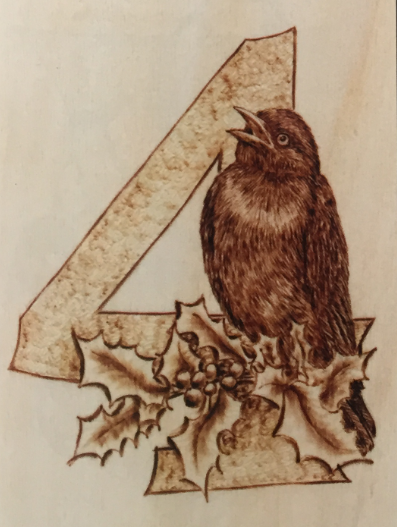
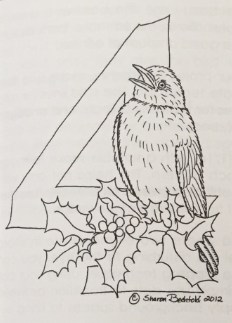
Four Colly Birds
Outline your number and holly leaves with a burnishing pen as shown. Burn in the eye - be very careful when you do this.
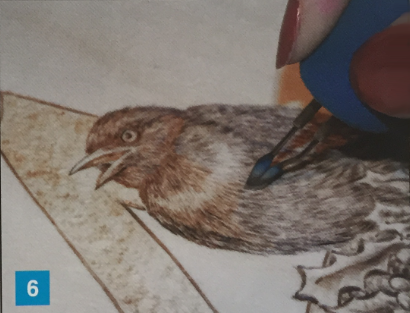
Finish off the pattern, referring to the photo and following the General Burning Instructions.
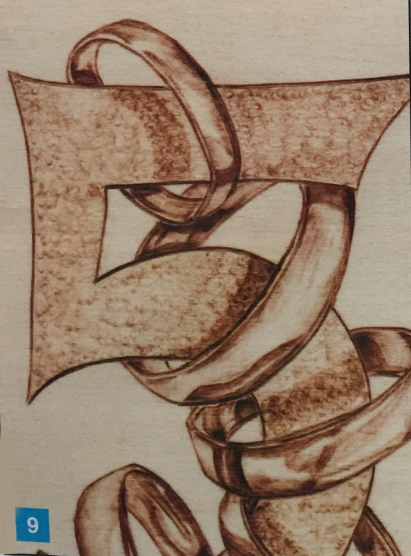
Five Gold Rings
Outline the number with a burnishing pen and the rings with a skew. Don't outline the shadows on the rings—just outline the outer shapes.

Happy Burning!
Six Geese a-Laying
By the time you complete these three projects, you will be halfway done with your heirloom! Not a bad way to usher in the summer months. I look forward to sharing the next three patterns with you in the next issue and perhaps meeting some of you as I make my way across the country to teach this summer.
by Sharon C. Bechtold.
Sharon C. Bechtold is a third-generation artist whose artwork is exhibited in galleries and private collections throughout the world. Her passion is pyrography, which she has taught throughout North America since 1998. She is available for workshops and demonstrations throughout the United States and Canada. She has published a number of workbooks and pattern collections, which are available on her website and through various carving suppliers. She is currently working on developing online tutorials and DVDs.
