
This seems to be a very complicated carving, but taken one step at a time, a complicated relief carving can be simplified. The steps are quite straightforward: (1) remove the background, (2) carve the layers, (3) shape the forms, and (4) add the detail.
With those steps in mind, here's how I proceed.
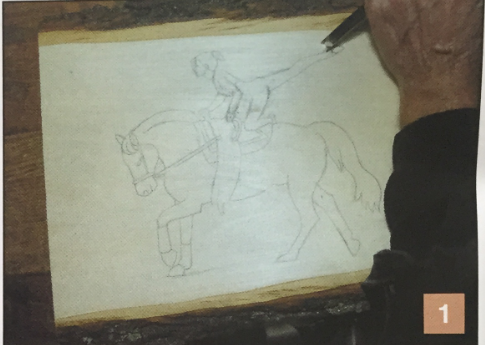
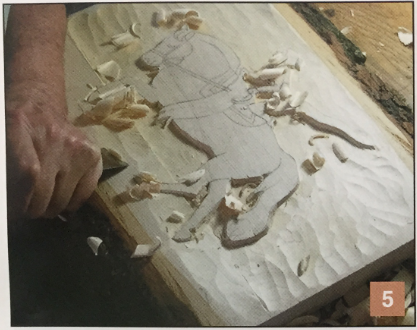
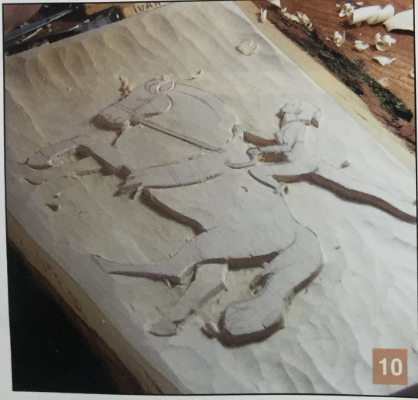
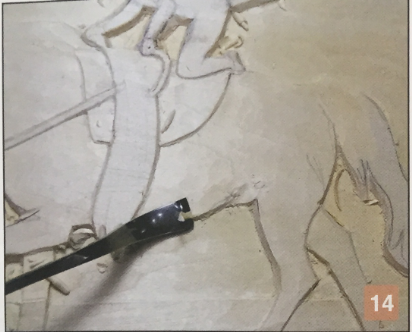
- After I transfer the pattern onto the wood, I cut around the outline with the V-tool. To make the process more efficient, I don't fuss around with the small details; I clean up those later.
- You can see here that I hug the outline when convenient, but I don’t spend time fussing with the small ins and outs of the design. I remove those further into the process.
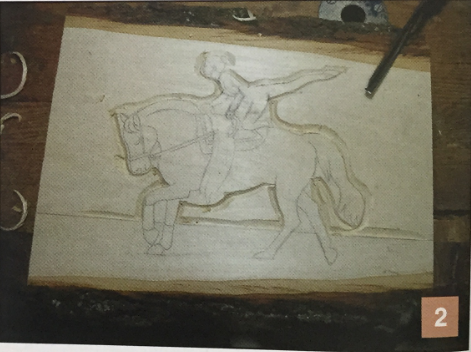
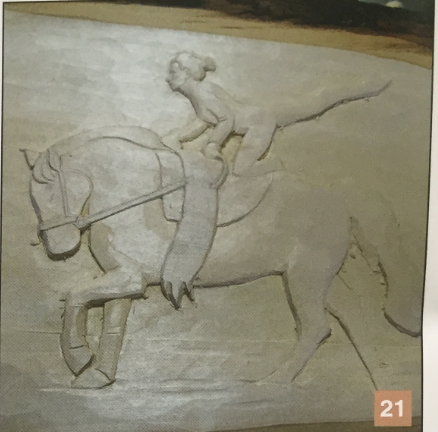
- I then remove the background about a 1 /2" all around the figure, except for the ground area.
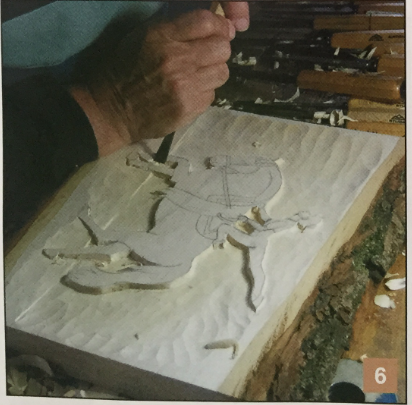
- I slant the ground to give the effect of perspective, and to accommodate the fact that the legs on the opposite side of the horse are deeper into the wood. The angle of the ground matches the lower depth of the two legs on the opposite side of the horse.
- The slant of the ground dictates the depth of the two legs on the far side of the horse.
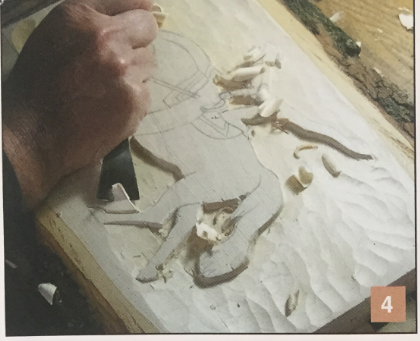
- At this point, it’s easy to clean up the small openings between the legs and around the horse because the bulk of the wood is now gone.
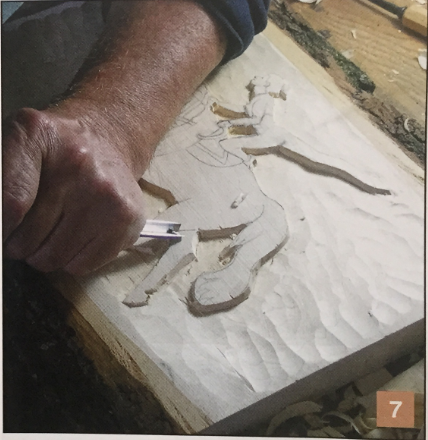
- I make stop cuts around the far legs and match their depth to the depth of the slanted ground.
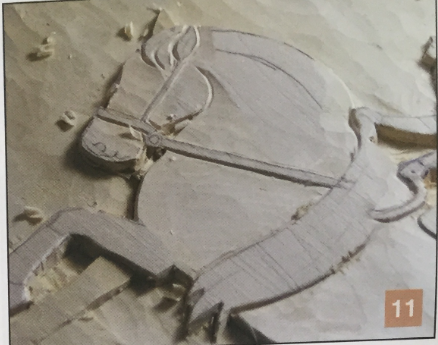
- Then I move to the area around the vaulter. I remove wood around the figure and begin shaping the surcingle, keeping the grip raised.
- When I outline the surcingle and the girth, I keep the cuts fairly shallow. I want these to be only slightly raised.
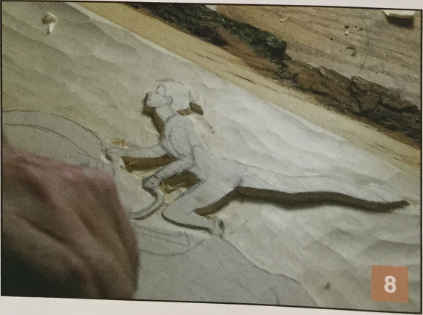
- I then trim down the body of the horse to create the raised look of the surcingle and the straps.
- Next, I move on to the head and relieve the straps around the head, layer the ears, and shape the mane at the forehead.
- I sketch the outline of the pad below the surcingle along with the line separating the neck from the mane.
- I make V-cuts around the pad and mane, and lower the wood to give them slight mass.
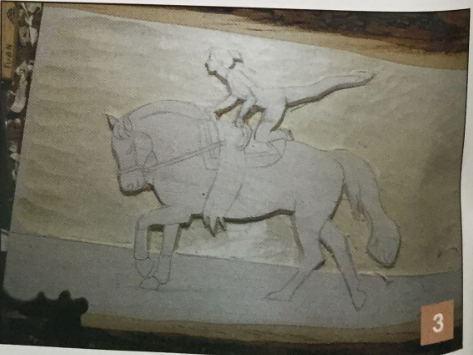
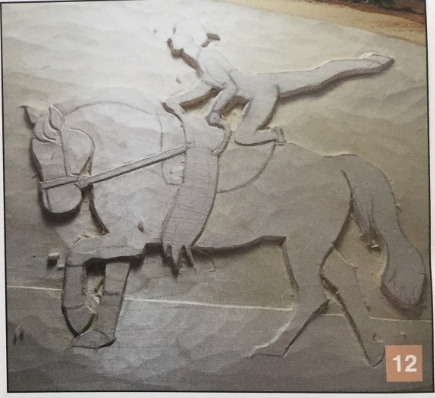
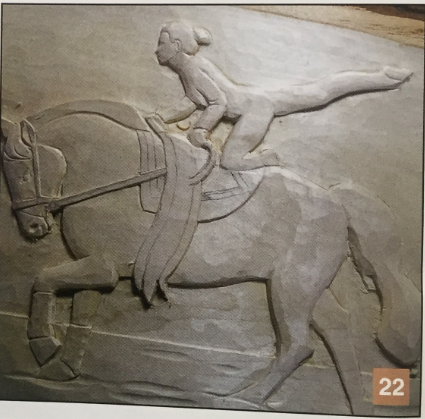
- Since most of the layering is now done, I start shaping the body of the horse, rounding the edges and suggesting muscle mass.
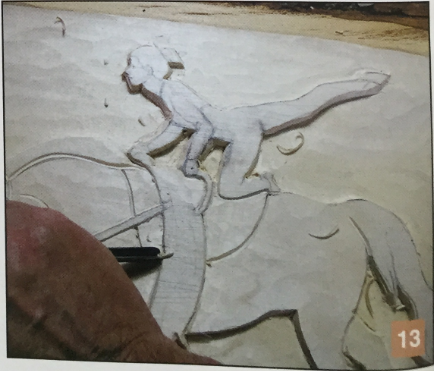
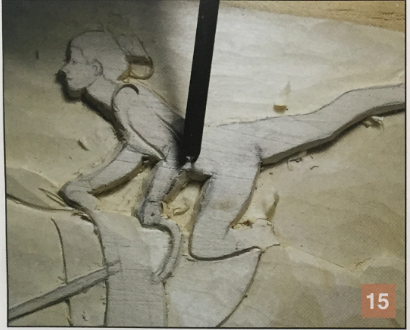
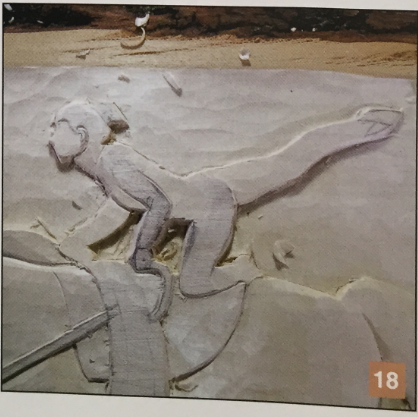
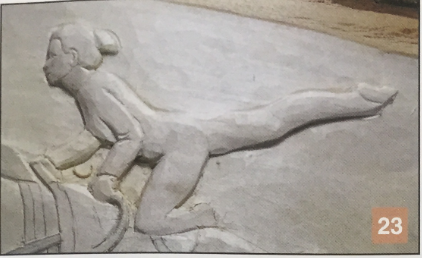
- I move to the figure of the girl. I make stop cuts around the near arm and lower the body below the arm to give volume to the arm.
- I then make stop cuts for the far arm and lower that to give it the proper perspective.
- Then I lower the wood of fhe neck to give volume to the shoulder.
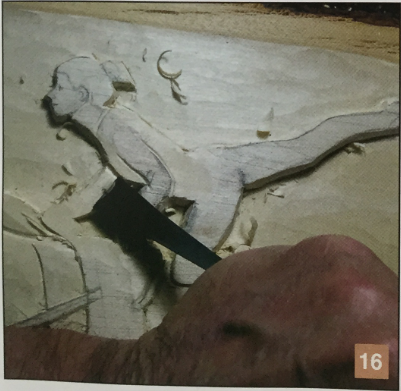
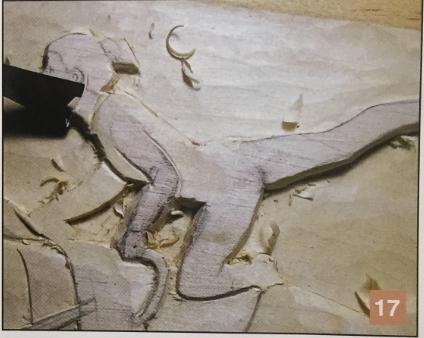
- The legs are layered next. The extended leg is dropped down to match the perspective of the body. The near leg is angled from the knee backward to give the appearance that it angles across the horse’s back.
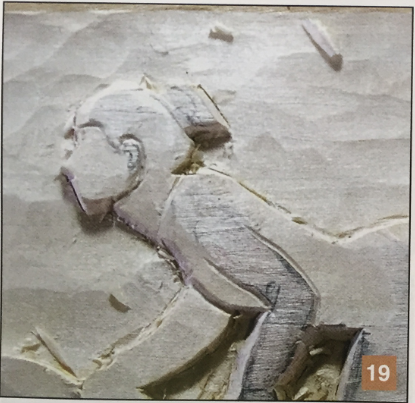
- I lower the face to give volume to the hair and the ear.
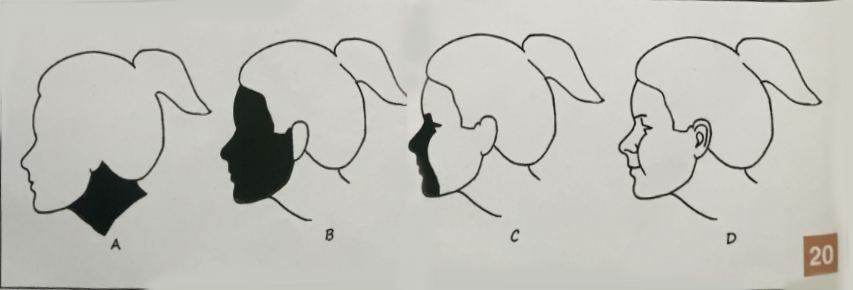
- The face is carved in four stages:
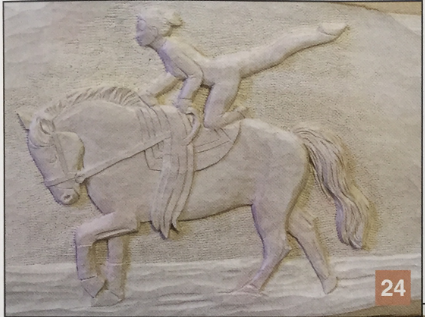
- Moving on to the other detail, the boots are shaped, some of the muscles of the horse are refined, and texture is added to the ground.
- Further detail is added to the blanket, the surcingle, and the horse’s face.
- Next, I add costume creases and slipper detail.
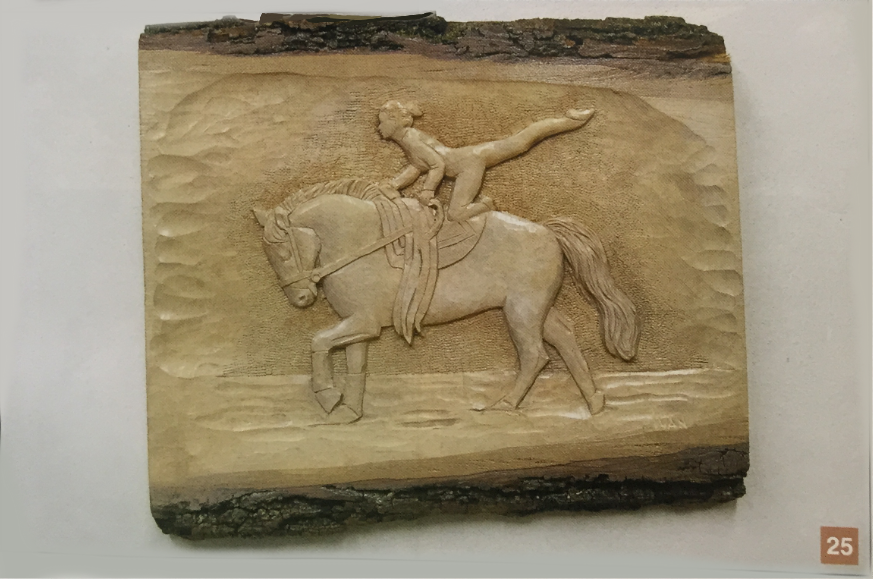
- Here, I add the detail of the mane and tail, and then I texture the background to emphasize the horse and rider.
- A light driftwood stain and a satin varnish complete the project.

A. The neck is lowered. It is the deepest plane of the neck/head area.
B. The face is lowered to give mass to the ear and hair, but it is not lowered as deep as the neck.
C. The area below the brow in front of the cheek/eye mass is lowered to form a separate plane.
D. Finally, the detail is carved in. Because the head is so small, the layers are quite shallow and detail is only suggested.
Good luck and have fun.
