In 2003 I established my design company in a small (9' x 12') bedroom in our house. In 2009 I retired, but the bedroom still contained a desk, a plotter, a two-drawer horizontal file, three small vertical files, a multishelf table, my main computer desk, a large drafting table, and three computers. So what does this have to do with a carving bench? When I first started carving again, I would pull out the drafting table and start making chips—literally. What a mess to clean up. I thought that there had to be a better way to carve in such a small space.
There was only a 4-1/2' x 7' area in the office/studio (I call the room my studio now, since I carve more than work) that could be used for carving. Whichever carving bench I designed, it would have to be compact and multifunctional. The design that I came up with was a three-legged carving bench. I worked for several years in the civil engineering profession, so I was off to the computer to create the plans. I then asked my son, Jeff, who is a skilled woodsmith, to build it for me.
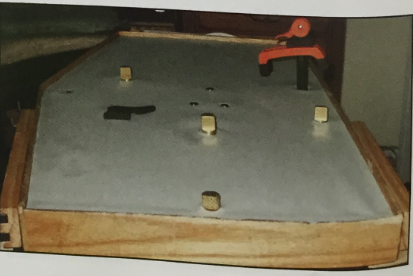
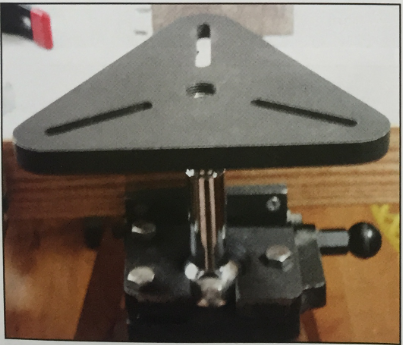
As you look at the photos of the bench, you'll notice that the little bar rails in the lower parts of the legs were added for additional support. You can see the 34" x 18" xl-1/2" high-density fiberboard (HDF) that Jeff used for the top (this was mounted with screws to the seat of the stool); an adjustable carving vise; and a couple of pieces of plywood glued to either side of the HDF (I’ll explain this later). You can see a couple of bench dogs showing through as well.
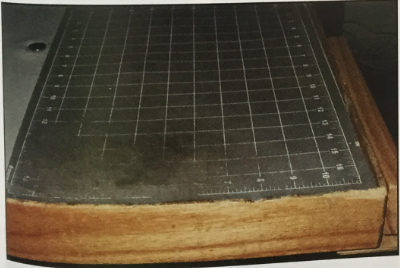
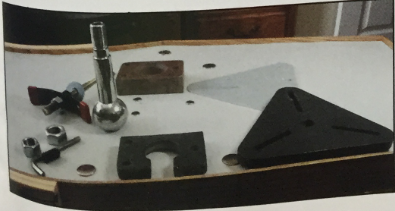
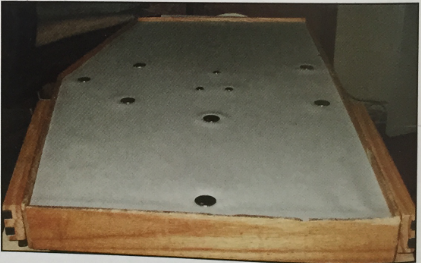
Jeff added a Masonite board to the top of the HDF to make it prettier. He also put an edge around the top to keep items from rolling off. At first the Masonite was fine, but because I'm a clumsy carver, I kept carving into it accidentally. I recently covered the top with some Vyco Protective Board Cover, which cleans up very well. (Notice all the chrome plugs, except for the three smaller ones in the middle of the bench—these are for a bench dog and a work lamp if needed.) There are the two blocks above the plywood that were glued to the bottom of the HDF (more about those later).
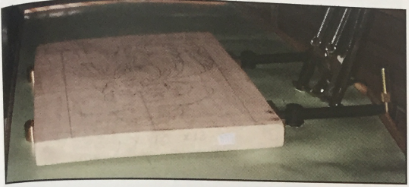
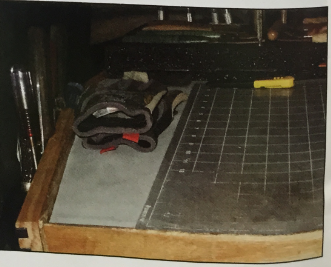
I also show another cover that I added to the top. It is a Staedtler cutting pad (12' x 18'). An interesting side note; This helps save the top of the bench and the edges of your knives, but to a lesser degree, it can be used as quick strop.
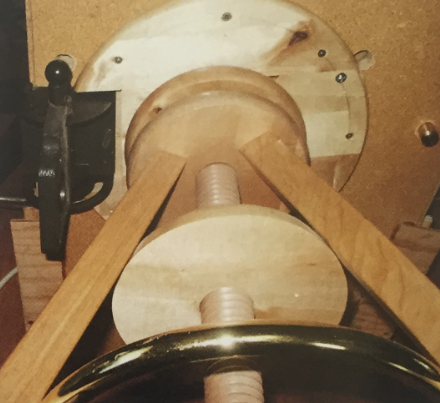
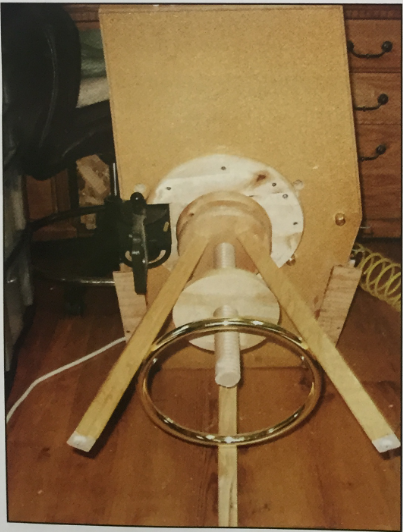
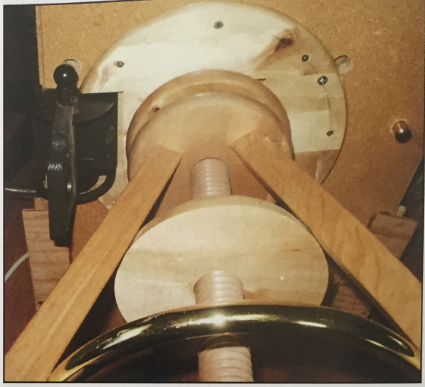
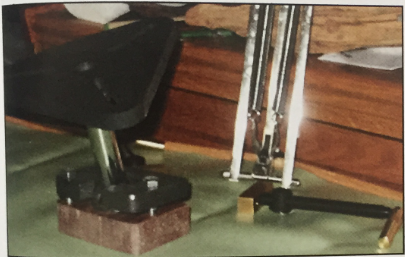
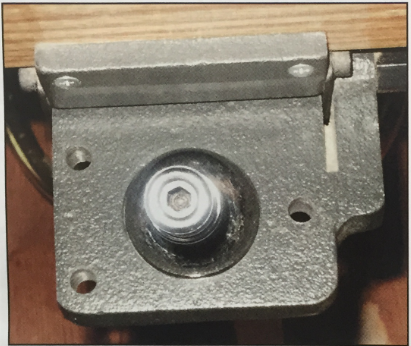
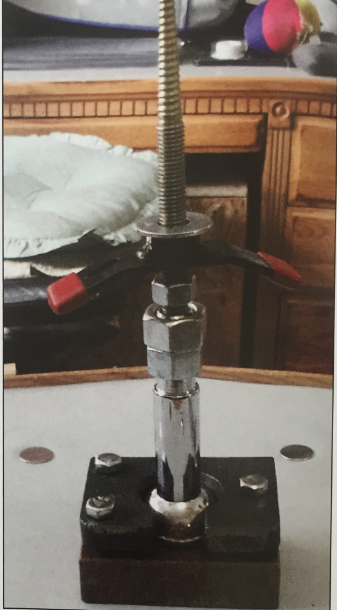
I purchased the modified carving vise from Rockier. The vise is mounted to the bottom of the HDF. It has a pull pin, which allows it to be placed in four different positions: vertical, horizontal, and two positions in-between. The vise works well; however, I wanted to be able to use a carving screw also, so I took the stem and the carving screw down to my favorite machine shop and I explained what I wanted.
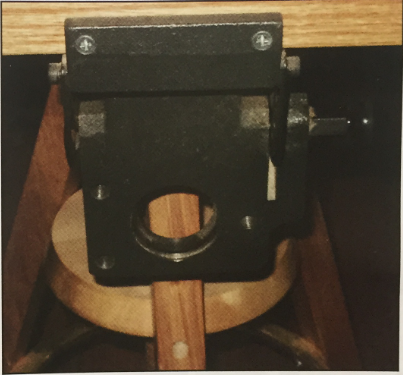
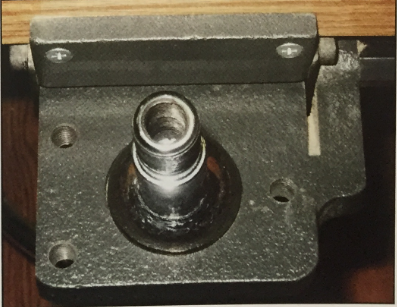
1 took a few photos of the vise and carving screw setup for you to see.
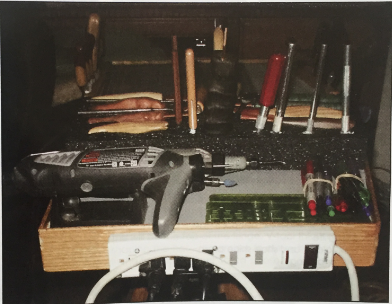
Remember those blocks and plywood that I mentioned earlier? After looking at the photos, you can now see their uses. I carve with a lot of Flexcut knives and other assorted tools, so I mounted two magnetic tool holders—one on each side of the bench—to keep track of the tools. The pieces of plywood serve as bottom stops to set the knives on. You will also notice a piece of high-density foam (black) in use as well. I hope you find this idea helpful.

by Joe Butler
Joe Butler is from Sparks, Nevada.
