Editor's note: This deer pattern would make an excellent relief carving as well.
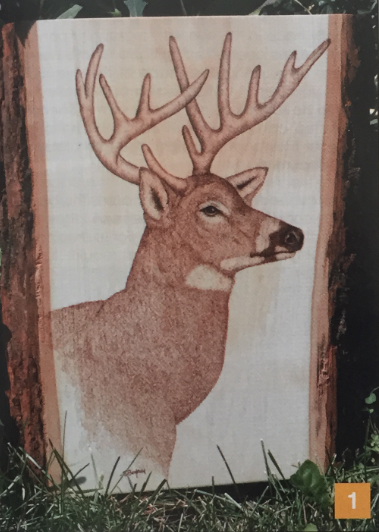
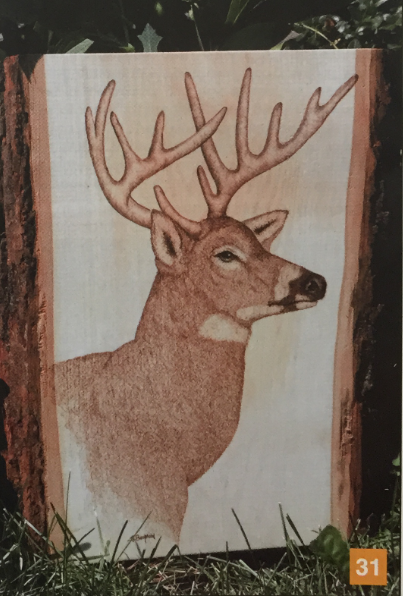
A deer is undoubtedly the King of the Forest. For ages, various cultures have viewed the male deer (or stag) as an example of strength, endurance, patience, beauty, and nobility. In this burning, he holds his majestic antlered head high as he surveys his kingdom.
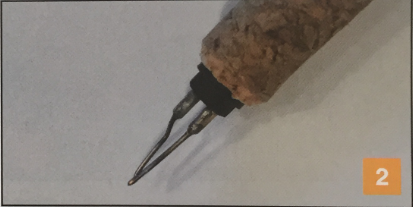
I’m going to demonstrate how to use a micro writer pen, which is used to create the dense fur on the deer. When used in layers with the following techniques, this pen will give you realistic texture and movement to bring this stunning animal to life.
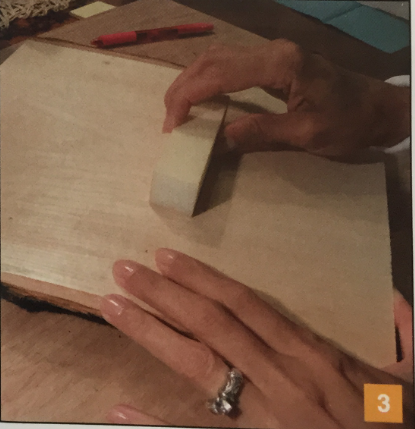
Sand your surface along the grain until it is smooth.
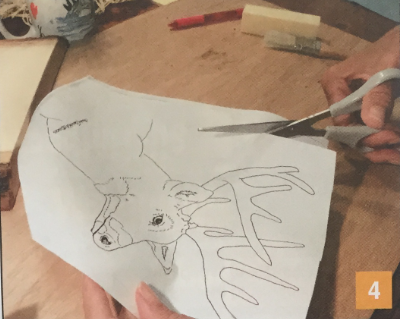
Make a copy of the pattern and resize it to fit the wood.
Tape your pattern on the board at one side, ere a hinge as shown. Now slide your transfer paper ter side down) between the pattern and the wood^ that your image transfers properly.
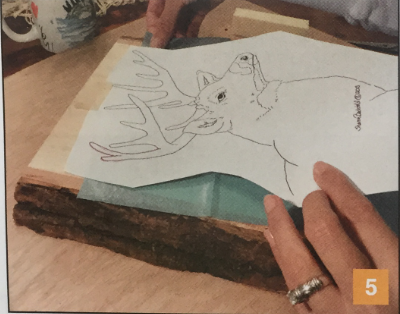
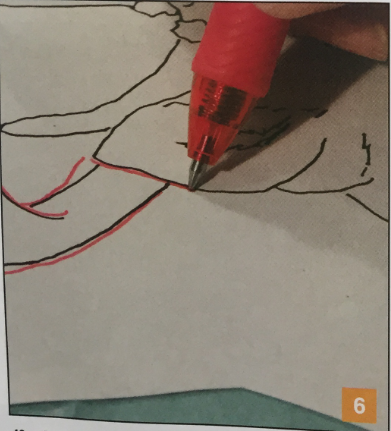
Use the colored pen or pencil to trace the patte The contrasting color will help you keep track of wtw you are transferring.
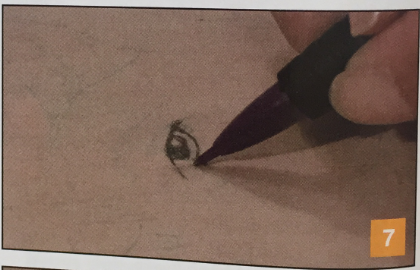
Lightly trace in the eye with a graphite pencil to verify that it looks good. Tracing is prone to errors and you want to be sure that the shape of the eye looks good before you burn it. I will go so far as to lightly shade the pupil to be sure that I am happy with it. Spending time in this step can eliminate A LOT of frustration later, so take your time and get it right. You can always erase a light pencil mark.
Test your heat on a practice board. The best way to find the correct heat is to create marks that mimic the area that you are going to burn. For example, if you will be burning a small area that will require tight detail, you need to test a small, slow burn. The biggest problem I see with beginning students is that they will test heat with fast, long marks—which require very high heat—then they are surprised when they burn a huge hole in their tiny details. Test your heat with the "corresponding" type of mark!
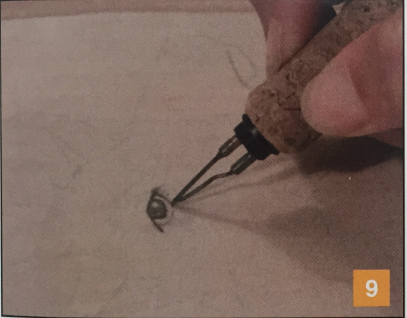
Outline the eyelid, pupil, and iris with the micro writer.
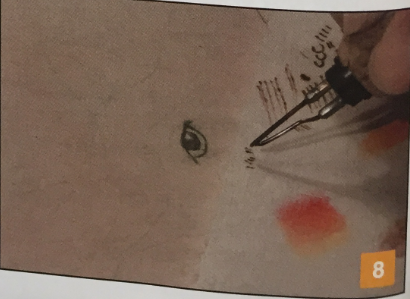
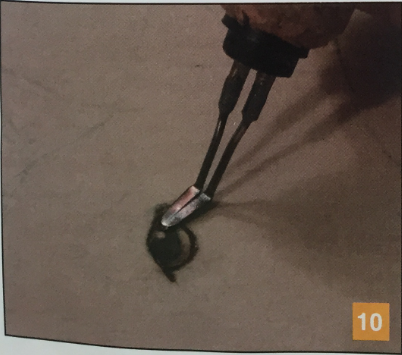
Switch to a shader. I prefer my flat shader, since it has a flat edge that will help me control where I place the burns. Shade in the pupil, and then for the iris, sweep your pen lightly from the upper lid, fading at the bottom as shown. The pen is always hottest when you initially land, so use this to your benefit and begin in the darkest area.
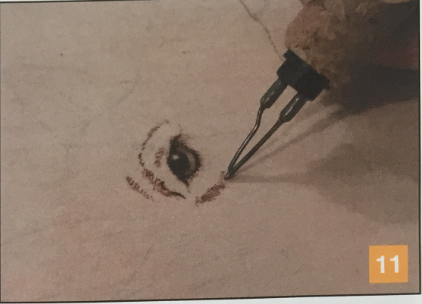
Begin adding fur marks around the eye. Use a smooth, short “comma" stroke for the fur.
As you work on adding fur, use the contour map for fur direction. This is VERY important to create a natural look and a three-dimensional look.
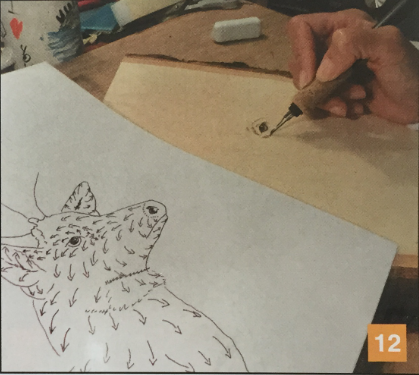
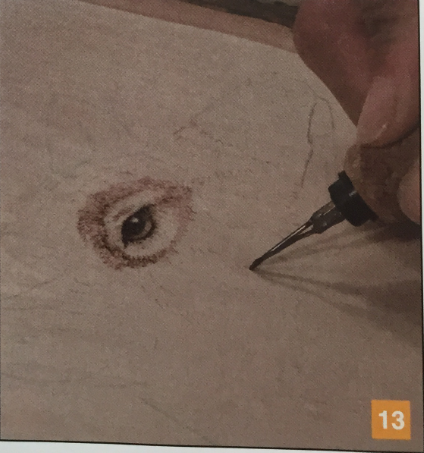
As I work my way out, I will place a few fur “guides" to let me know which direction my strokes should go. Later, this helps me to concentrate on the quality of my burns as opposed to worrying about whether I am burning in the correct direction or not. This also makes directional changes easier, since all I need to do is burn from section to section.
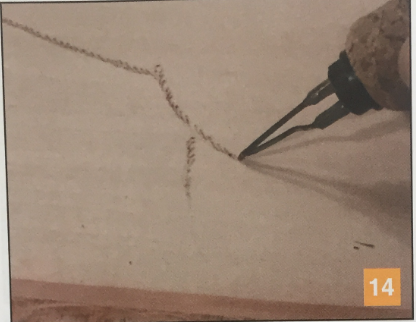
In order to outline the image, use the same “fur» stroke at the outer edge. Make sure that this is not too dark or it will look like a coloring book outline. The direction of your stroke corresponds to the fur inside the outline.
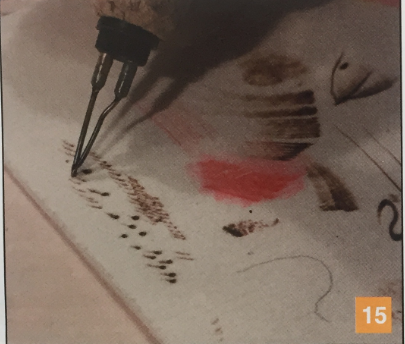
Troubleshooting: If you find that you are creating “tadpoles" (instead of burning fur), here is the solution. The “tadpoles" happen when the amount of time that you apply at the beginning of the stroke is more than at the end of the stroke. If you hesitate and then flick off when you land your pen, you are burning longer at the beginning than you are at the end, resulting in the look that is pictured here.
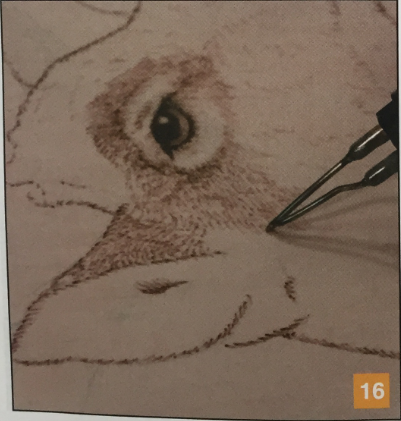
To resolve this issue, use a steady stroke, allowing just as much time at the beginning as the end. Consistency is the key. It also helps to land your pen like an airplane instead of a helicopter. This keeps the pen moving evenly instead of being still and having to pick up speed.
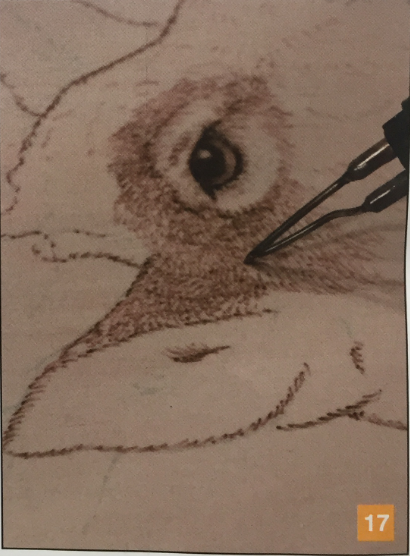
Begin filling in the fur. Don’t worry if it doesn’t look like the sample image—yet. (I use about three layers of strokes to build up the fur.)
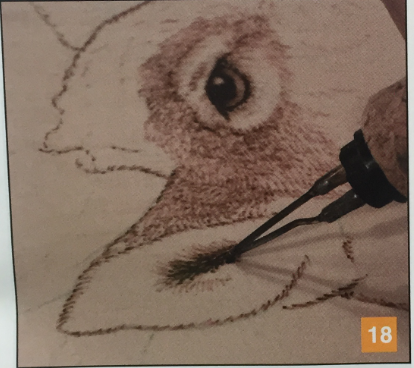
Here, you can see how a second layer adds depth. The second layer is added in the same manner as the first.
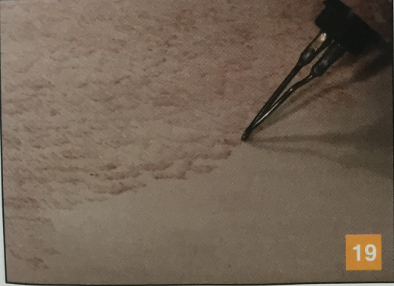
When burning the ear, begin at the darkest point inside the ear and fan out. Make sure to lighten the burn as you fan out. I continue to use small strokes (though not quite as small as the body) and build up the fur here also.
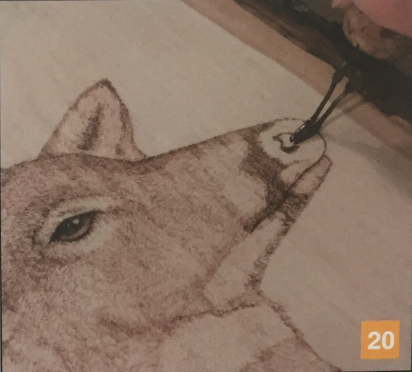
Continue adding fur strokes. As you can see in the photo, I use a curved pattern. This will emphasize the musculature and structure of the animal. If you study photographs or live animals, you will see that the fur tends to clump in patterns. The clumps are not hugely visible but they do add to the textural effect. These will become less obvious when you add successive layers. It is still important to have them, as they add needed detail.
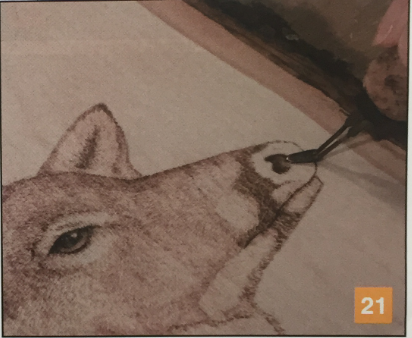
Switch back to a shader (I am using a flat shader for this technique).
To burn in the nose, shade the nostril, working from the darkest areas to the lightest.
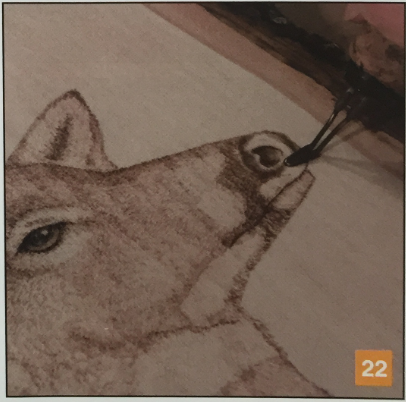
Use the same technique to build up the leathery part of the nose. Make sure that the transition from fur to skin is not a big dark line. Blend the fur line and the leathery shading to create a smooth look.
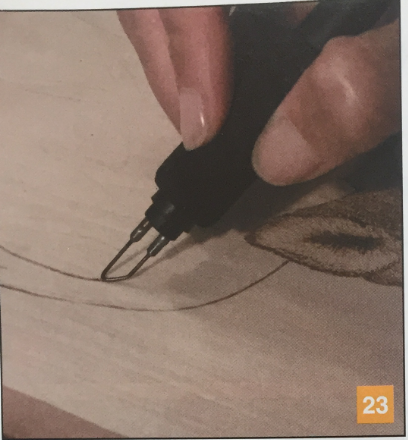
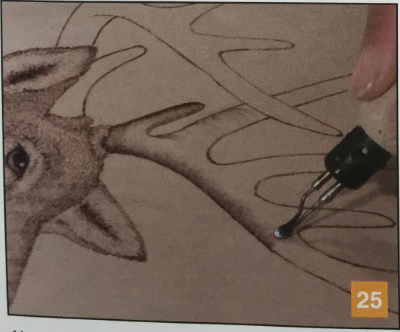
Use the bent-wire skew to outline the antlers тк™ pen has no blade and will give you a soft edge t|w. appropriate for the texture of the antlers. Keep yo ls burns at a medium value so that this doesn’t turn info distracting outline.
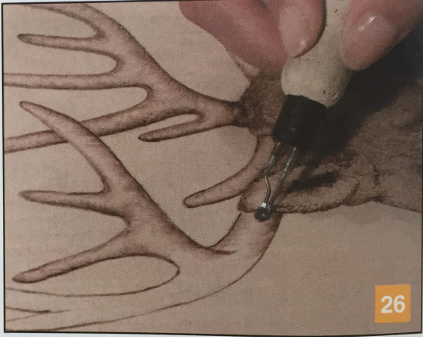
I now switch to the spoon shader. I like the sp00n shader because I want smooth transitions over a wider surface. The curved shape of the blade allows me t0 move freely without distracting “cut marks” that can occur with flat blades if they are tilted during the shading process. I begin burning in the contours.
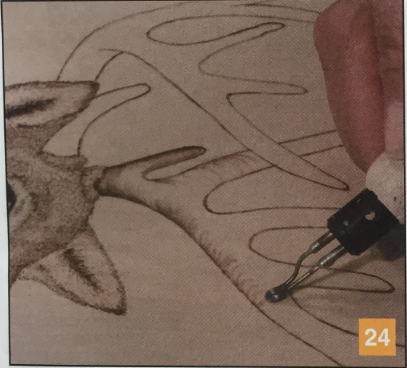
Slowly fill in between your contour marks.
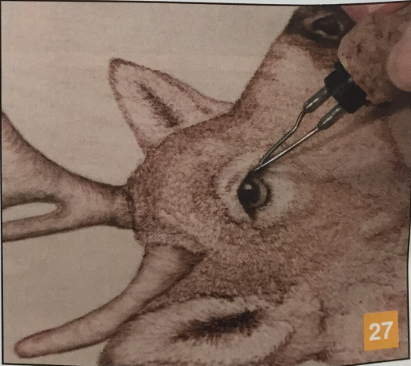
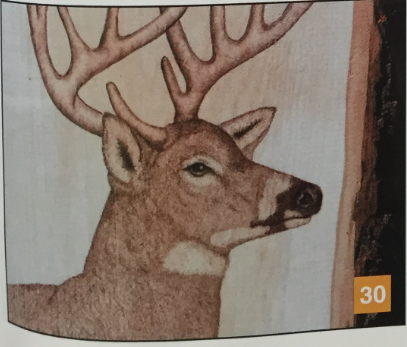
Continue shading in curved strokes, paying attention to darker and lighter areas. As mentioned before, always land in the darkest area and pull to the lightest area.
Darken the eye area if necessary. This area should be prominent and attract the eye of the viewer first. Make sure that the black of the eye and eyelid is dark.
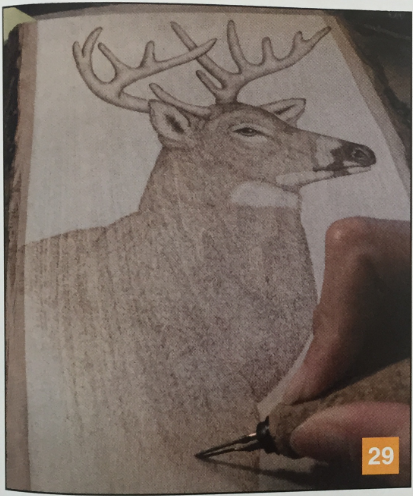
Continue layering in the fur to create dense texture.
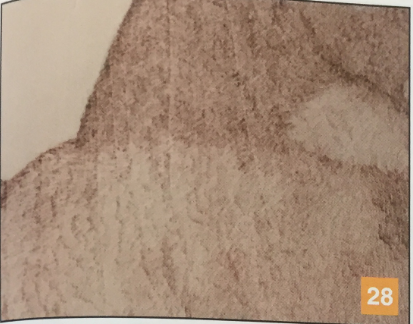
When you reach the bottom, fade out the body as shown. The very edges will have only one layer.
Take your time with this project and enjoy the new technique (at least new to me). I hope you have enjoyed yourself.
Keep warm until we meet again!
Happy Burning!
Supplies
- Bent-wire skew
- Colored pen or pencil
- Flat shader and spoon shader
- Masking tape
- Graphite pencil with eraser
- Micro writer or fine writing pen
- Sanding block (300 grit)
- Scissors
- Slab of wood (I use basswood)
- Transfer paper—graphite paper or Chacopaper (this is what I use)
by Sharon C. Bechtold
Sharon C. Bechtold is a third-generation artist whose artwork is exhibited in galleries and private collections around the world.
Her passion is pyrography, which she has taught all over North America since 1998. She is available for workshops and demonstrations throughout the United States and Canada. She has published a number of workbooks and pattern collections, which are available on her website and through various carving suppliers. She is currently working on developing online tutorials and DVDs.
