The weather is cooling off and fall is upon us as we head into the final stretch of our heirloom collection. This issue's projects have been the most challenging for me because of the complexity of the costumes. I have tried to keep these images simple while maintaining the details that identify them. The burnings themselves are quite simple— just outlining and shading are used to complete the designs.
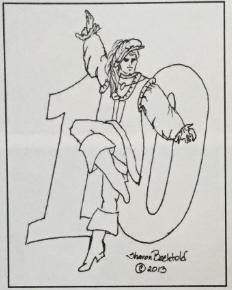
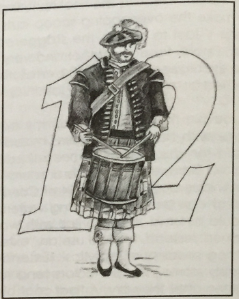
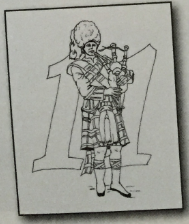
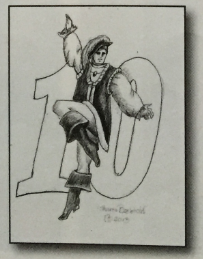
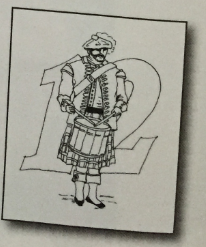
These designs can also be used alone without the number and resized to create lovely stand-alone pieces. For this project, I will be demonstrating techniques on just one of the designs—the Eleven Pipers Piping—since all the designs (Ten Lords a-Leaping and Twelve Drummers Drumming) require the same basic techniques.
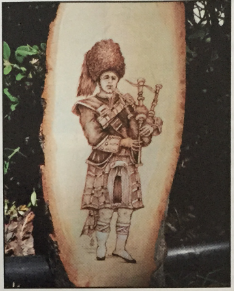
I have burned a "piper piping" on a round as shown. This makes a wonderful piece just by itself. You can embellish it with color to add more flair.
Here Is a List of Tools and Supplies That You Will Need for These Burnings
- Burning pens—ball pen (1/16), bent-wire skew, shader, and writing pen
- Graphite paper
- Masking tape
- Pencil with eraser
- Sanding block with 200-300 grit
- Scissors
- Wood
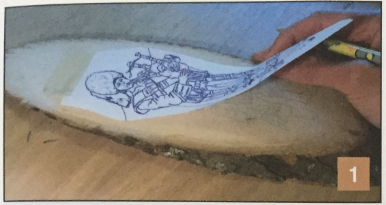
1. Prepare your wood ahead of time by sanding smooth and brushing clean. Make a copy of the pattern and resize it to fit your wood. Position your image, tape in place, and slide your transfer paper between the pattern and the wood. Be sure the transfer paper is facing down and trace the pattern.
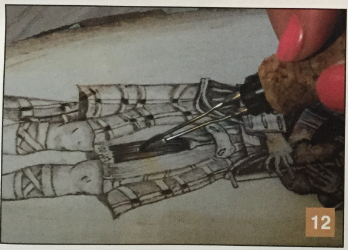
2. I use a bent-wire skew to outline the number, as this allows me to burn bold straight lines and curves with little effort. (As you can see, this is not the pattern for the "eleven pipers,” since I am not adding the number for this example.)
3. To shade in the number on each pattern, I use a ball pen (1/16) with a scribble stroke. This not only helps with shading and value, but it also gives a different texture that sets the number apart from the rest of the image. I usually shade in the number last, since the amount of shading that I use in this step is determined by how dark or how light the finished burning is. Make sure that the number supports the image and does not detract from it.

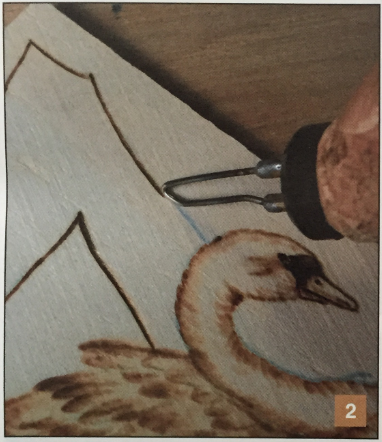
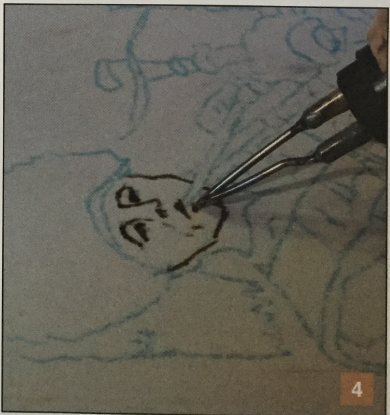
4. Begin by outlining the image with a writing pen. Use a light stroke to maintain control and a clean line. Using pressure will cause the fine tip to bury itself in the wood and create dots and blobs. The angle of my pen is nearly flat (as shown in the photo). This reduces the amount of gravitational pull on the tip and helps keep the pen gliding on the surface of the wood so that it is less likely to sink in and burn holes. Another tip for getting clean lines: Keep your speed consistent. If you slow down or speed up, your burn will be uneven, so keep it steady.
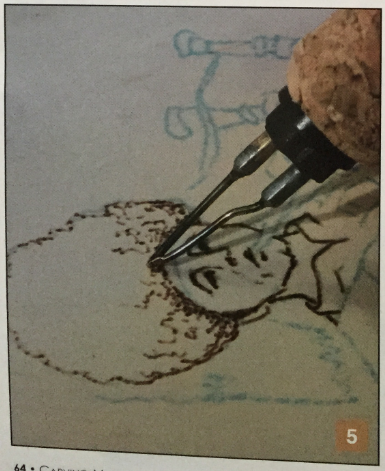
5. Fill in the textured hat with a squiggle stroke (as shown in the photo).
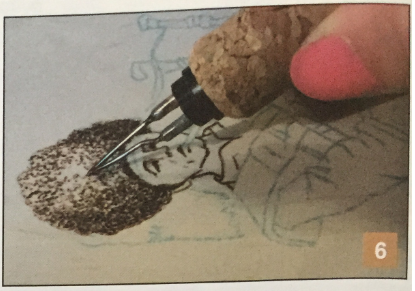
6. Continue squiggling—the darker areas get more squiggles and the lighter areas get less.
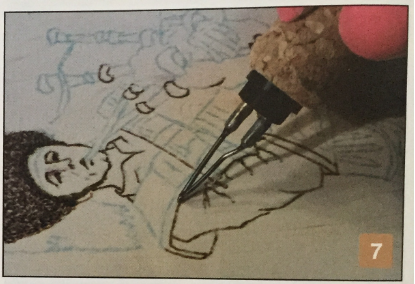
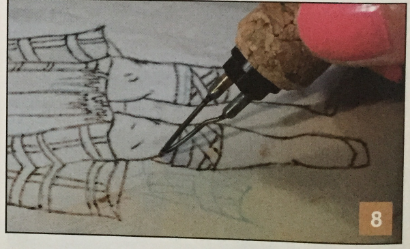
7 & 8. Continue burning lines to indicate the different elements in the image. Be sure to leave trailing lines as shown in Photo 8. Trailing lines give your viewer extra information about what she or he is looking at. It may be the muscular structure of the leg, a drapery fold, or a subtle change in direction. Be aware of these tiny details; they will take your burnings to an entirely new level.
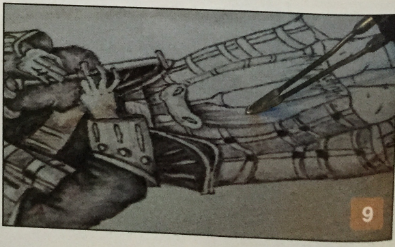
9. Use your shader to fill in dark areas. I am using a spoon shader for this project, but any shader will work. Watch the lights and darks, since they will help give form to your image. Try pulling your shader along the contour of the object that you are burning; in other words, if you are burning something cylindrical, you will pull in from the sides. This has two purposes—it shows direction by your stroke and it blends your values.
Your pen is always hottest when it first lands, so if you begin in the darkest areas and pull around to the lighter areas, the pen will automatically lose heat. This gives you a nice fade in your burning and makes your job much easier.
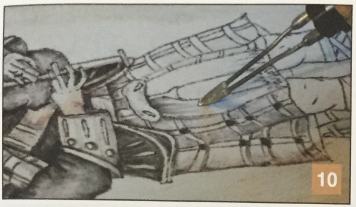
10. To create the texture of the sporran, tip your shader to the side to create a soft line; pull down from the top, fading out around the middle.
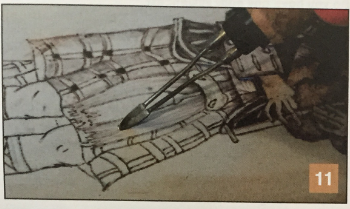
11. Finish off the texture by pulling up from the bottom in the same manner as before and fading again around the middle. Be sure that you connect some of the lines to give the impression of connected strands.
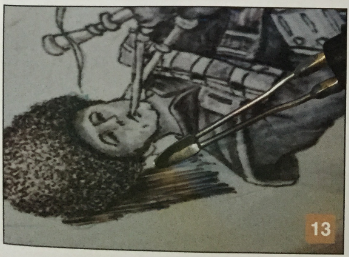
12 & 13. For darker textured areas, use the same technique as above but burn darker.
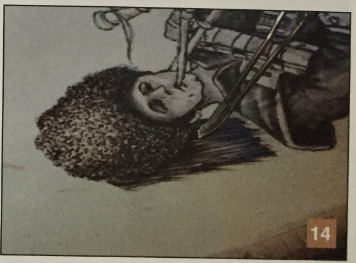
14. When a dark area meets another dark area, be sure to leave a slightly lighter area between them as shown. Then go in and emphasize the area being overlapped with an even darker value to indicate that it is in the background.
Take your time burning these designs; they are not as complex as they seem. If you don’t know what you are burning, just stop and find your place by studying the reference drawing. When people burn complex subjects, one of the biggest mistakes I see is that they continue to work even if they have no clue where they are in the design. Then they wonder what happened. Don’t let this be you! The patterns and samples are your road maps; be sure to consult them frequently—then you won’t get lost and you won't have a mess to clean up.
The holidays will be here in no time, and you will have a stunning heirloom to show off and to share
.Keep on burning, happy holidays, and I’ll see you next year!
