Carving golf balls can be a fun way to use your woodcarving skills. The balls are easy to find and offer the artist an excellent carving material with no grain to worry about. I don't like to stray away from carving wood too often (for magazine content), but when I saw these wonderful faces by Dale, I just had to share them with our readers. Not all balls are created equal... you have to search for the correct ones with the solid core.
I always wear a carving glove and recommend using one for carving wood and golf balls. My glove has rubber dots which is really useful for holding golf balls. The tool list for this project is as follows:
Carving Tools Needed:
- Carving Glove
- Carving Knife
- #11-9mm and 7mm
- #5-7mm, #9-3mm and 6mm
- #3-2mm shallow gouge
- 3mm V-tool
The Steps
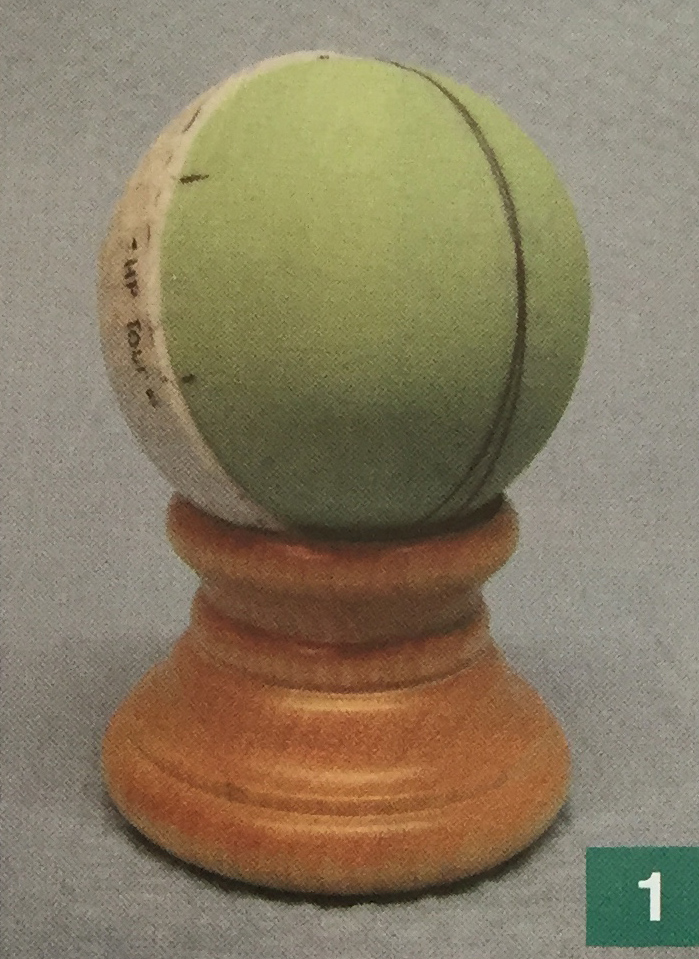
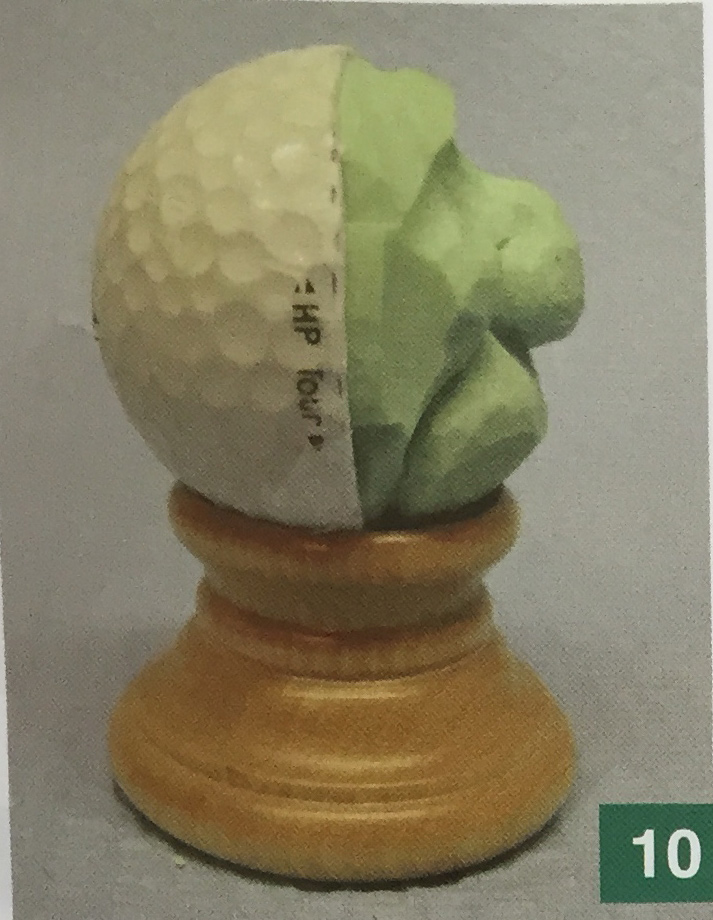
1. I always start with a centerline. I use a compass with a ballpoint pen. Notice the lines to mark the top and bottom of the ear.
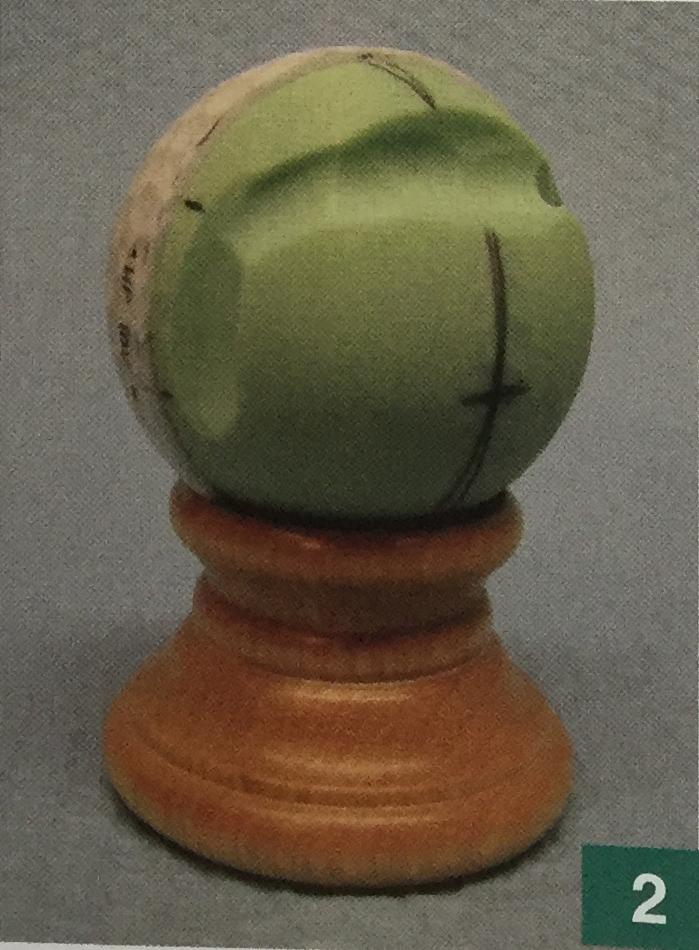
2. The eye line is cut with a #1 l-9mm gouge. Also remove material in front of the ears.
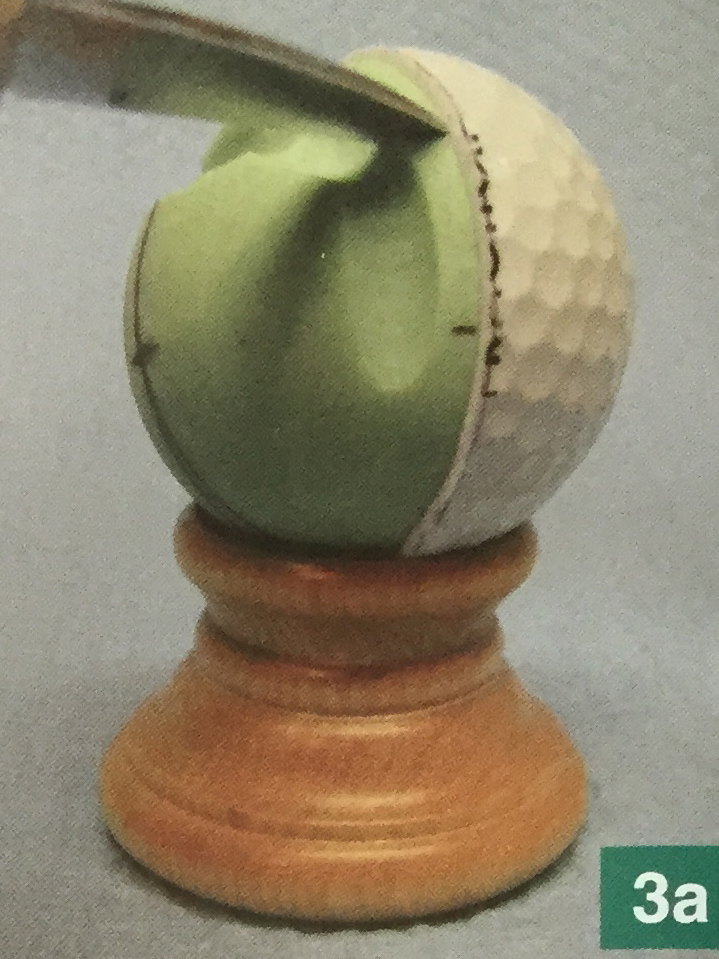
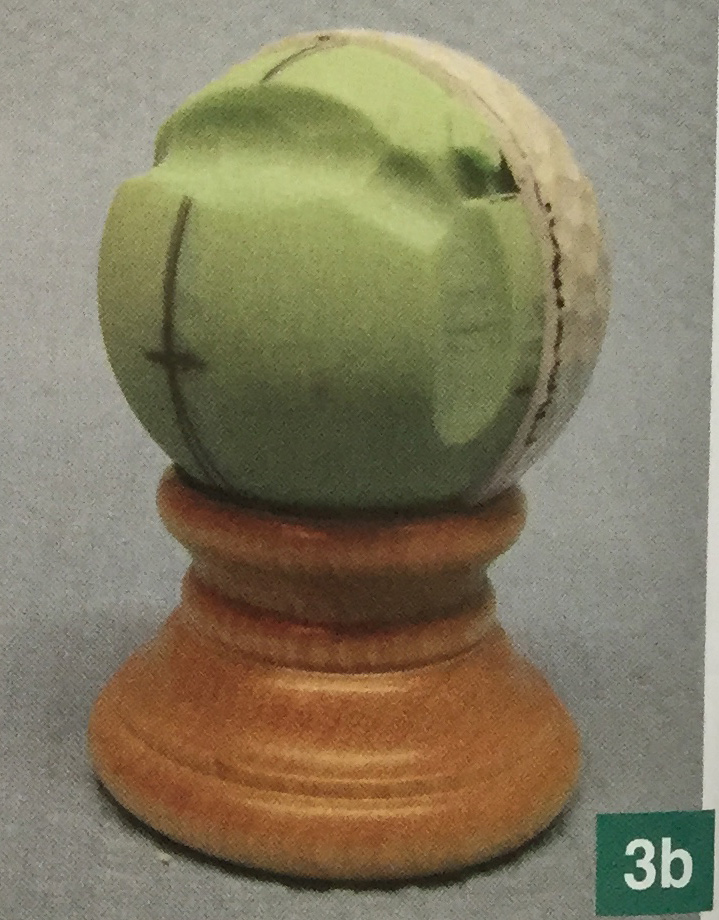
3. Use a knife to cut above and below the ears. This process will be used several times for this project and I’ll refer to it as a "shadow cut." The cut is perpendicular to the surface and extends back under the ball cover. The cover is not cut. The ear cut is about 1/16” deep and serves as a stop cut. The relief or removal cut will produce a triangle-shaped wedge with the inside of the cover forming the third side. Sometimes all cuts meet and the wedge will come out with the blade. The knife should never be used to pry the wedge loose. The tip could break off. I have a 2mm shallow gouge that’s too small for carving, but it's great to remove material from shadow cuts.
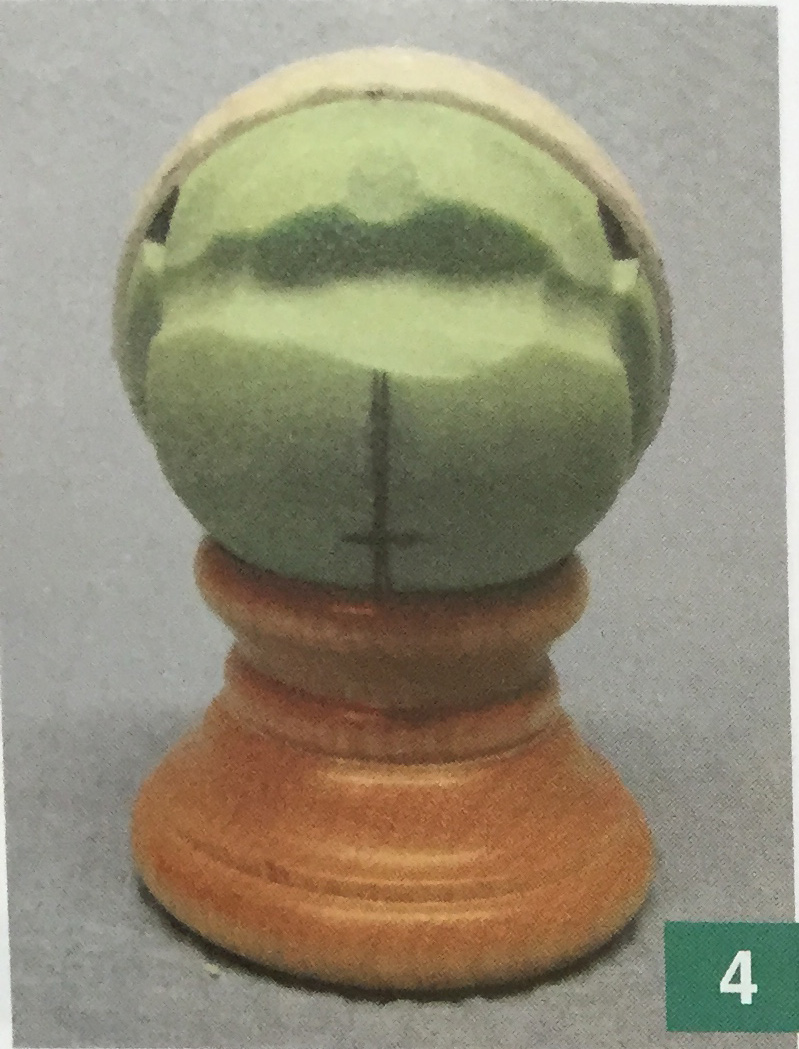
4. Use a #1 l-7mm gouge on the forehead to define space for a little hair and the top of the eyebrows.
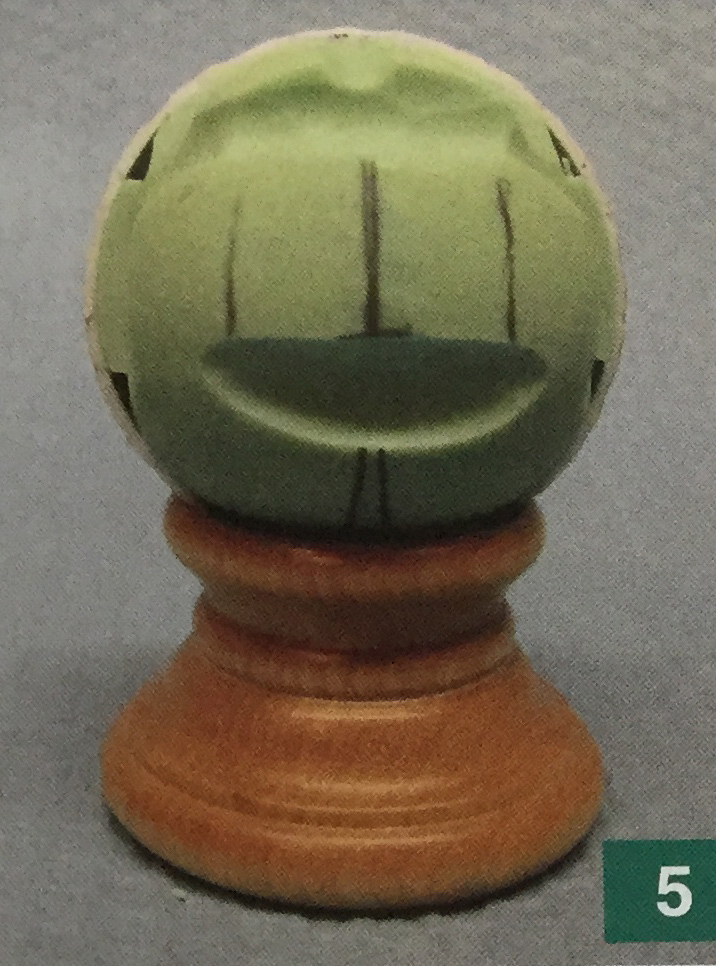
5. Use a # 11 -9mm gouge to establish the bottom of the nose.
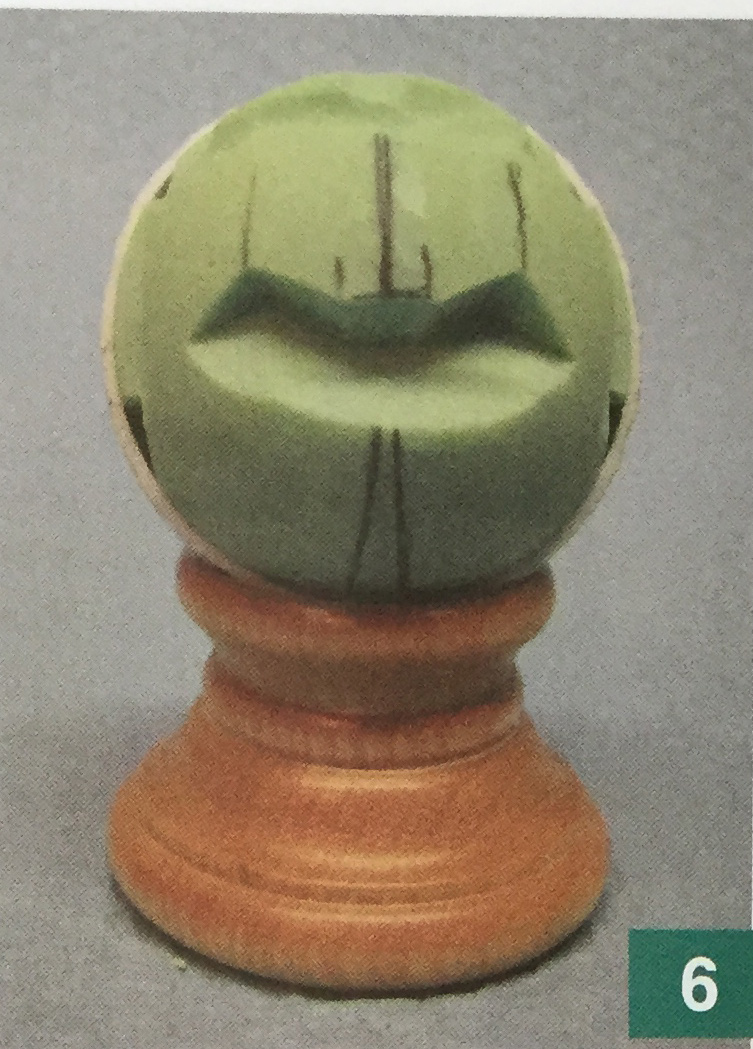
6. Mark the width of the nose and use a knife to raise the wings. Note the small space marked near the center-line to reserve space for the septum.
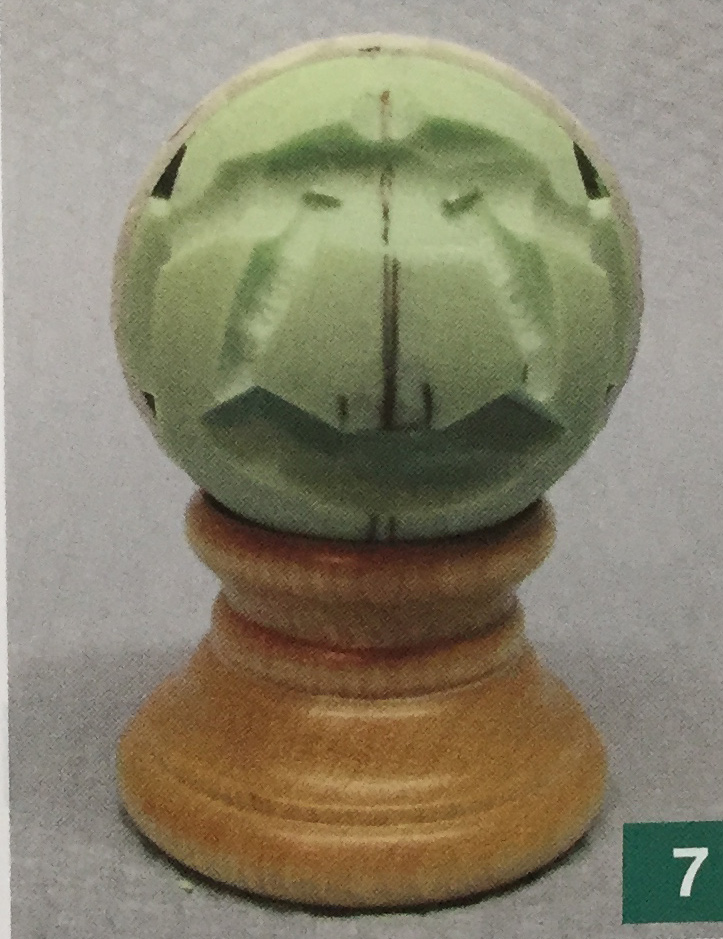
7. Use the #1 l-7mm gouge to define the sides at the top of the nose. Reserve space between the eyes for the bridge of the nose.

8. Using an inverted #5-7mm gouge, shape the wings of the nose. Use the first cut as a stop cut and the second cut to remove some of the cheek as the gouge meets the stop cut. Use the #ll-9mm to shape the nose above the wings.
9. Use the #1 l-9mm to prepare the area for the eyes and reduce the cheek material. The cheeks will continue to be shaped as adjacent areas are developed. Use a knife to smooth the nose. Don't forget to reserve the space between the eyes.
10. Make a stop cut to form the outside mustache line from the corner of the nose wing. Remove material from the face to make the mustache protrude. Use the point of a knife to extend the wing line up onto the nose. Remove a tiny sliver of material to create a shadow.
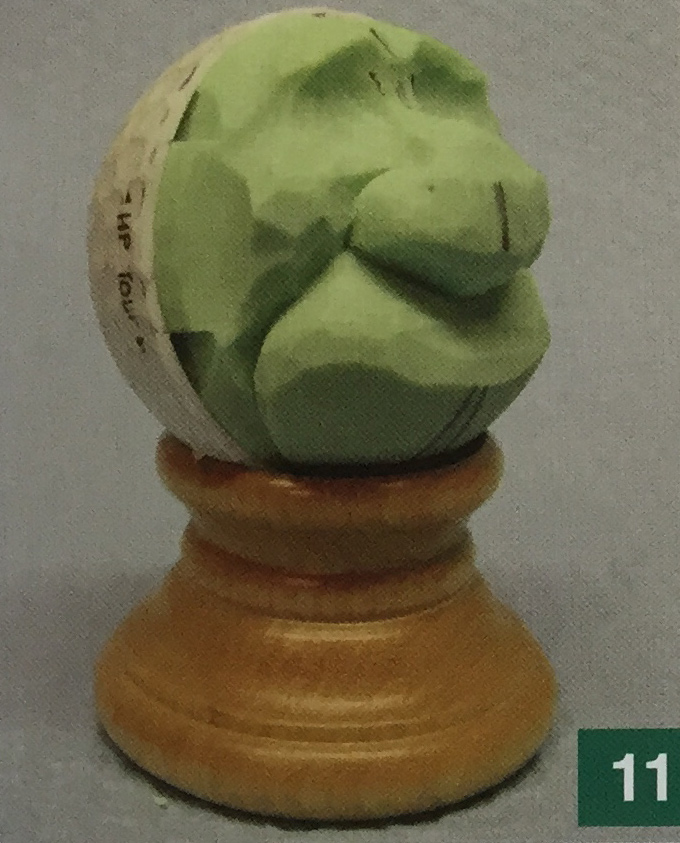
11. Progress so far.
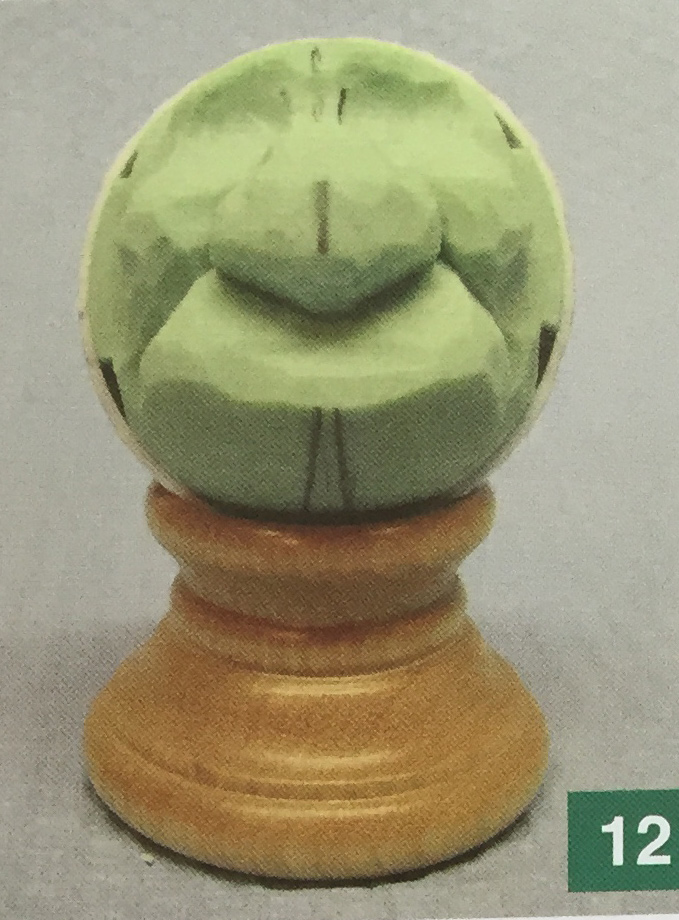
12. Another view.
13. Use a knife to round the tops and bottoms of the ears. Use a #9-3mm micro tool to form the inside of the ear. When using this tool, do not pry or twist—straight in and out will do the job. Use the 2mm shallow gouge to remove the material if it remains inside the ear. This can also be considered a shadow cut. Leave space between the cuts for the small flap of skin that protects the opening of the ear.

14. Remove the ridges on the ears with small knife cuts. Use the knife to make a stop cut behind the flap, and then remove the material with the 2mm gouge.
15. Begin the eyes with a 3mm V-tool, making “S”-shaped cuts that will form the top edges of the upper eyelids. Trace the cuts with the point of a knife to make a stop cut. Remove a slight bit of material above the lid to deepen a shadow.
16. Follow the first V-cuts with parallel cuts below to form the bottom edge of the upper lid. Once again, trace this cut with the point of a knife for a stop cut. This time remove material below the stop cut. This will begin to form the eyeball.
17. Use the same 3mm V-tool to establish the top of the lower lid. Don’t make the cut connect with the outside end of the upper lid. To remove the flat area on the eyeball, make a similar stop cut along the lower lid line. Round the eyeball into the stop cut. Remember to remove more in the corners of the eye to make the eyeball look like the surface of a ball.
18. Use the 3mm V-tool to add lower lid lines, bags, eyebrows, and a little hair. Use a knife to make a tiny shadow cut at the top end of the hair. This will also form the top of the head that has no hair.
19. To create an iris/pupil “suggestion," I use the #9-3mm micro gouge. Remember, it's fragile. I usually have my eyes looking to the side. I place the gouge on the eyeball so it touches, but doesn't cut, the lids. This will be a stop cut. Straight in and straight out. This is the first side of a three-sided chip. The other two sides are made with the point of a knife inserted along the lid lines and meet at the corner. I resort to my 2mm shallow gouge to remove the chip in pieces.

20. Draw the line for the lower edge of the mustache.

21. Cut a fairly deep stop cut angled slightly behind the front of the mustache. Remove material below the mustache. Leave a flat area in the center to provide for the lower lip.
22. Use the #5-7mm gouge to open the mouth. If the stop cut is deep enough, the chip will fall out. Otherwise, repeat the cut.
23. Use the #1 l-5mm to shape the lower edge of the lip. Continue this cut to the stop cut at the mustache.
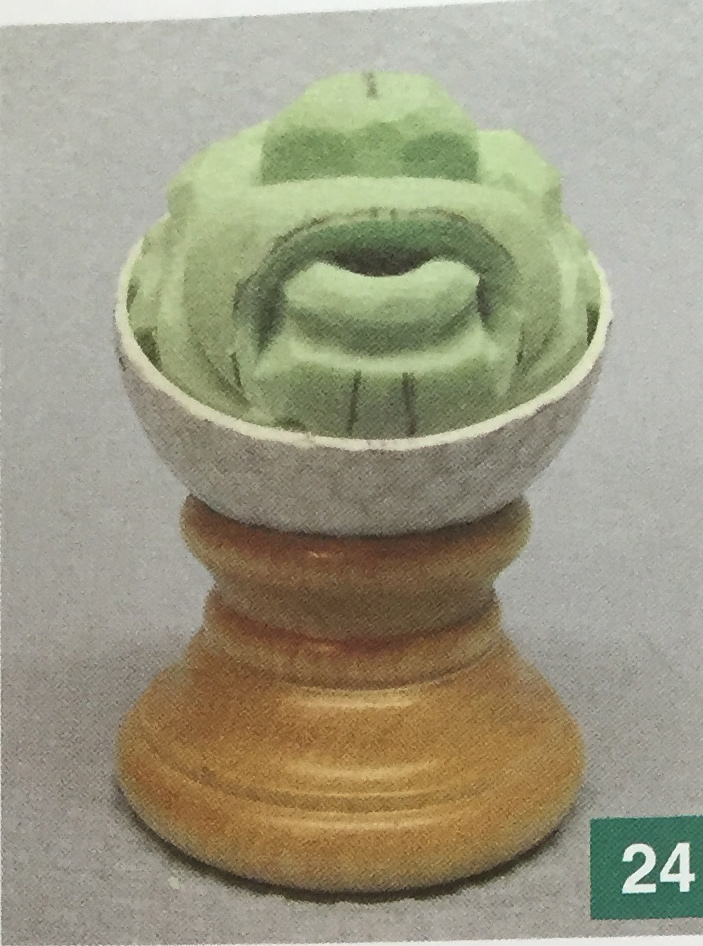
24. Using a knife, remove the sharp ridges and shape the lip. Scoop out the area below the ends of the lip using a knife point that reaches the stop cut. A similar cut would be made with the #5 gouge. This is done to begin shaping the chin.
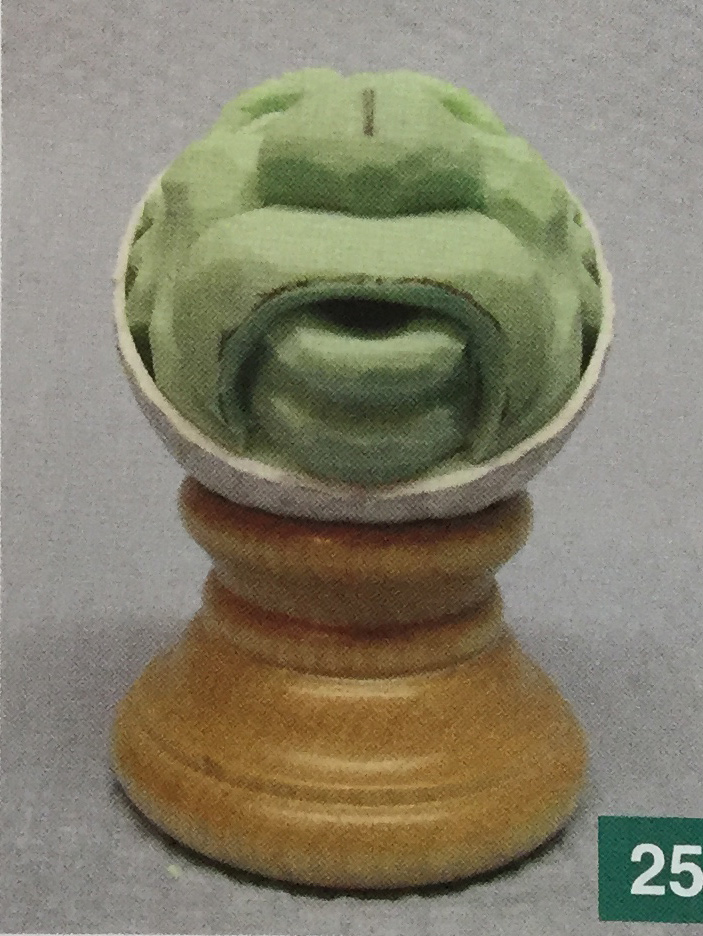
25. Continue rounding the chin between the ends of the mustache.
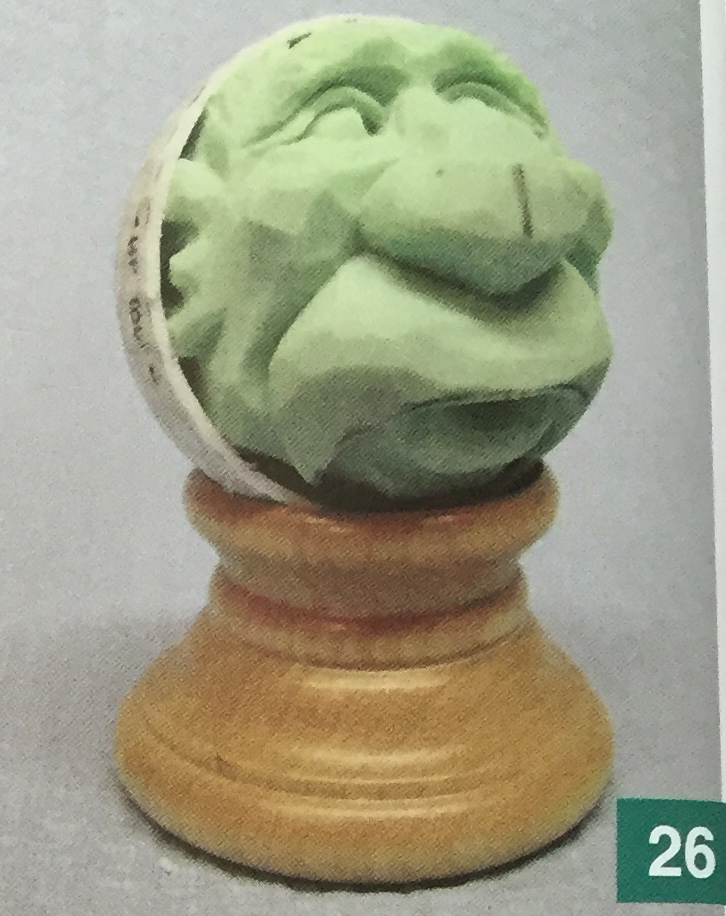
26. Considering the previous shadow cuts were practice, you may choose ] to add a shadow cut between the jowl and chin. This is a larger cut and I is done with a single arch, not two j stop cuts. Work carefully. Don’t use the knife to pry.
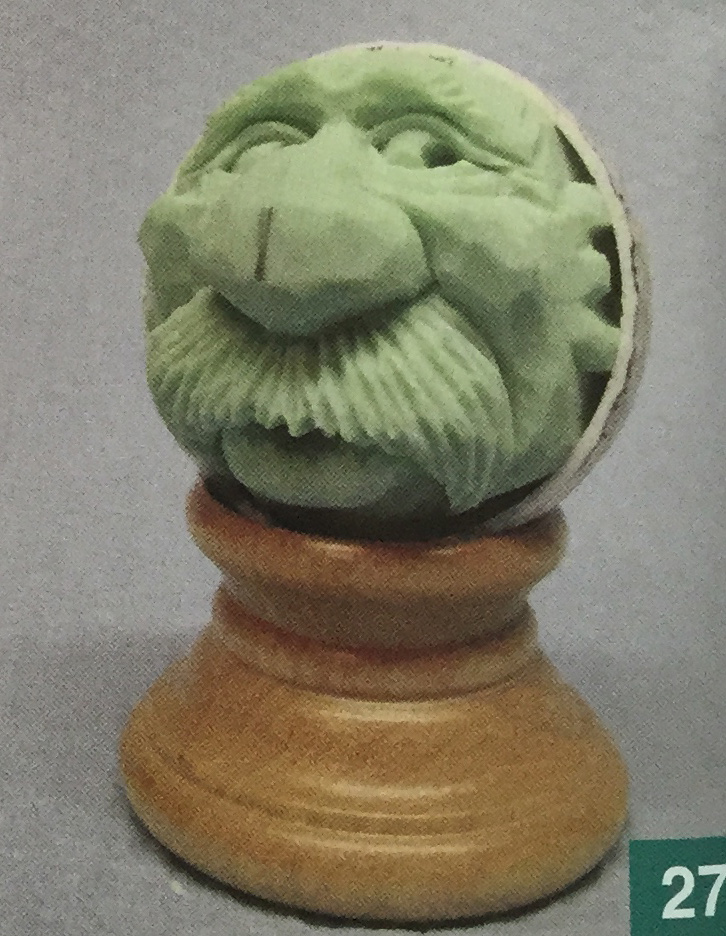
27. Add the hairs in the mustache with the 3mm V-tool, making short random strokes. Remove any flat areas on the mustache. The hair that hangs over the mouth should have an uneven (nibbled) look.

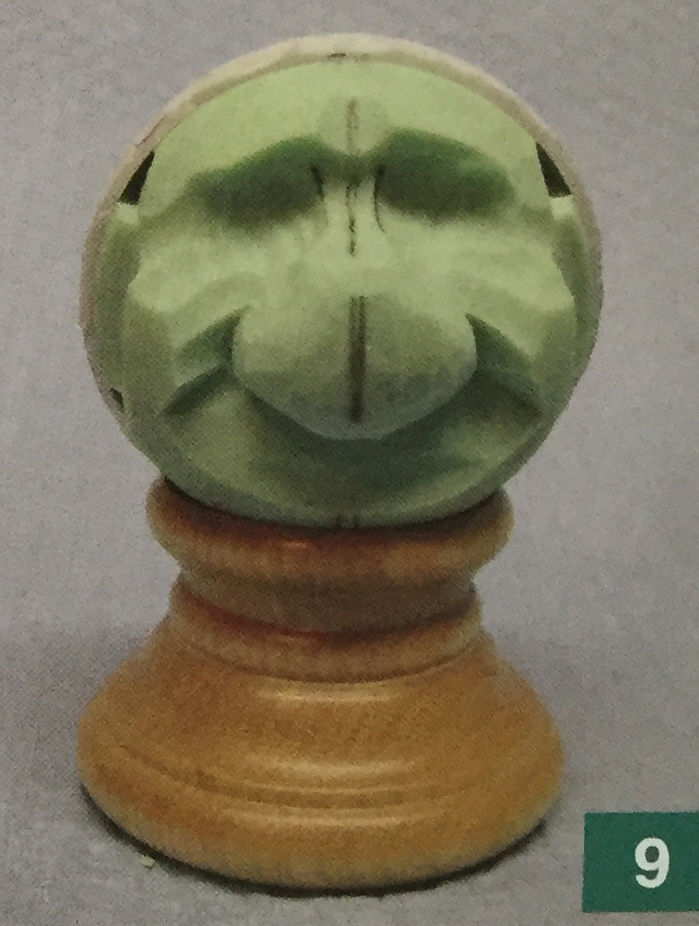
28. I used a #9-6mm gouge to cut the nostrils. I could have used the #5 gouge, but in this case, I liked the #9 better. The important thing is to make both cuts symmetrical.
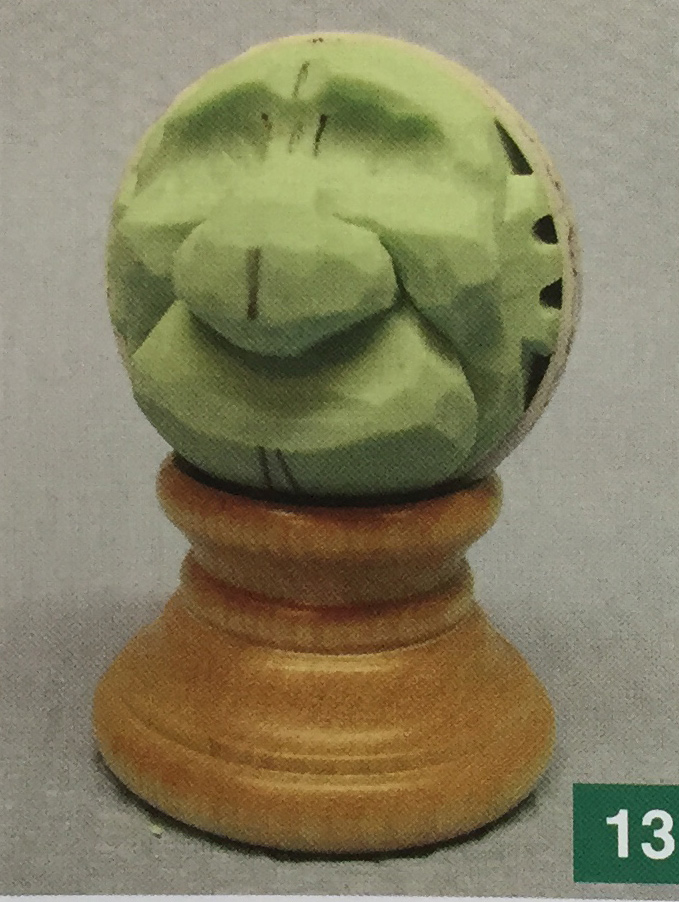
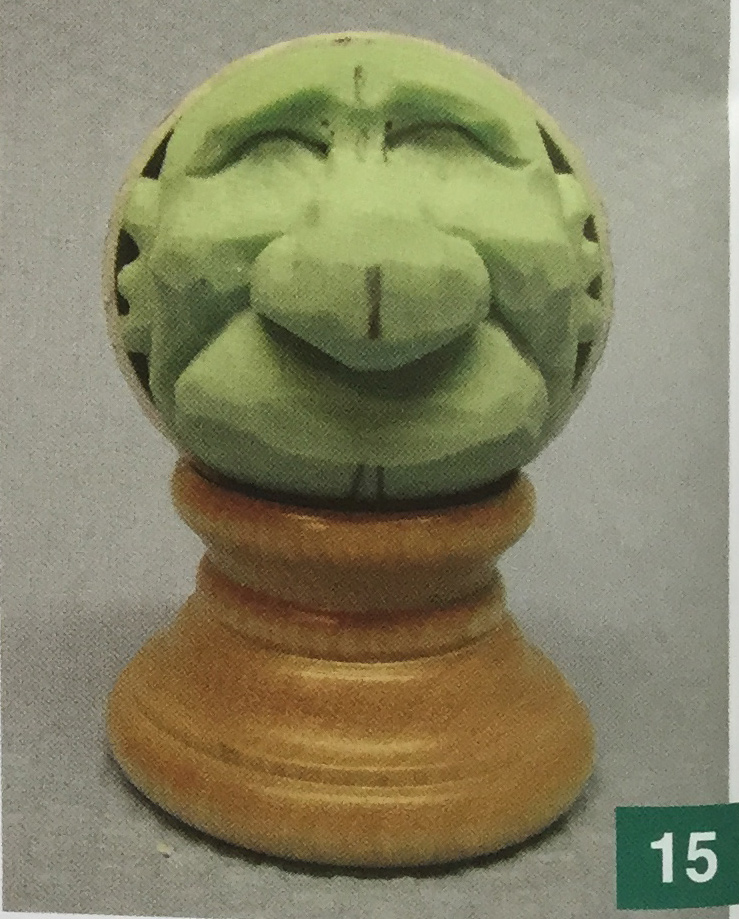
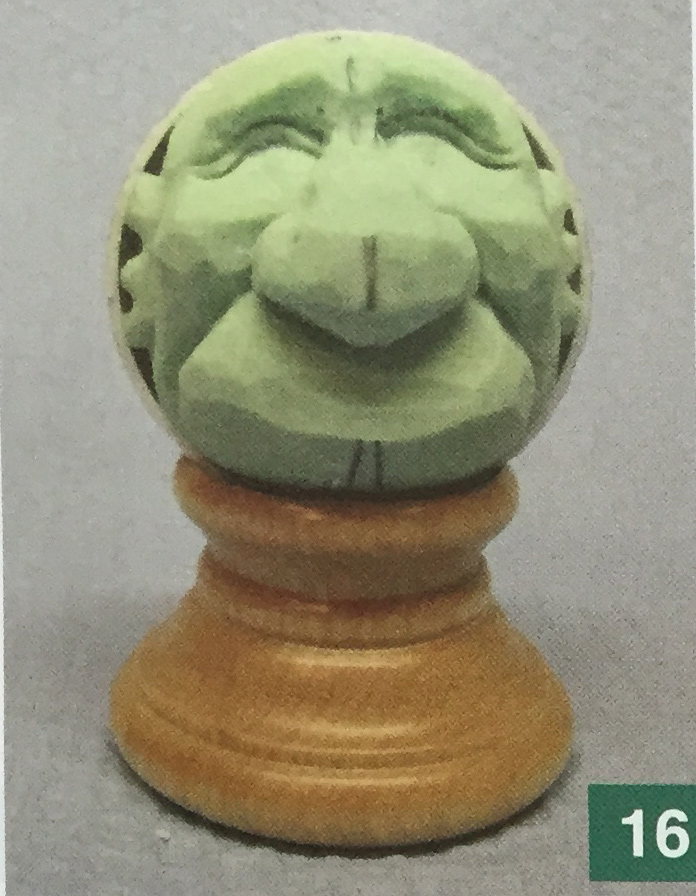
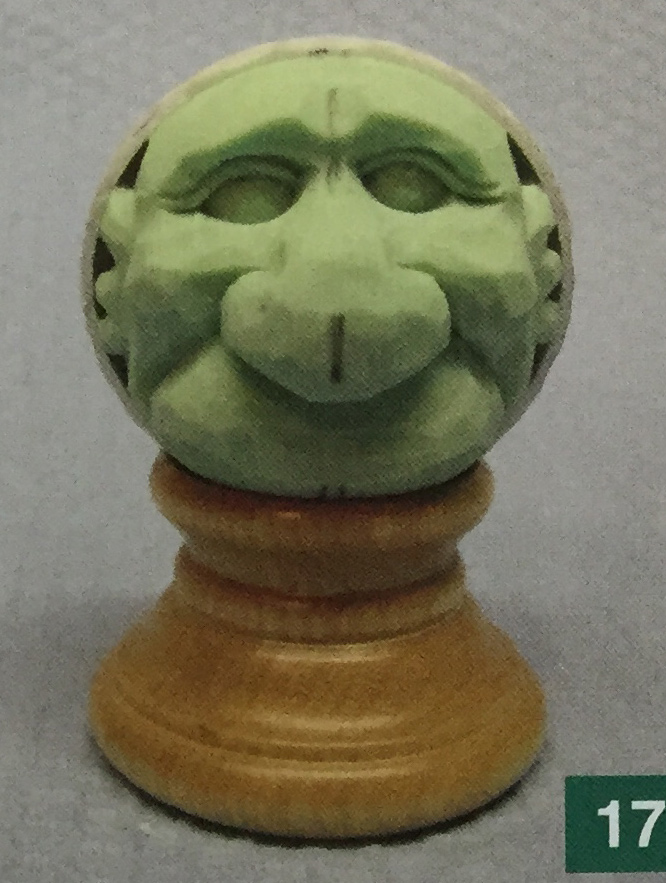
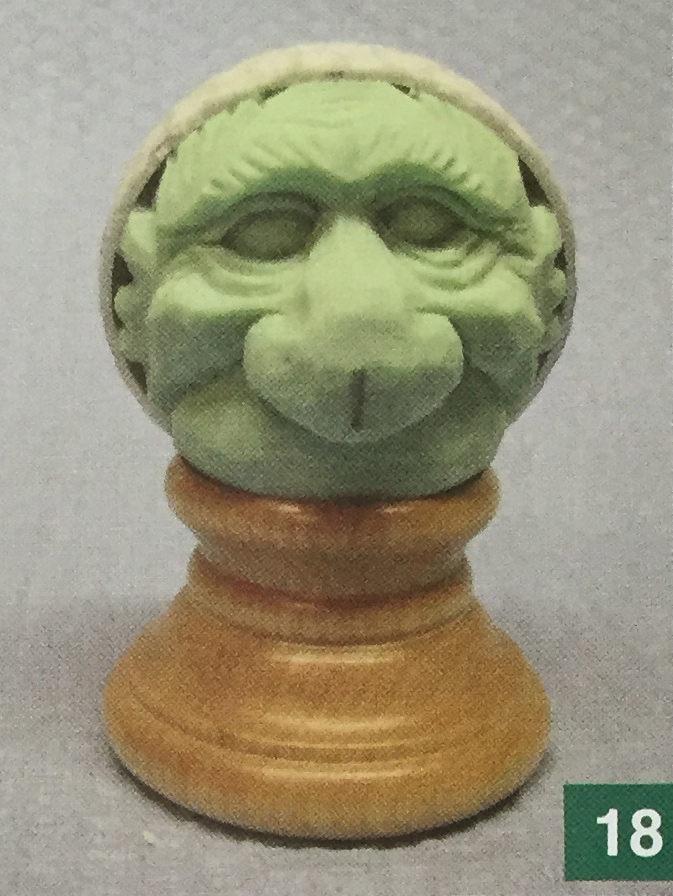
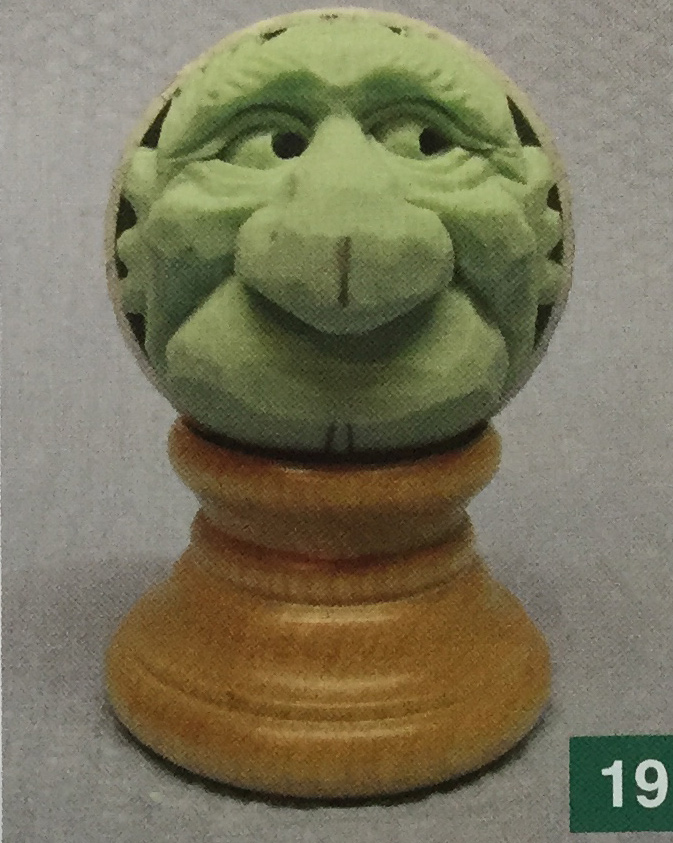
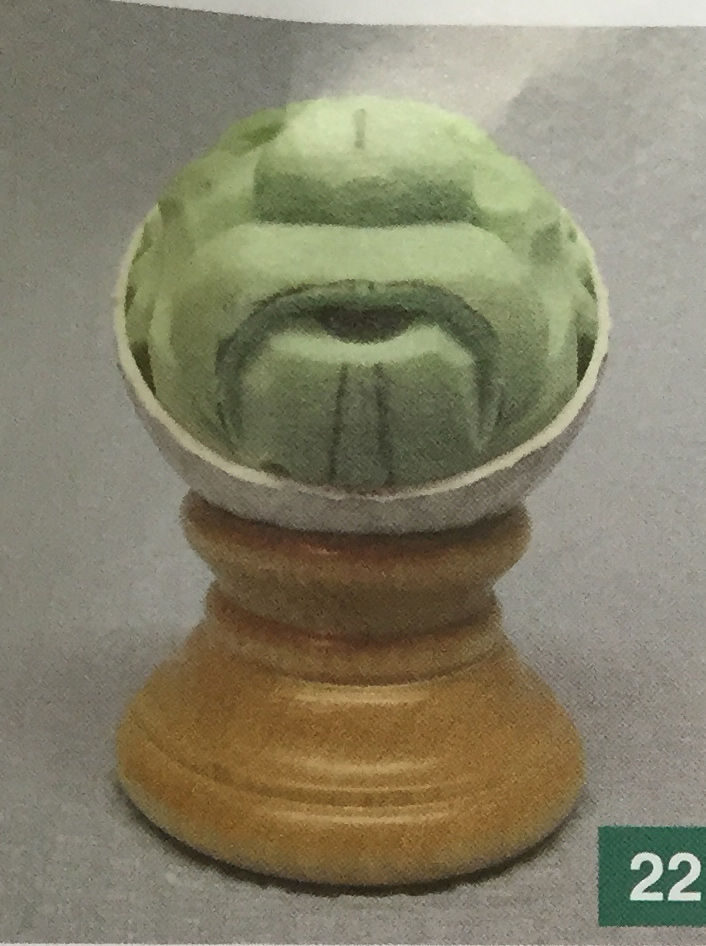
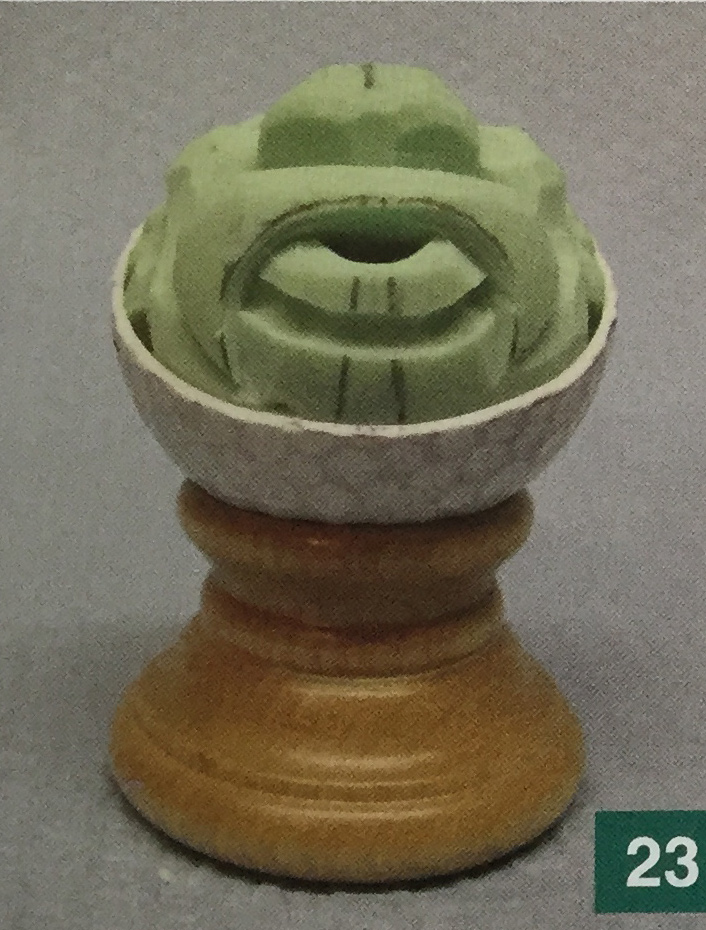
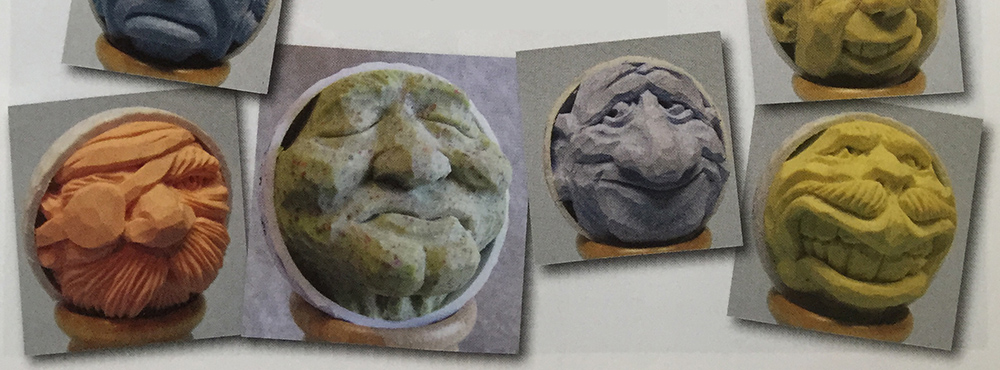
Here are photos of the finished piece and additional expressive golf bail carvings.
About the author
The author of this carving project is Dale Kirkpatrick. Here is what Dale says about himself:
I live in a Pittsburgh suburb and have been carving for 35 years. I’ve taken classes to study realistic human and caricature subjects. I carved my first golf ball in 1993. I am a member of Chisels and Chips Carvers, a Pittsburgh club, and the Conewago Carvers of East Berlin, PA.
Read our latest articles at Carving Magazine homepage.
