
Combine carving, woodburning, and painting to make an adorable animal
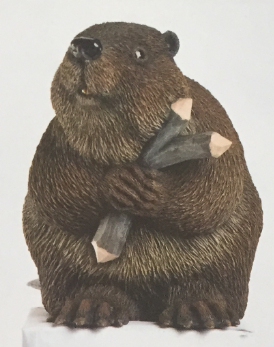
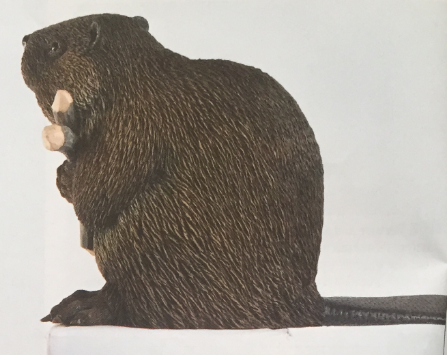
Despite all the jokes—and after teaching this project for over a year, I have heard them all — the beaver is unquestionably an adorable animal. The beaver is truly an amazing animal and has become a beloved mascot of many. I call my beaver Justin.
BEAVER: ROUGHING OUT THE PROJECT
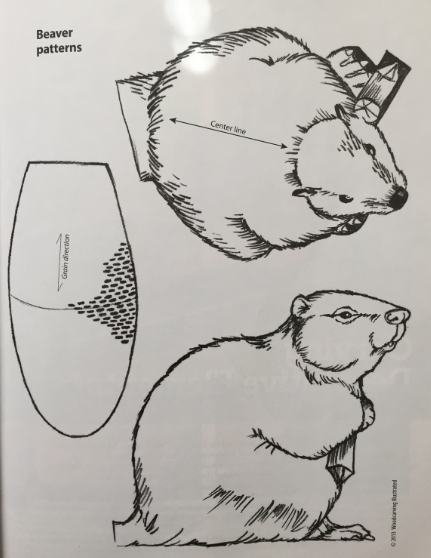
Rough out the beaver. Use the pattern as a guide to cut the basic shape of the beaver and the tail. Use a 1/2" (13mm) #3 gouge to round the sharp corners and form basic planes for the beaver body. Draw the forearms and stick, and shade the areas to remove.

Establish the forearms and stick. Use a knife to remove wood from below the forearms and in the stick area. Keep the shapes simple for now.

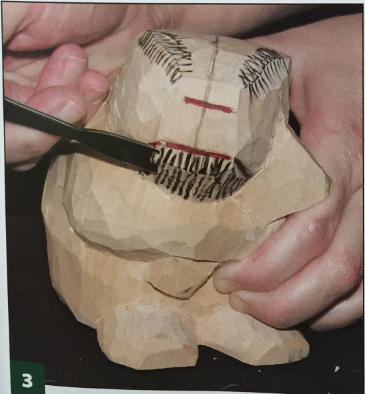
Carve the major head features. Remember the head is slightly turned as you draw a centerline down the head. Mark the location of the nose and lower jaw; I use a red marker. Shade the areas to remove and use the #3 gouge to remove wood from each side of the head and below the jaw line.
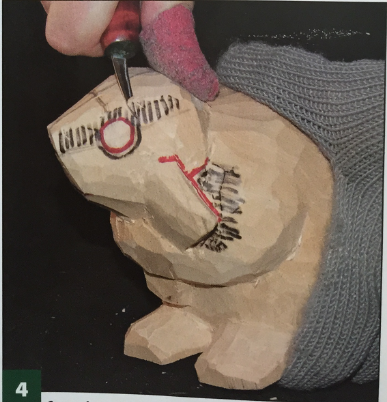
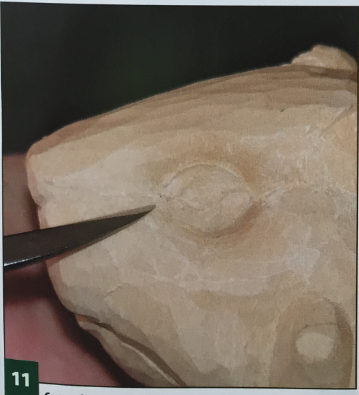
Carve the rough eye mounds. Draw circles for the eyes, making sure they are positioned symmetrically on the head. Beavers' eyes are close to the top of the head and centered between the nose and ears. Use the knife to remove wood from the top of the sides of the head to separate the eye mounds from the head, and then round the eye.
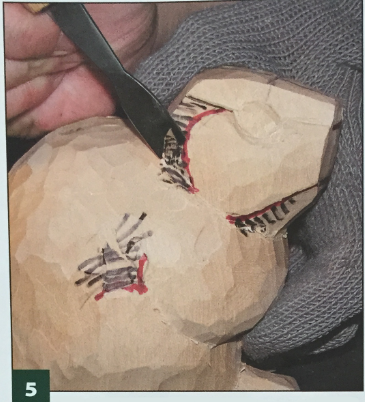
Rough out the ears. Draw the basic ear shapes, and shade the areas behind the ears to remove. Carve away the excess wood with the #3 gouge. Then, round the cheek and haunch areas with the same tool.
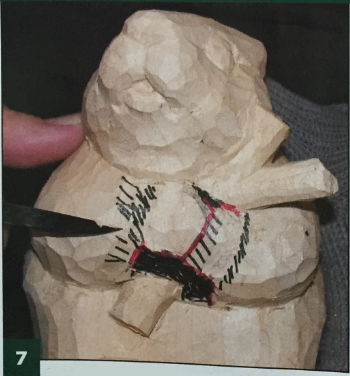
Rough out the muzzle. Draw the simple divisions of the muzzle. Use the knife to carve V-shaped grooves on the lines and then remove wood from the bottom jaw area. Draw the lips and remove a small amount of wood from within the mouth area. Remove wood from behind the muzzle and round the area into the neck and body. Round the muzzle and nose.
BEAVER: CARVING THE DETAILS
Carve the stick. Draw the shape of the stick. Keep the top and bottom of the stick on the same plane. Use the knife to remove wood from around the stick to separate it from the forepaws.
Draw the basic shape of the front paws and remove a little wood to separate the paws from the forearms.
Separate the ears. Use the centerline as a guide to draw the ears and shade the area to remove between them. Carve away the wood between the ears with the knife.
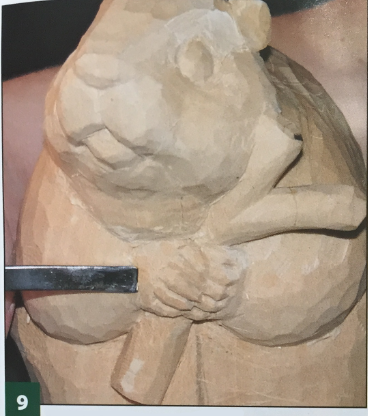
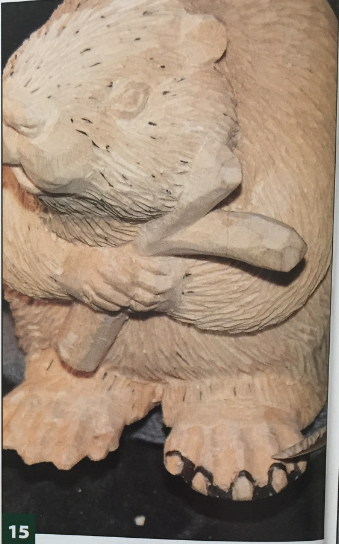
Carve the front paws. Draw the lines separating each paw into five digits. Use the knife to carve a V-groove on each line and round the individual digits. Use a 1/4 (6mm) #3 gouge to taper the back of each paw back to the wrist.
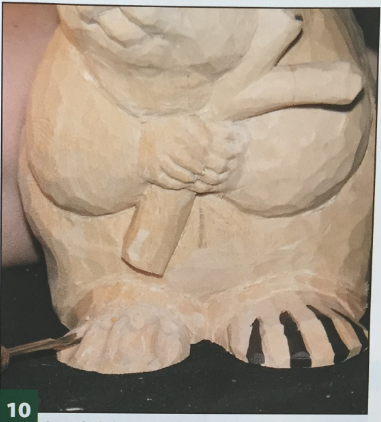
Carve the belly and feet. Use a knife to round the belly down to the rear feet. Carve a slight ridge on the feet to suggest that the fur overlaps the rear feet. Draw four separations to create five digits on the rear feet. Carve along the lines with а 5/32" (4mm) micro gouge. Round the digits with the 1/2 (13mm) #3 gouge.
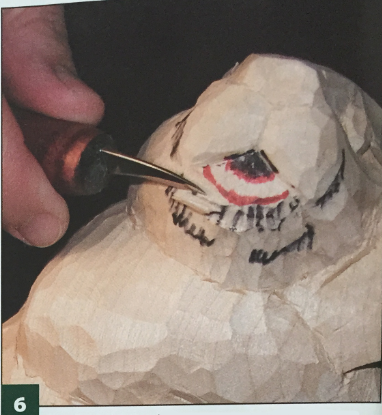
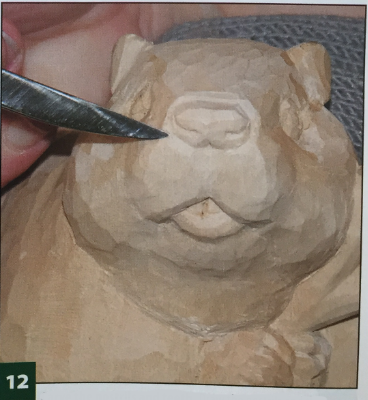
Carve the eye details. Draw the eyelids and exposed eyeballs between the lids. Use the knife to make stop cuts along the lines and carve up to the stop cuts to separate the eyeballs from the eyelids. Reduce the thickness of the lower eyelids so they tuck in under the upper eyelids.
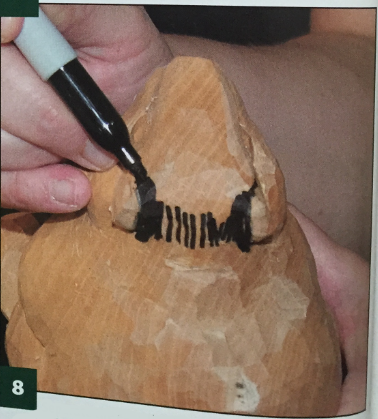
Carve the nostrils and teeth. Draw the nostrils and the divisions between the teeth. Carve the nostrils with a knife. Then, use the knife to carve V-grooves to separate the teeth inside the mouth
.
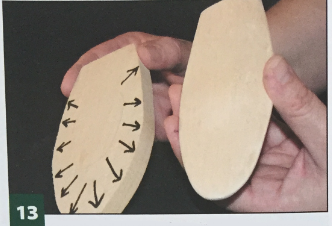
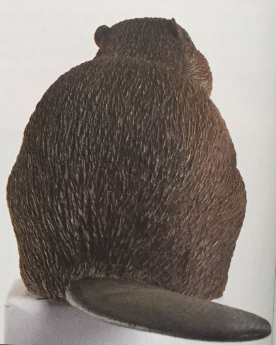
Carve the tail. Use the knife to round the sharp corners and reduce the thickness of the tail so it has a large oval attachment point at the base, but it gradually gets thinner on the sides and at the back. Sand the tail with 220-grit sandpaper.
BEAVER: ADDING THE TEXTURE
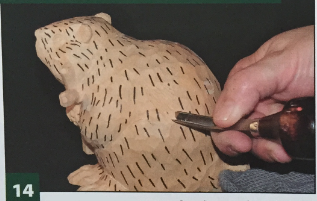
Carve the rough fur texture. Draw lines to indicate the fur flow. Carve the fur texture with a 1/4 (6mm) V-tool. Do not carve the fur texture on the tail, ears, feet, or muzzle.
Carve the toe and ear details. Draw the claws and make stop cuts along the lines with the knife. Remove a little wood from the claws to separate the claws from the toes. Use the 5/32 (4mm) micro gouge to scoop out the inside of the ears.
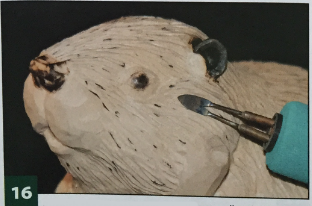
Burnish the smooth elements. Use a woodburning tip with a flat surface, such as a shader, and set the burner to a low heat. Use the flat tip to burnish the smooth claws, the webbing between the toes on the feet, the eyeballs, the nose, and the ears.
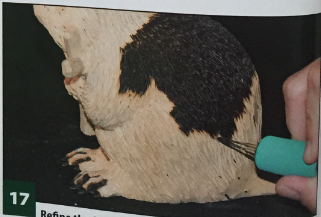
Refine the fur texture. Use a woodburner with a skew tip set at a high temperature. Use the V-tool grooves as a guide to burn more texture. Draw the fur track direction on the muzzle and feet (not the webbing between the toes) and burn the fur texture in those areas as well.
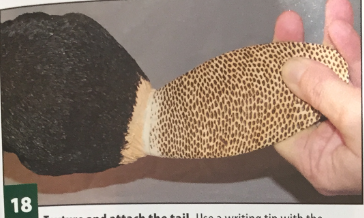
Texture and attach the tail. Use a writing tip with the burner set at a low temperature. Burn a scaly oval pattern on the tail. Use wood glue to attach the tail to the beaver's rump. Make sure the glue joint is tight. After the glue dries, sand the connection point and burn the final texture details.
BEAVER: PAINTING THE BEAVER
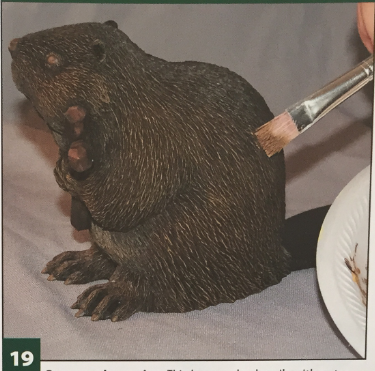
Basecoat the carving. Thin burnt umber heavily with water and apply the wash to the brown parts of the beaver. Thin ivory black and basecoat the tail, webbing between the toes, and claws. Basecoat the belly and muzzle with a mixture of equal parts burnt umber, unbleached titanium, and cadmium yellow. Allow the carving to dry fully (see Tip).
TIP: MAKING A DRYING BOX
Cut a hole in the top of a cardboard box to accommodate a hair dryer and cut a door flap in the front of the box. Put a wet painted carving inside the box, insert the hair dryer in the hole, and work on something else while the paint dries. You can dry more than one carving at a time inside the box.
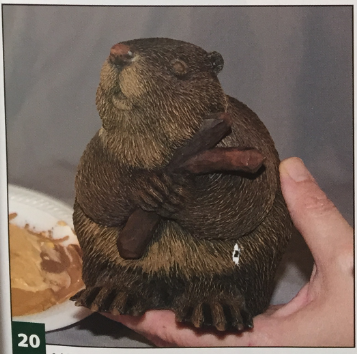
Add the shadows and highlights. Thin ivory black and apply this from the top of the head to the base of the tail, and any other shadowed areas. Mix undiluted burnt umber, unbleached titanium, and a touch of both cadmium red and cadmium yellow with a palette knife, and dry-brush the mixture on all of the fur except the belly and muzzle. Add a little more unbleached titanium and cadmium yellow, and dry-brush more highlights onto the same area. Add more unbleached titanium and cadmium yellow to the mixture, and drybrush the belly and muzzle. Apply this mixture to the tips of the claws. Dry-brush unbleached titanium onto the muzzle and belly.
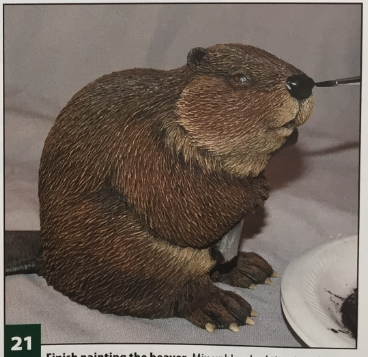
Finish painting the beaver. Mix unbleached titanium, burnt umber, and ivory black with a palette knife and dry-brush the tail. Thin this mixture and paint the stick. Allow the paint to dry, and then thin ivory black and apply it to the tail to tone down the dry brushing. Dry-brush the stick with unbleached titanium. Paint the eyes and nose with ivory black. Mix ivory white with a little cadmium red and cadmium yellow and paint the teeth. Allow the paint to dry, and then carve the stick ends to points to expose the unpainted wood. Apply Mod Podge to the eyes, nose, and teeth to make them shine.

MATERIALS
- Basswood, 4" (102mm) thick: body, 5" x 5" (127mm x 127mm)
- Basswood, Vi (13mm) thick: tail, 2 1/2" x 5" (64mm x 127mm)
- Acrylic paint, such as Liquitex heavy-body: unbleached titanium, burnt umber, cadmium red, cadmium yellow, ivory black, ivory white
- Mod Podge
TOOLS
- Knife, such as a Ounkle bench knife
- #3 palm gouge: 1/2" (13mm), 1/4" (6mm)
- V-tool: 1/4" (6mm)
- Micro gouge: 5/32" (4mm) such as Dockyard G4
- Variable-temperature woodburner with tips: shader, spear, skew, writing
- Palette knife
- Paintbrushes
- Hairdryer
The author used these products for the project. Substitute your choke of brands, tools, and materials as desired.
By Leah Goddard
Leah Goddard lives in Sarasota, Fla. She is a fulltime artist and woodcarving instructor, and the author of articles and the book Carving Nature's Rascals: Wood Carving an Armadillo, Skunk, Mouse and Raccoon. Leah teaches woodcarvingat home and around the country.
