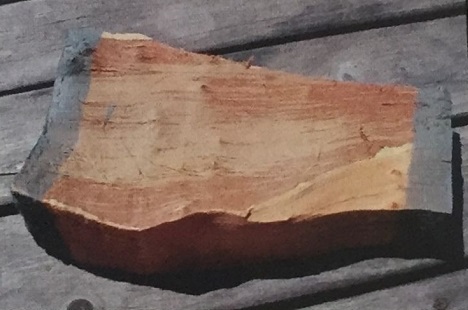
Here in central New England, willow trees are plentiful. Many were planted because they grow quickly and can dry up excess water on your property. The trouble is after 30 years or so, the roots start to chew up driveways and cause all kinds of trouble. They also seem to have a difficult time with tough storms. The happy result is that if you've got a chainsaw, there's plenty of willow available for nothing except the sweat of bucking the logs sawing the billets.
ABOUT THE AUTHOR
Robin was born and raised in the heart of New England. In between helping his lovely wife Joyce raise their four children, Robin has been President of the New England Wood Carvers. Robin is a member of the National Wood Carvers Association and an avid kayaker.
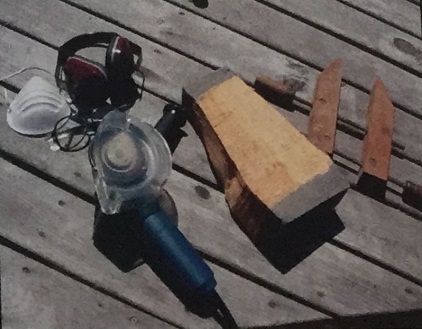
Carving Tools Needed:
- Arbortech Mini Grinder
- Arbortech Pro Grinder
- Ear, eye, and dust protection
- Bandsaw Clamp
- We Cheer reciprocating tool
- #3 1" gouge
- #7 1" gouge
- #11 1/4" veiner
- Bench knife
- Olive oil
Back in the day, willow was used for making charcoal and artificial limbs. It is a light wood with visible grain that carves a bit like basswood.
Seasoning willow can be difficult because of the high water content. I aquired the willow wood used for this project four years ago. I cut the log section into carving blocks and sealed the ends with latex house paint. I put them in direct sunlight, which is generally a no-no. I did however turn the wood every four hours and sheltered it from the rain. After a couple of months of this treatment I moved the pieces downstairs to further stabilize.
When I had a look at the stock recently I was pleased to discover that I really didn't have much checking. I don't know if it was the paint or the turning in the sun. Most likely it was because the tree was felled in iate winter when the sap was down.
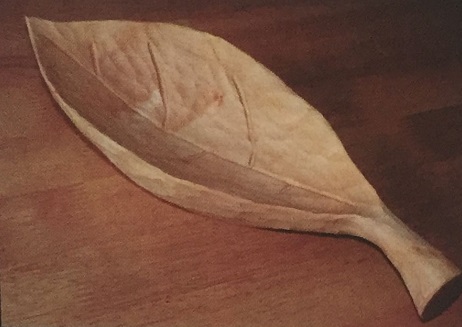
I selected a nice piece thick enough for a stylized leaf bowl I had been thinking about.
I could certainly put this piece in the vice and take several hours quietly shaping it with traditional gouges. I wanted to complete the project the same morning I started, so I decided to use my Arbortech Mini Grinder and my Arbortech Pro Grinder. I brought my gear, including ear, eye, and dust protection, outside to spend a sunny morning power carving.
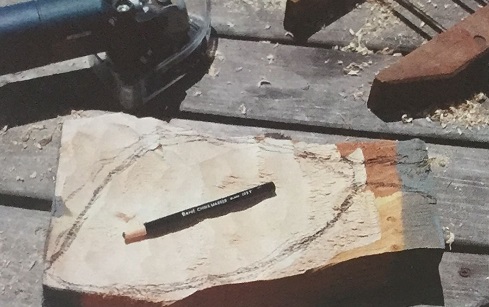
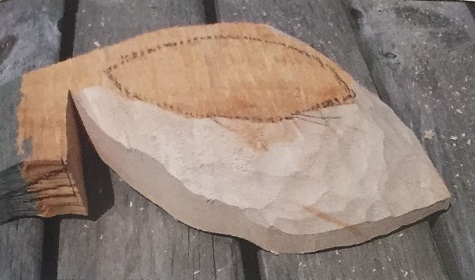
1. The Arbortech Pro Grinder is a great tool for roughing out. I used it to flatten the surface that I decided would be the top of the bowl. Once it was flat enough, I drew a stylized leaf shape.

2. I also marked the sides of the bowl.
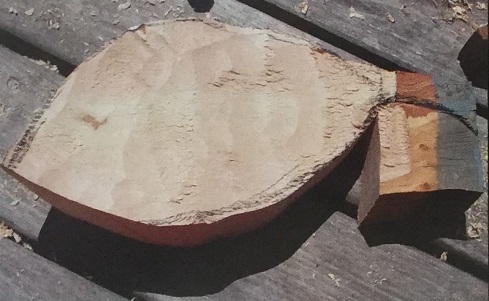
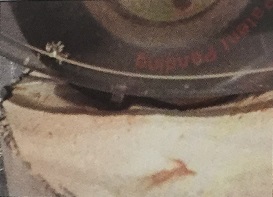
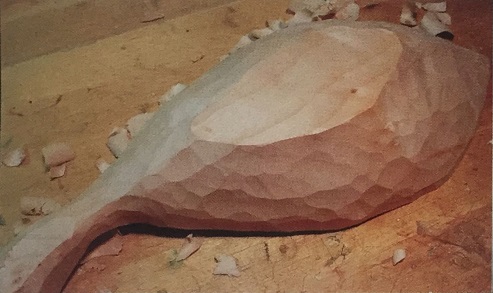
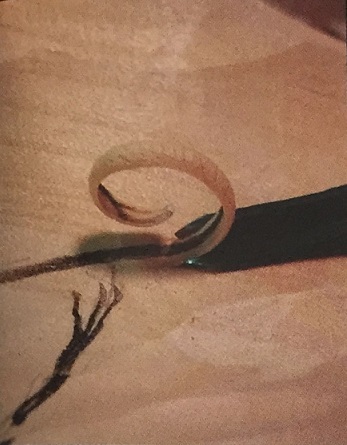
3. A trip to the bandsaw roughed in the shape. I left a chunk of wood attached to the handle to protect it and to give the clamp a place to grab without getting in the way.
4. I've been a long time fan of the Arbortech and have had the pleasure of watching Alastair Mitchell, one of the company representatives, show off the products. The Arbortech Pro Grinder has a wheel with three tungsten teeth. The teeth are held in place with a set screw and can be turned to reveal a fresh cutting surface if they become dull. The teeth extend 1 mm or less above the wheel, so there is surprisingly little grab. Essentially the tool is three #9 1 /4" gouges attached to a wheel moving at a phenomenal rate of speed. This tool makes short work of what would take an hour or so with a traditional gouge.
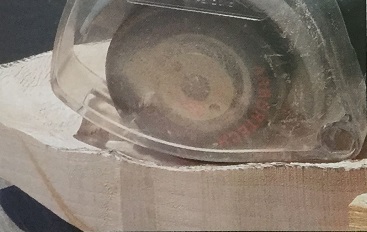
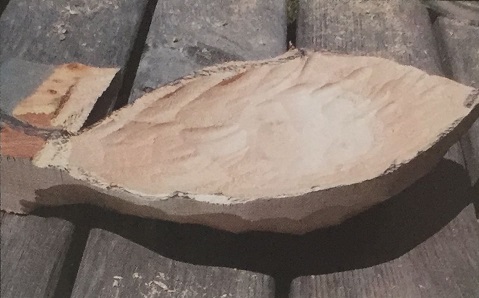
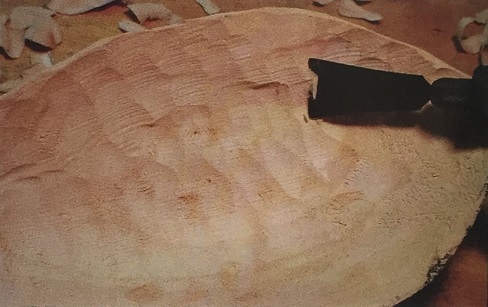
5. I clamped the carving to my work surface and started to carve the hollow of the bowl. The Arbortech Pro Grinder will carve at any angle, but if you carve with the grain, the results are much better. A careful hand can produce a surface that looks like it has been carved by hand tools.
6. It took about 5 minutes of work to get the holloa as far as I could go with the Arbortech Pro Grinder.
7. I removed the clamp and flipped the bowl over to get at the underside. I drew a rough oval on the bottom. I left this spot uncarved and tapered from the line up to the edge of the bowl. Again, it only took a few minutes to get the shape I wanted.
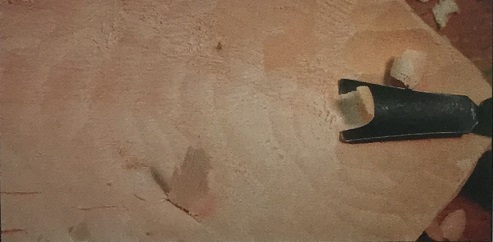
8. The Arbortech Pro Grinder was too big to continue carving inside the bowl, so I switched over to the Arbortech Mini Grinder.
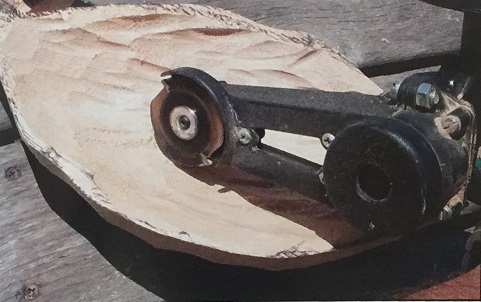
9. The Mini Grinder does not move as much wood because the blade is smaller, but there is a much higher degree of control.
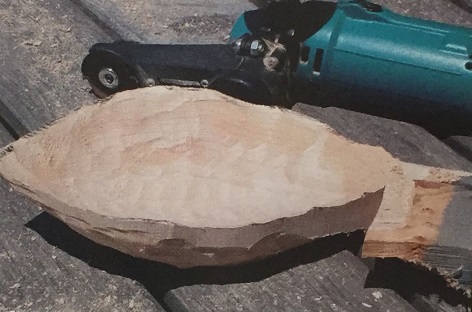
10. The bowl was completely roughed out. The total time from block of wood to this point was about 20 minutes.
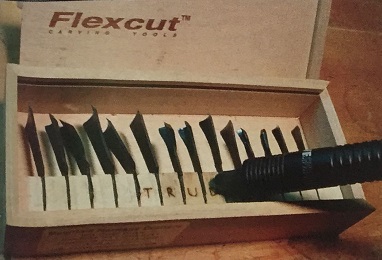
11. I decided I wanted a hand-carved look for the bowl, but still wanting to finish the project that morning, I picked up my We Cheer reciprocating tool and my assortment of Flexcut blades.
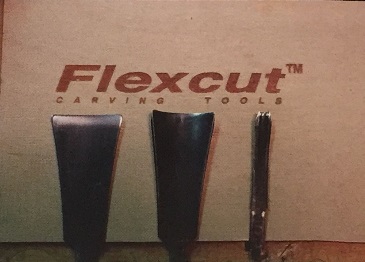
12. This project needed only three tools: #3 1" and #7 1'' gouges and #11 1/4'' veiner.
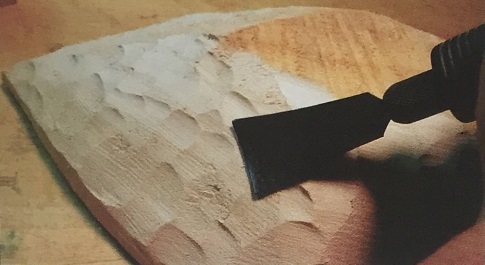
13. The #3 1" gouge was perfect for carving off the power tool marks.
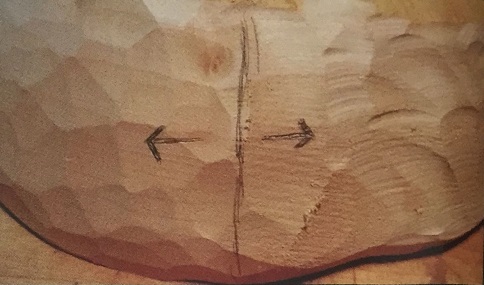
14. At the highest point of the outside of the bowl, the grain changes and I had to switch hands. The same thing happens at the low spots on the inside of the bowl.
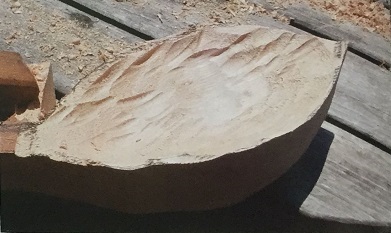
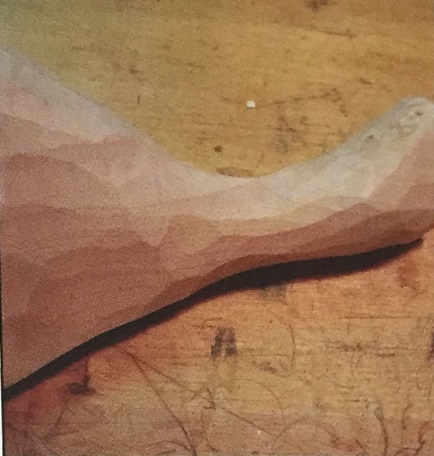
15. The surfacing of the outside of the bowl is completed. Before I started on the inside of the bowl, I carved off the chainsawn surface to make the bottom of the bowl nice and flat.
16. I started working on the inside walls of the bowl with the #3 1'' gouge.
17. As I worked my way closer to the center of the bowl, I switched to the #7 1" gouge. The grain changes direction at the center of the two walls, at the leaf stem side, and at the point of the leaf. The grain also becomes difficult to manage at the bottom of the bowl. Careful carving will leave a nice surface, but sometimes a spoon gouge helps.
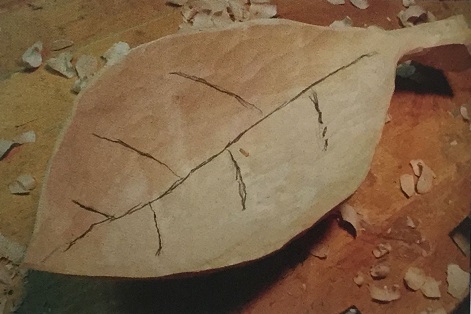
18. After touching up the inside of the bowl, I drew in the veins of the leaf.
19. I used the #11 1/4" veiner to set in the veins. I carved the veins towards the center line first and then carved the center line to hide any overcutting.
20. I trimmed the clamping area off the stem on the bandsaw. As there was no way to clamp the bowl down without damage, I used a bench knife to carve the stem. I frequently checked the stem to see if it made a comfortable handle and made changes as necessary.

21. Here the carving of the bowl is completed.
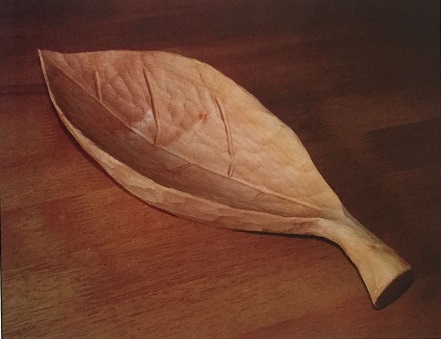
22. If the bowl was to be a decorative piece, any finish would be fine, but since this bowl may be used for food, I finished it with a bit of olive oil. Willow is a very thirsty wood, so several applications may be necessary.
