This project could be completed in many different types of wood. It should be a hardwood but harder (and more attractive) than basswood. Any of the furniture-grade hardwoods, such as cherry, mahogany, walnut, or others like these, would be good. Because the design is so simple, a figured wood or one with very visible grain should be avoided. The wood could be glued up to attain the required width but a single board is preferred.
The shell design that is used here is a traditional design that is very easy to carve. To carve just the shell part, you only need a V-gouge and a back bent gouge.
The dimensions of the blank are 12" wide by 18" long and 1 ” thick. As is the case in all relief carvings, the sapwood side of the board is down (see note).
Note:
When you look at the end of a board, the end grain, you can usually see the growth rings of the tree. Under ordinary circumstances, the natural tendency of a board that has been flat-sawn from the log (as opposed to quarter-sawn) is to cup in such a way that those growth rings will appear to want to straighten themselves out. In other words, it will cup toward the sapwood side. This is because the sapwood side will usually contain more moisture, and as it dries, it will shrink more than the drier heartwood side, resulting in a cupped board.
When you carve a relief image in a board, you create many, many freshly exposed end-grain surfaces. This increased end-grain surface area will result in greater moisture loss on that side of the board, causing it to cup on that side. You may have experienced this already.
If you carve on the sapwood side of a board, the moisture loss will be compounded by the board’s natural tendency to cup to that side. But if you carve on the heartwood side of the board, there is a good chance that the two eff will cancel each other out, so that your board will stav So remember, "carve the heart" and use fully seasoned wood.
The Project
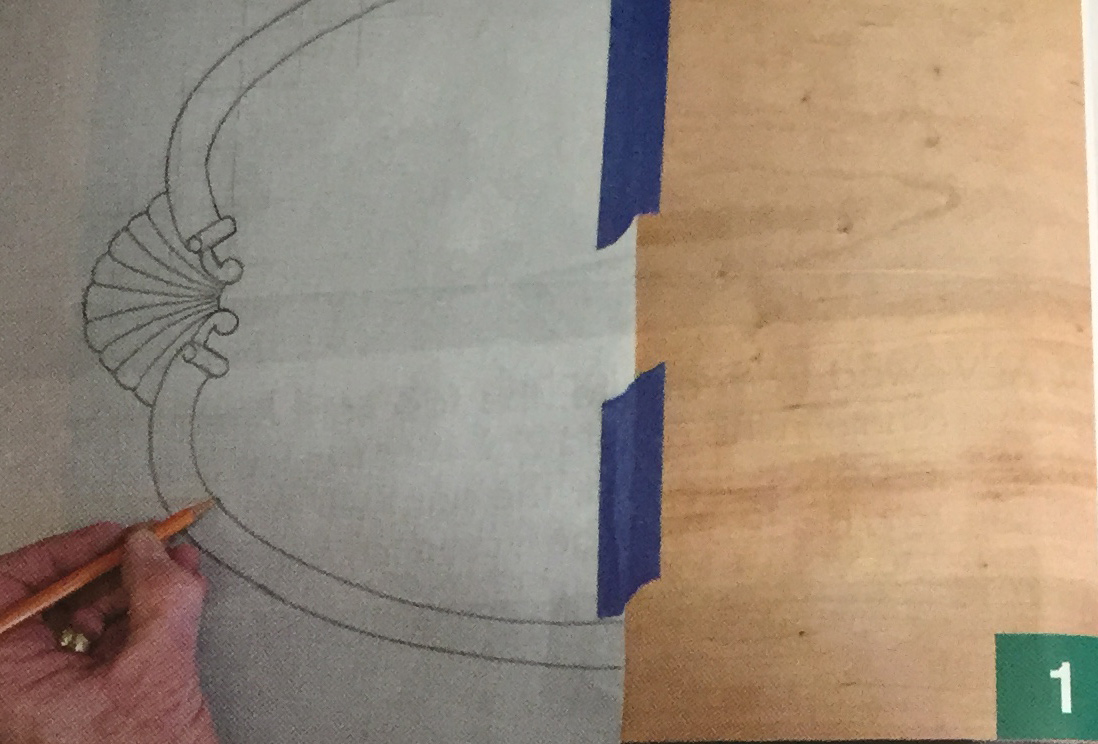
1. The image is transferred to the prepared cherry board. c A half-pattern is all that is needed since the tray is symmetrical. Use a centerline as a reference to line up the c two half-patterns.
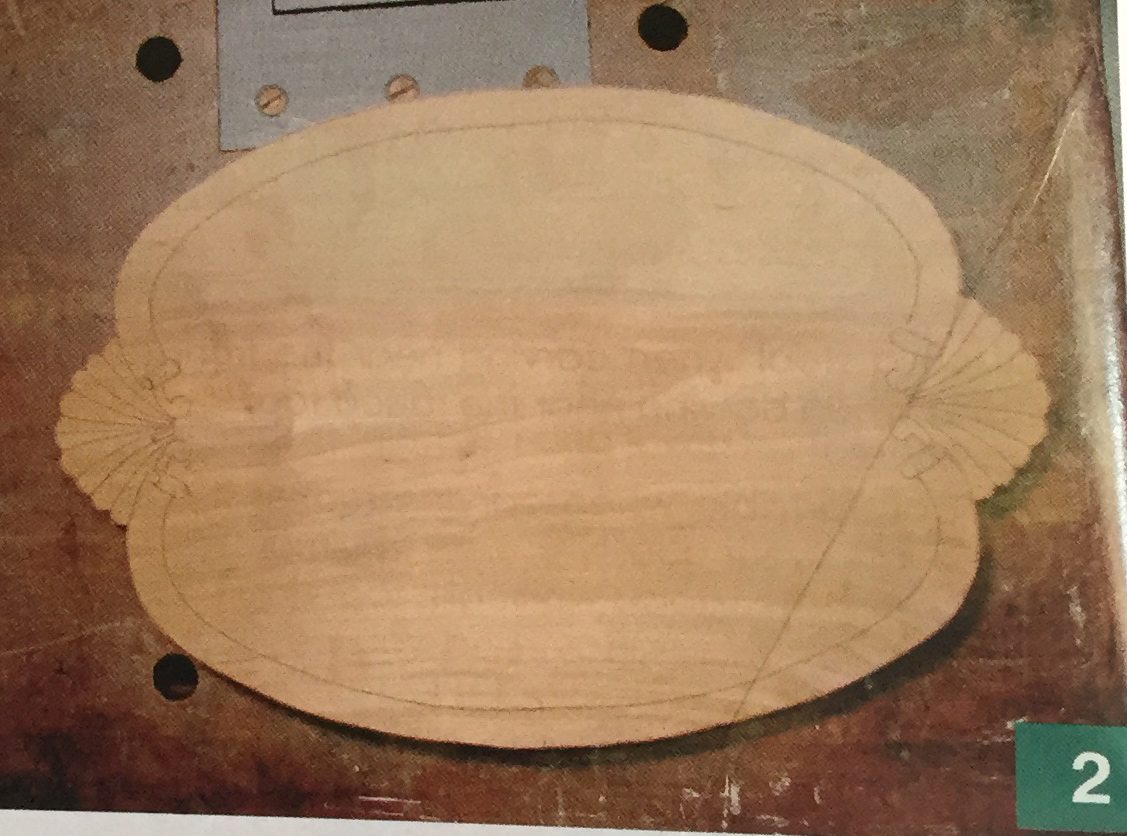
2. A bandsaw is used to cut out the drawn pattern. Attach the blank to a backer board with screws. The screws are countersunk through a sheet of plywood from the bottom They enter the bottom of the tray into the underside of the shells. Use the backer board to clamp the workpiece to the workbench.
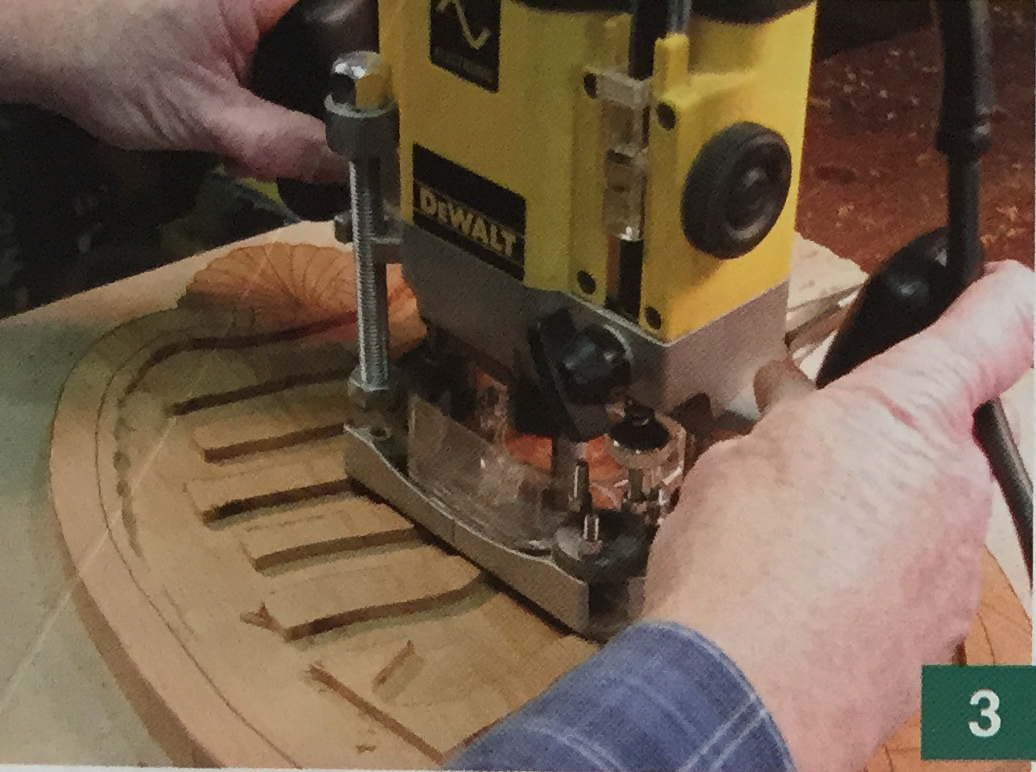
3. Use a plunge router to remove the waste from the top surface of the tray. Leave the bottom of the tray about 1 /4" thick. The routing process should be done in at least two passes, depending on the size of your router. This waste could also be removed by hand using gouges and depth gauges. Note in the photo the rows of wood that are left for the router to ride on. Using a power tool, such as a router, can speed up the job considerably, but keep in mind that it can also ruin the piece in an instant. Route as close to the drawn lines as you feel comfortable.
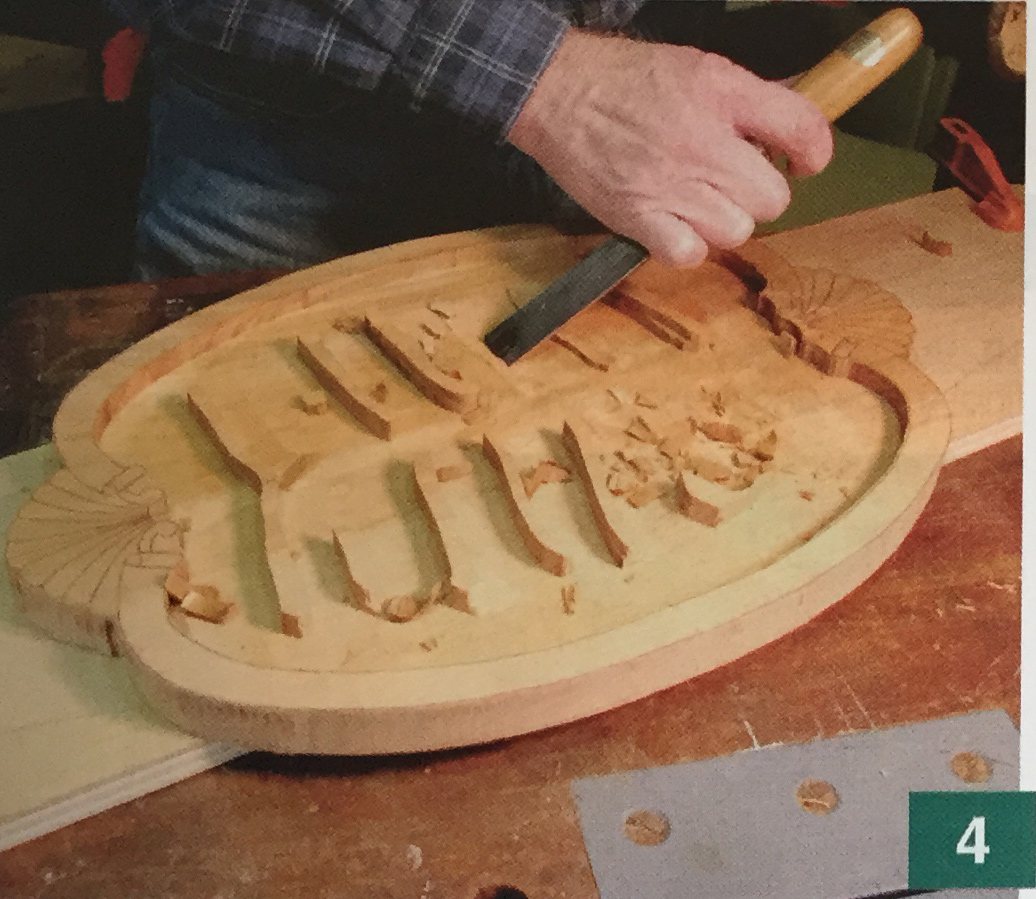
4. Using a #5-20 to 25mm gouge, remove the waste left behind by the router. Finish up with a wide #3 gouge. Pay close attention to the slant of the grain so that the wood does not splinter out ahead of the gouge.
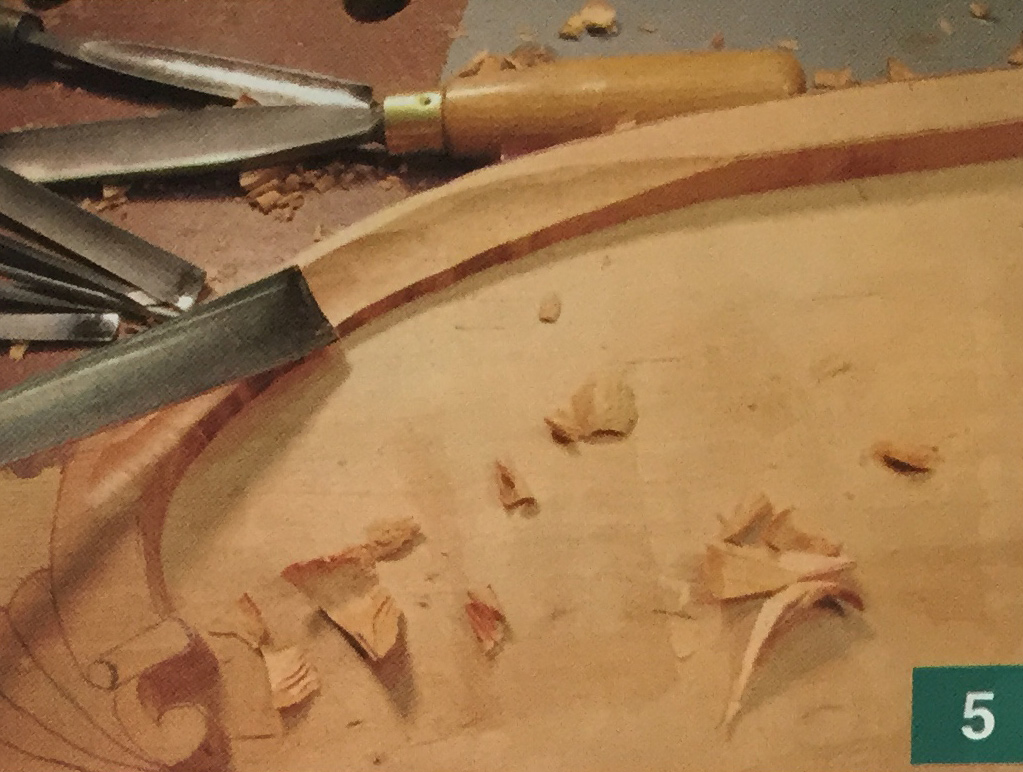
5. Draw a line about 1/8" from the outside edge on the top rim. Use a #5-20mm gouge to taper the rim of the tray from the drawn line down to about 1/16" from the bottom.
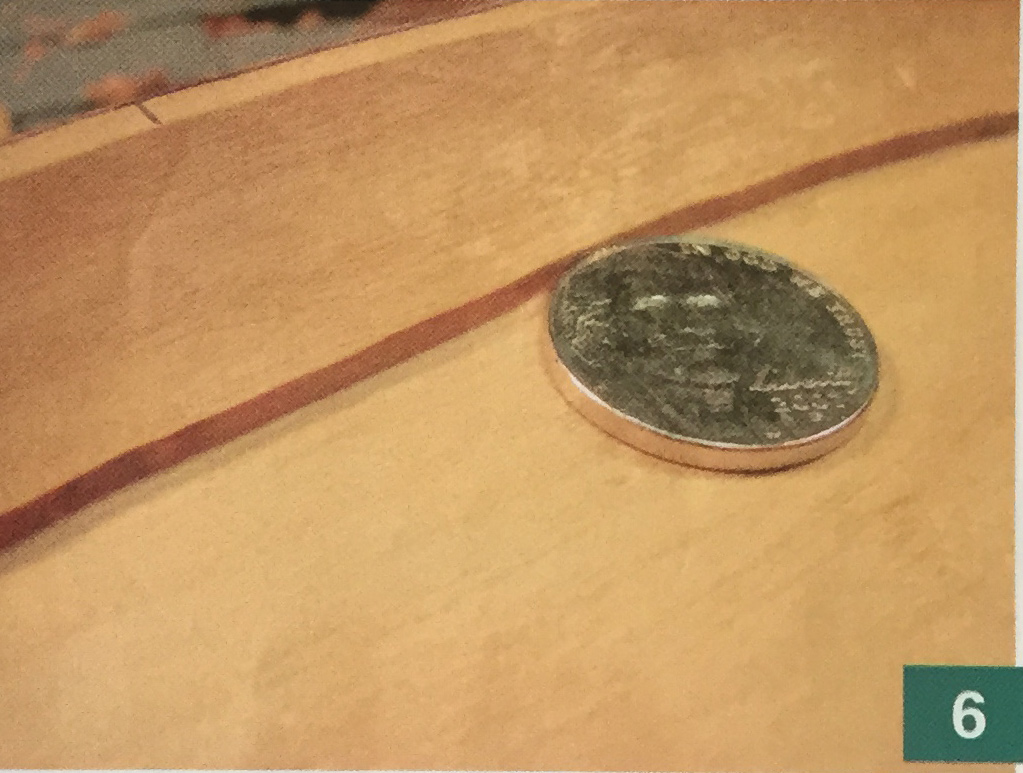
6. The rim is left concave. Let the shape of the gouge determine this contour for you. The thickness of a nickel is about right for the start of this curve from the flat surface of the tray.
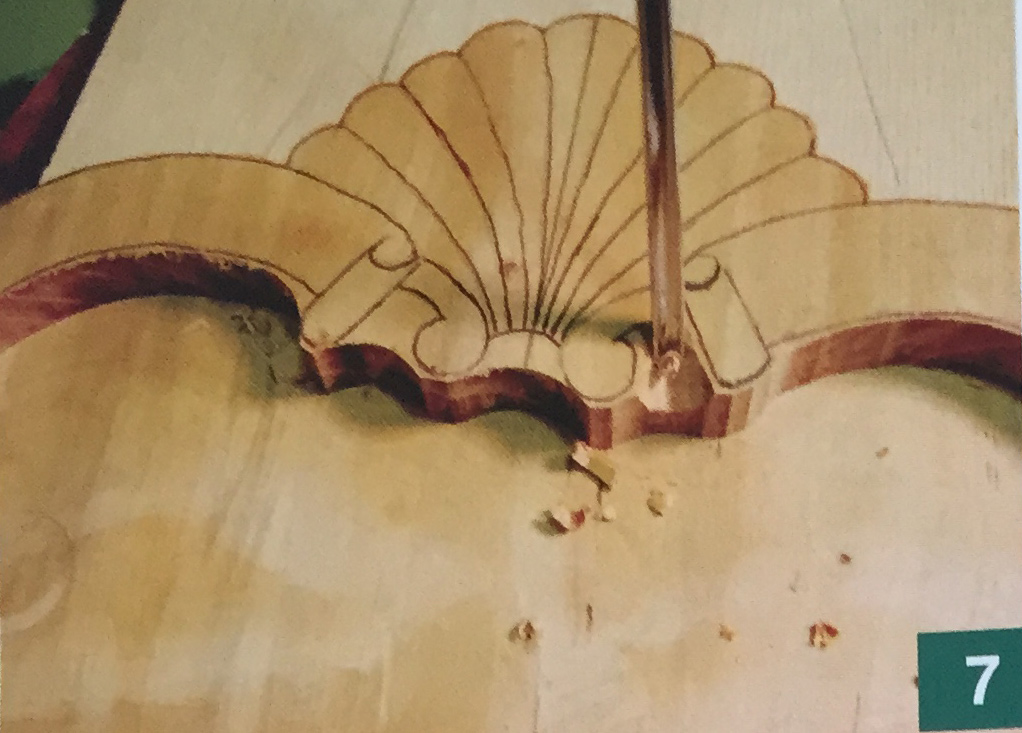
7. The router bit follows the shape of fhe rim closely. The remaining waste below the scroll and the shell must be removed by hand. Use a 4mm quick gouge* to remove the bulk of the waste. Set in the design and clean up with a variety of small gouges.
* The term "quick gouge" refers to a deep gouge (usually a #9 to a #11 sweep) that by design will cut deep and, thus, remove wood quickly.
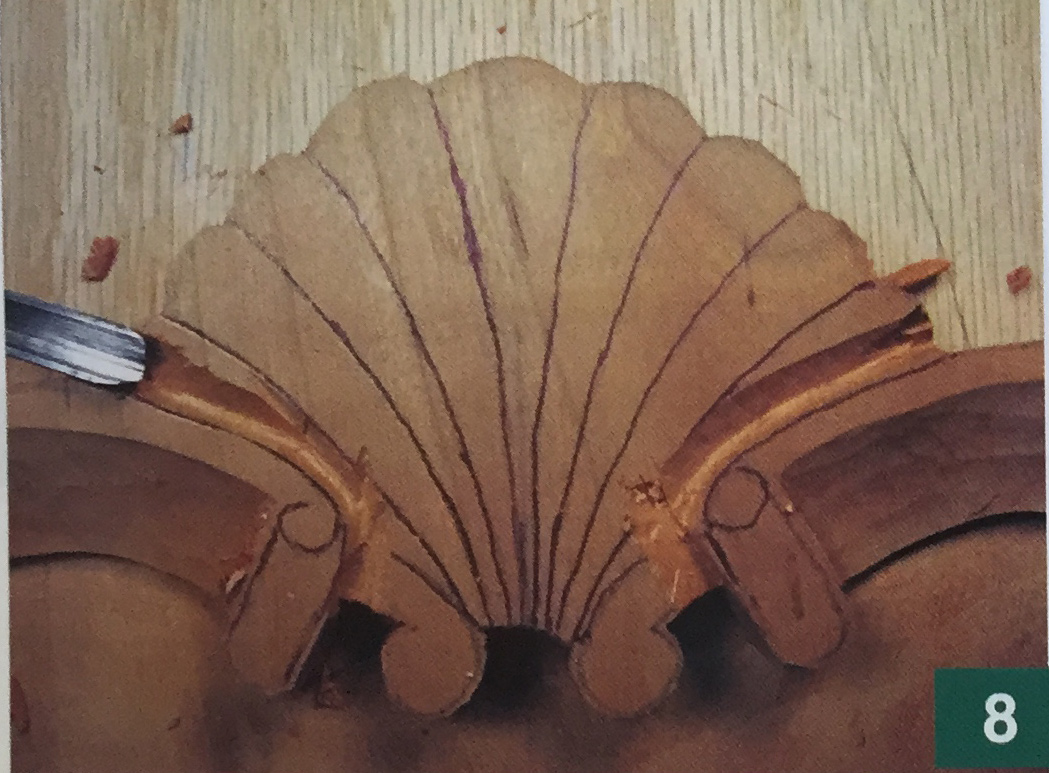
8. A V-tool is used to outline the rim along the shell.
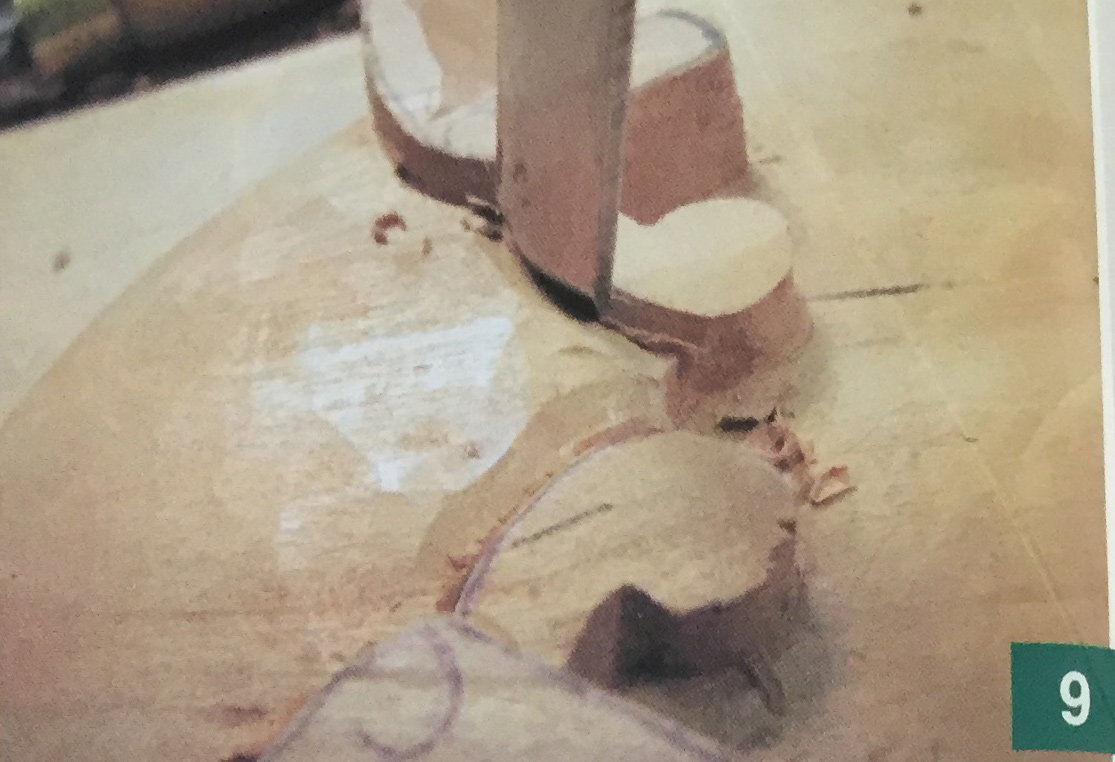
9. Set in with gouges that follow the various curves.
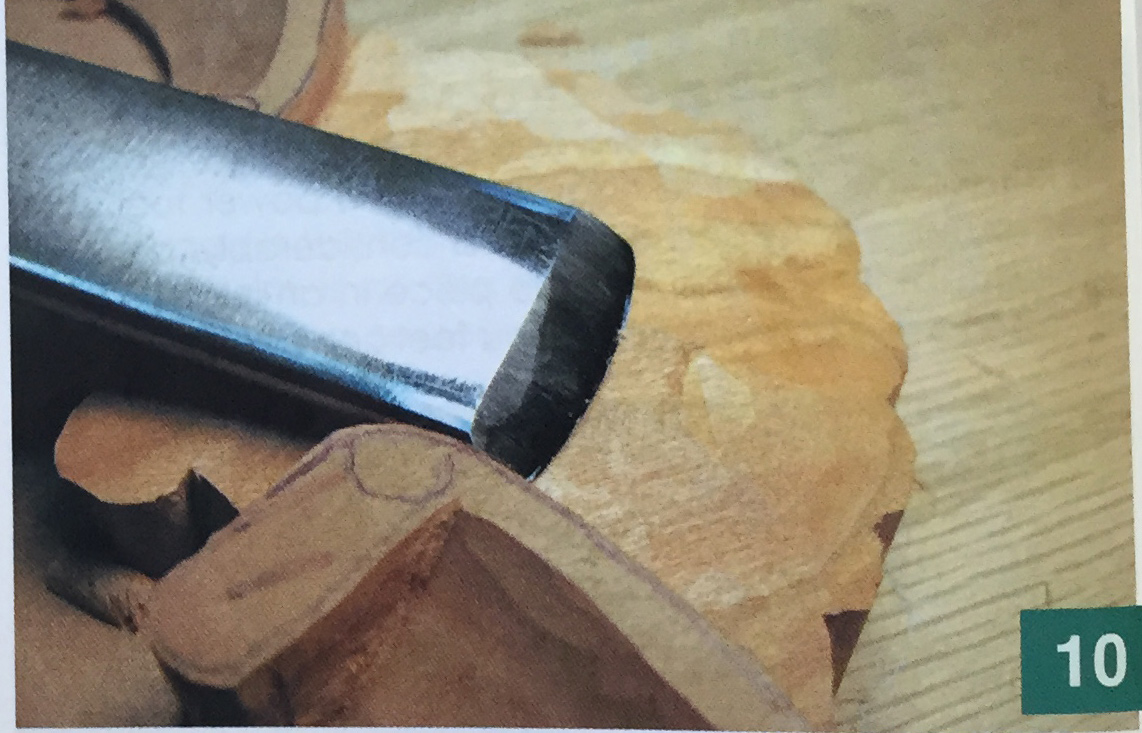
10. Use an inverted #3-20mm gouge to give the shell its final shape and leave a smooth texture.
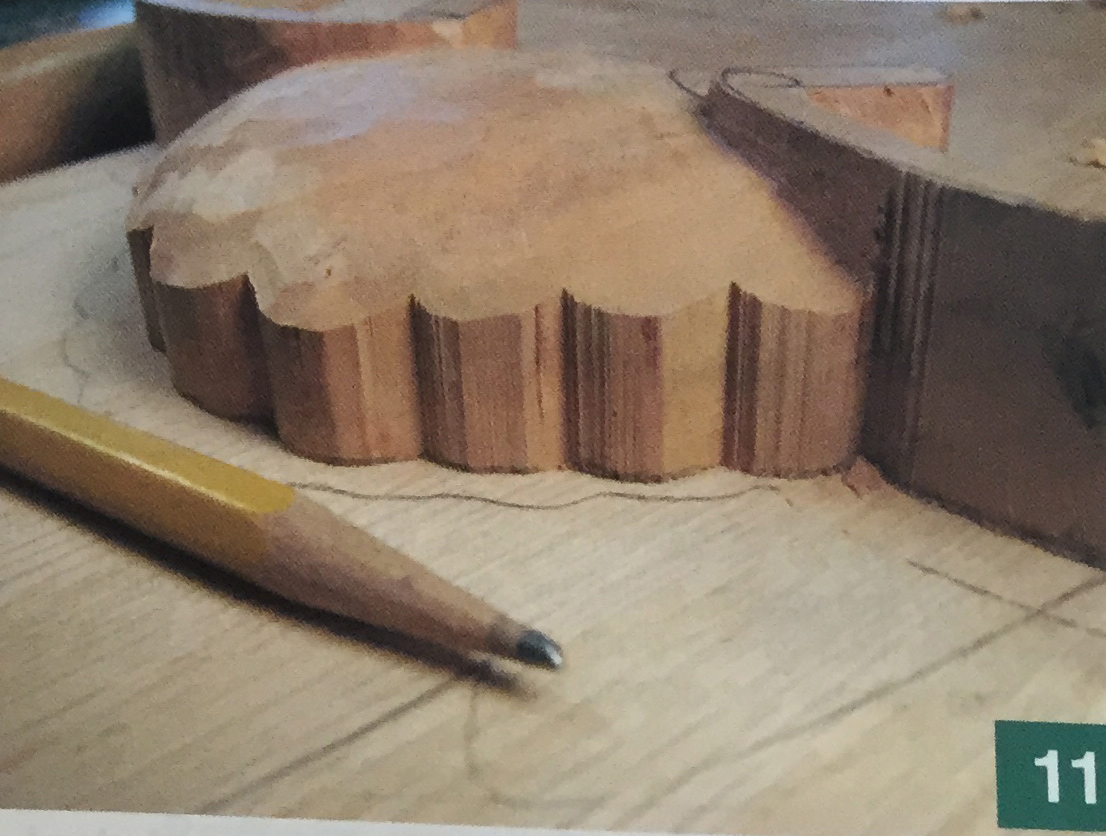
11. This is the shell’s final shape. Do not taper the shell all the way down, because it will be carved from the back side later.

12. Redraw the lines on the shell and carve along them vvith a V-tool.
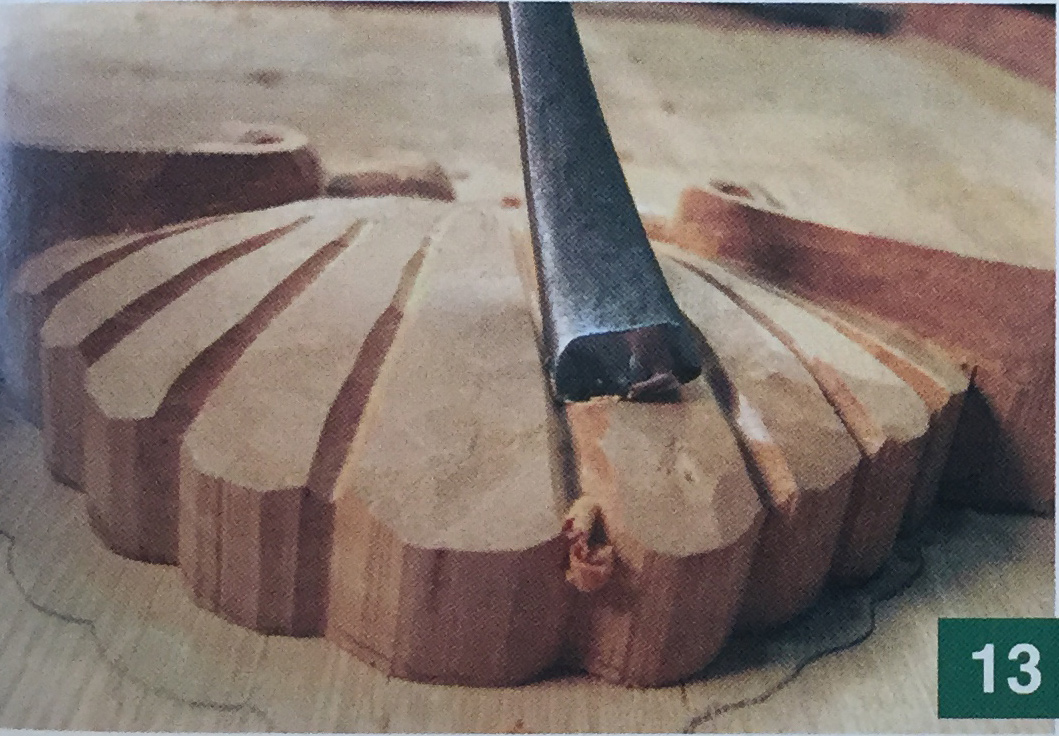
13. The rays of the shell are rounded with a #5-1 Omm back bent gouge.
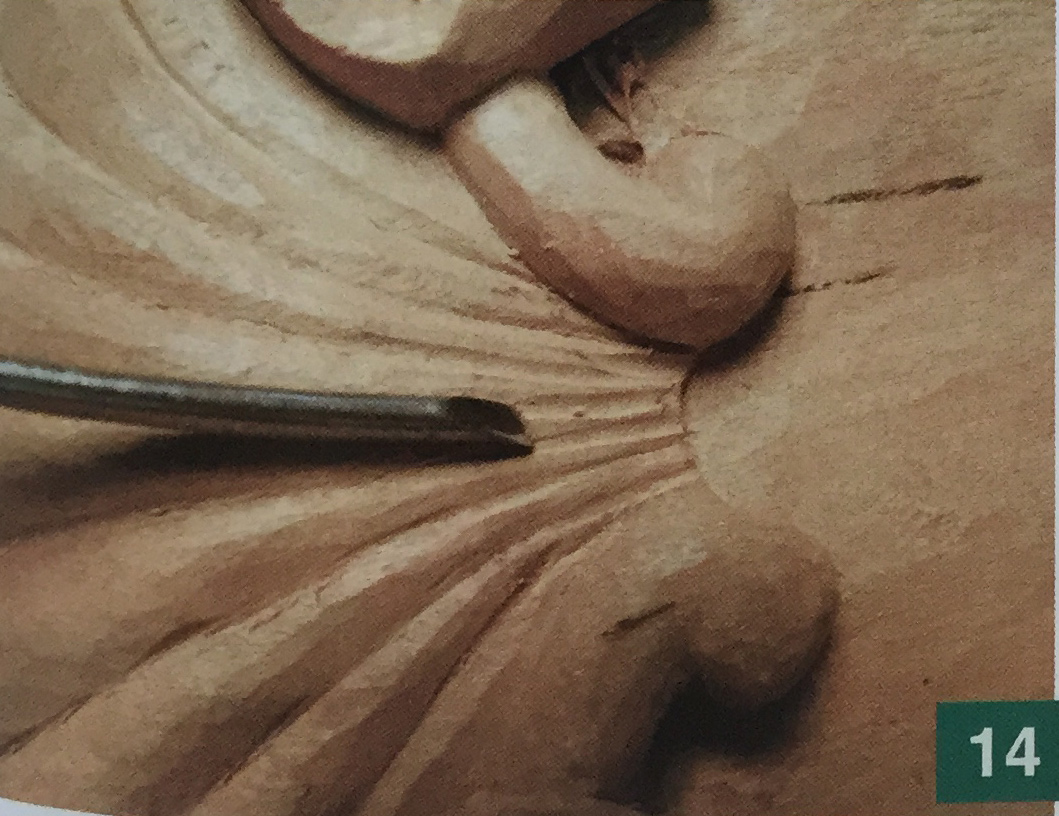
14. The rays of the shell become very narrow and very close together at the bottom—2mm gouges are helpful to carve this area cleanly.
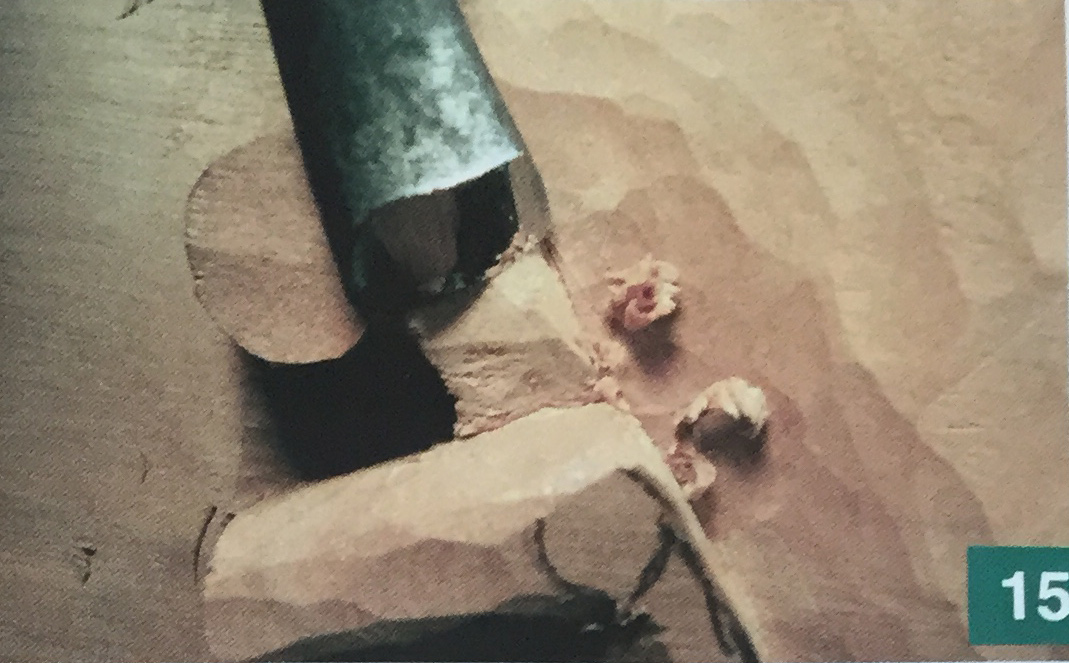
15. The same back bent gouge is used to round over all the other details.
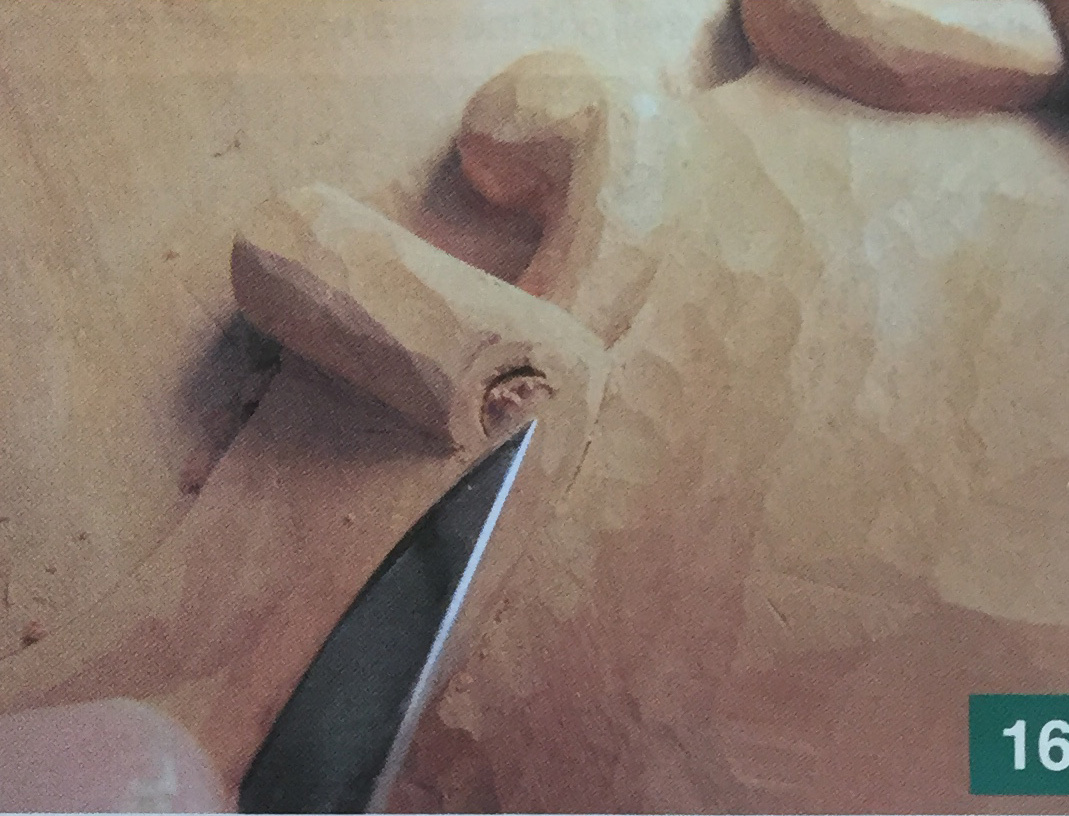
16. The end of the tray rim rolls over like a scroll. Carve the top end of the scroll down, and carve out the hollow part with a #8-2mm gouge and either a skew chisel or the tip of a knife, as shown.
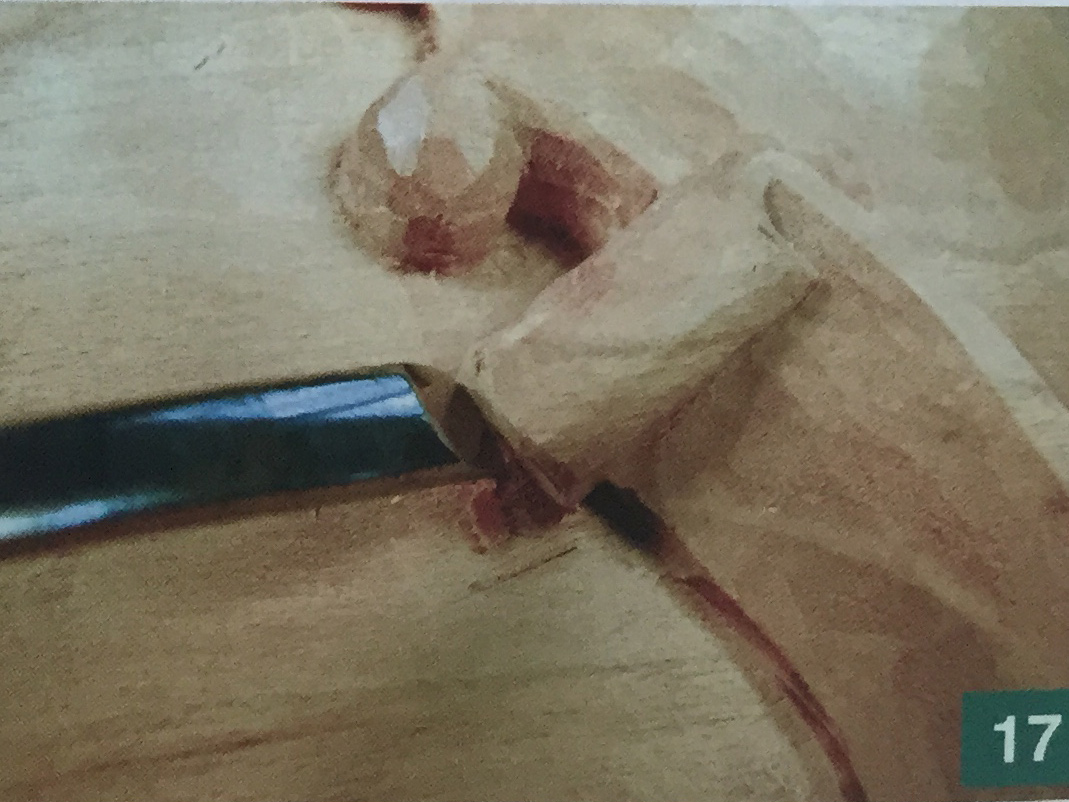
17. The bottom end of the scroll must be tapered inward.
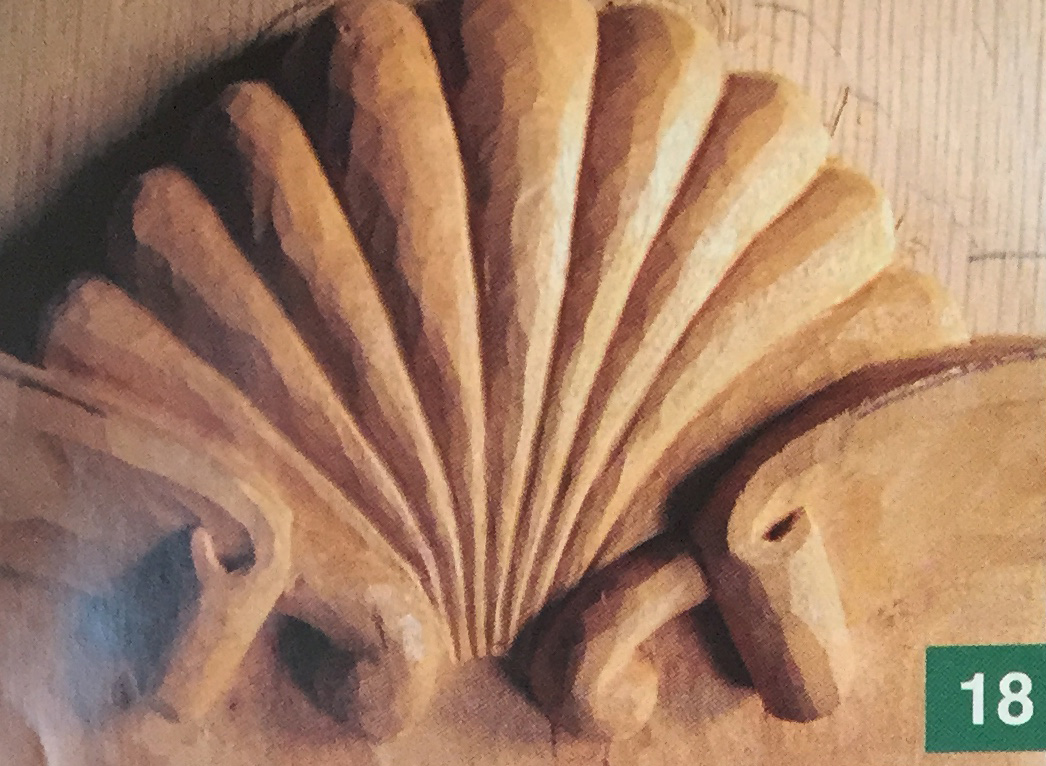
18. The carving of the shell and the scroll ends are complete.
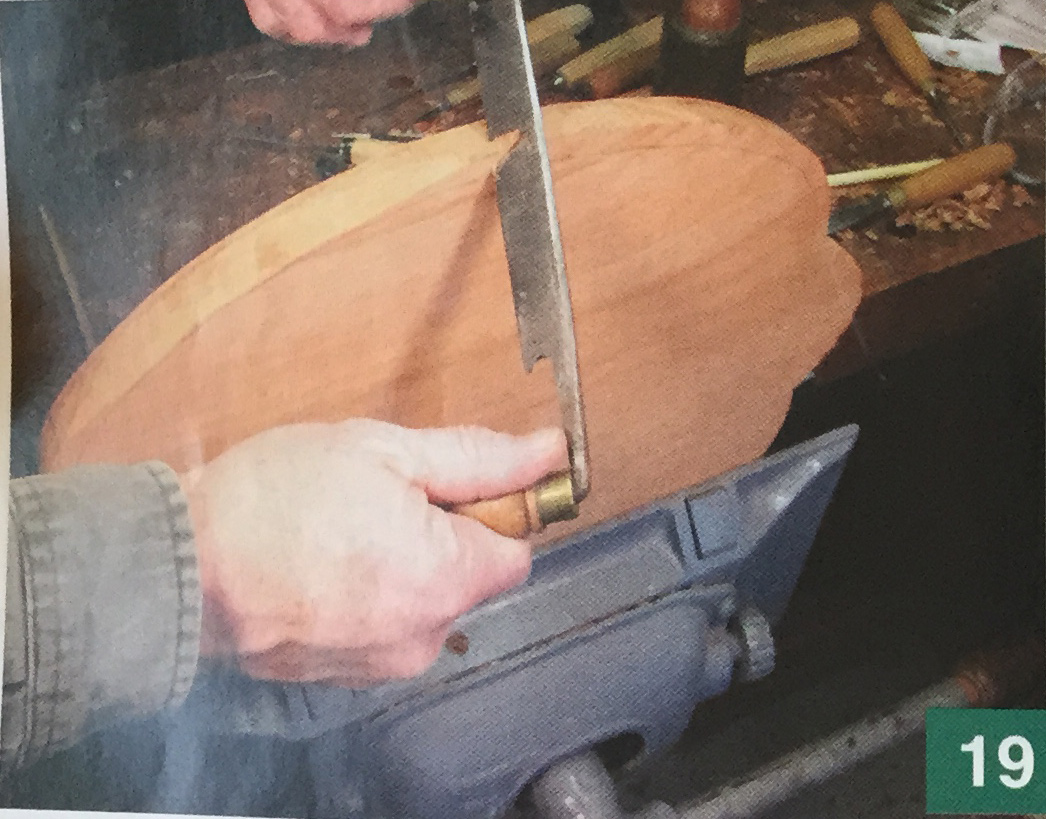
19. To carve the outside of the rim, remove the tray from the backer board and hold it sideways in a vise. Use a scrap piece of wood on the inside of the tray to avoid damaging the rim in the vise. Draw a line about 1/8" down from the top edge of the rim on the outer edge. Draw another line on the bottom of the tray about 3/4" from the edge. Use a drawknife to remove the wood between these lines. The final inch or so must be carved with a #3 gouge instead of the drawknife.
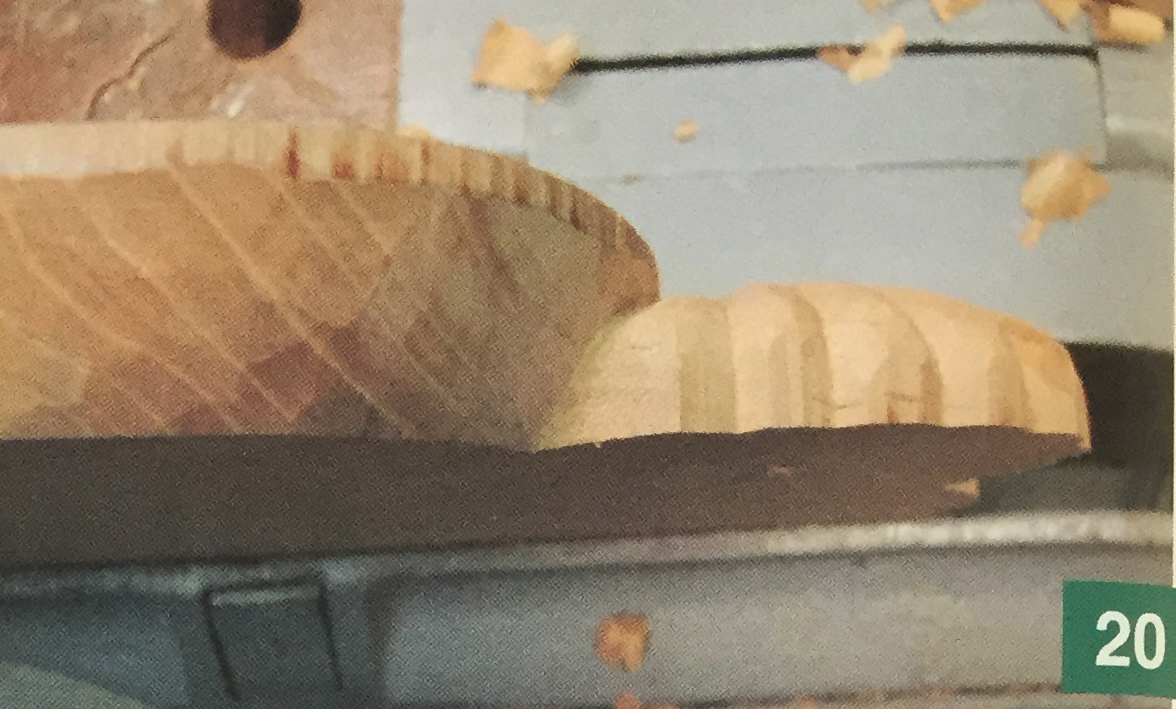
20. This photo shows the completely carved underside of the rim. Note how it appears to go on top of the shell.
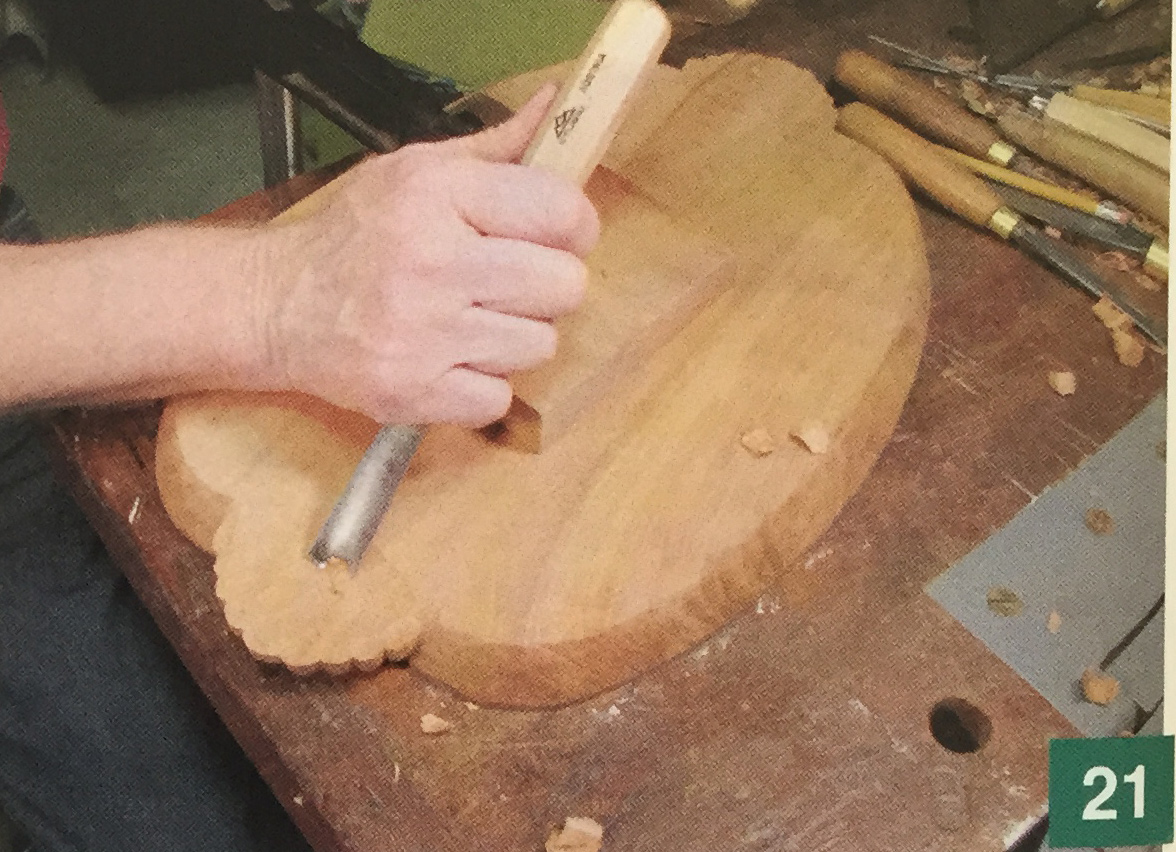
21. With the tray clamped upside down to the workbench, carve out the underside of the shells. The shells will become the handles of the tray. Slightly round up the bottom edges of the shells.
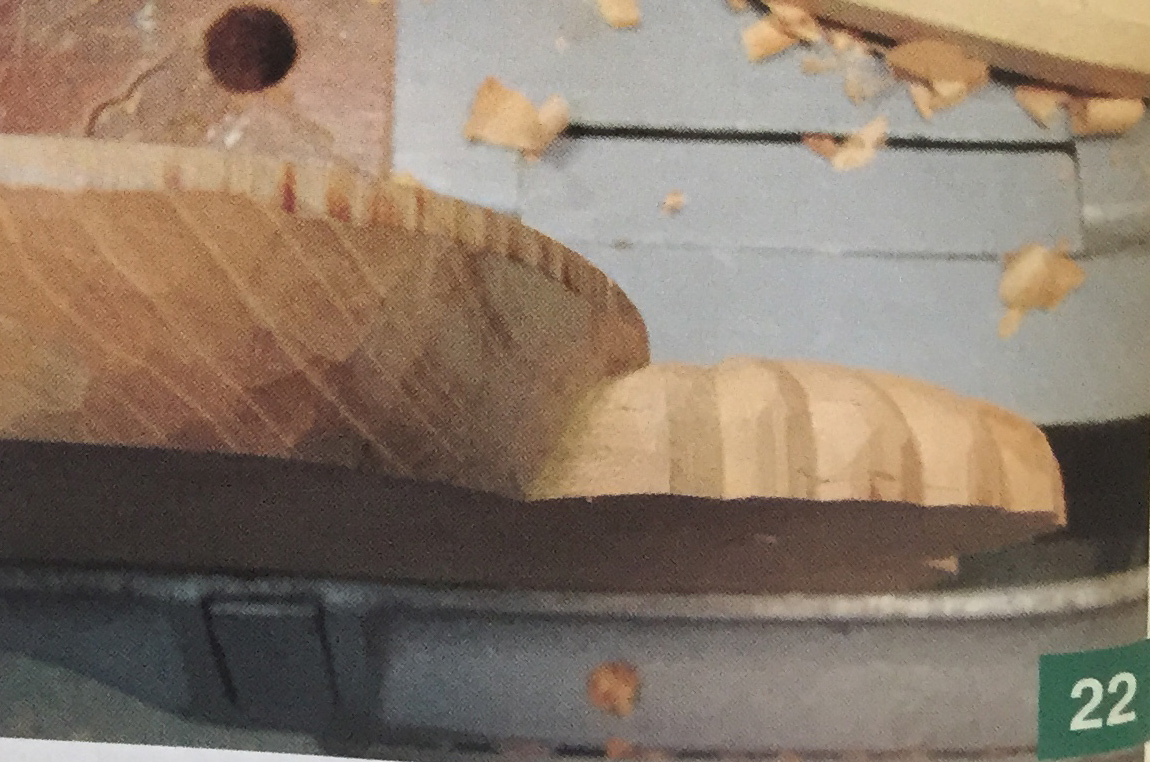
22. This photo shows a side view of the end of the tray-Note that the shell is raised slightly off the bench.
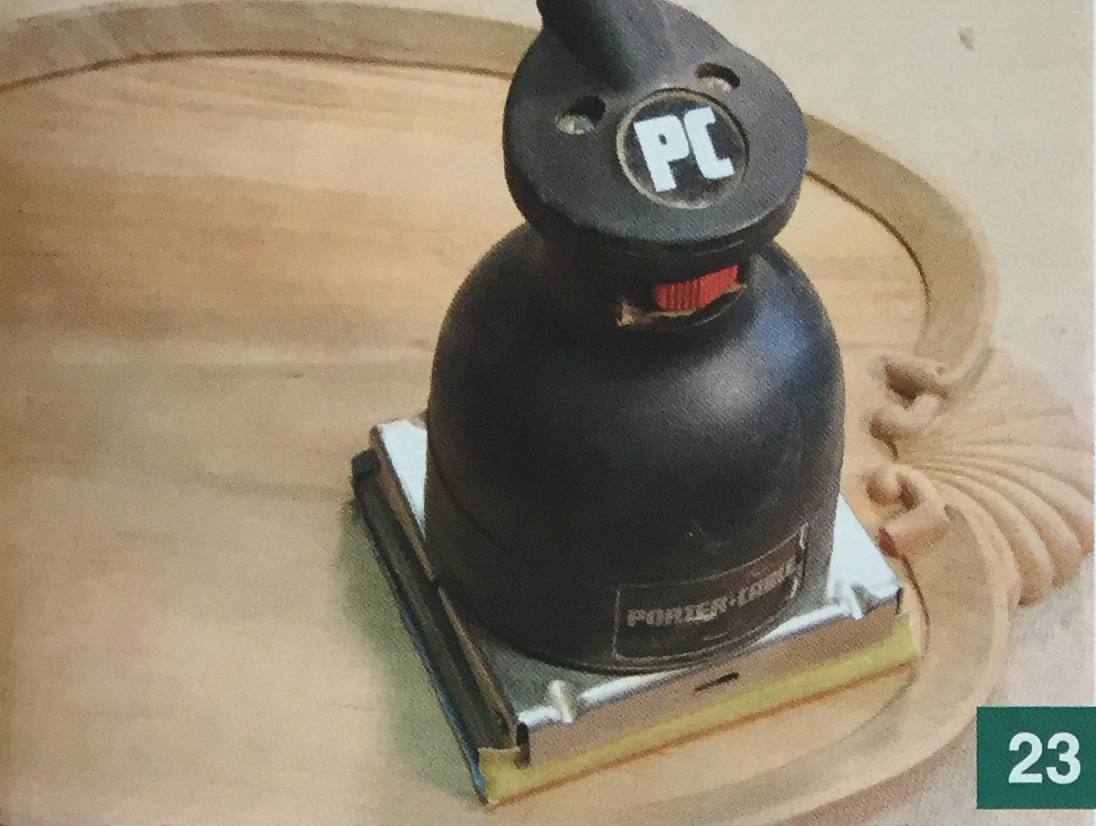
23. Now comes the fun part—the sanding. Sand the broad surface of the tray by hand or with whatever kind of power sander that you may have. Always finish the sanding by hand, going with the grain to P220 grit.
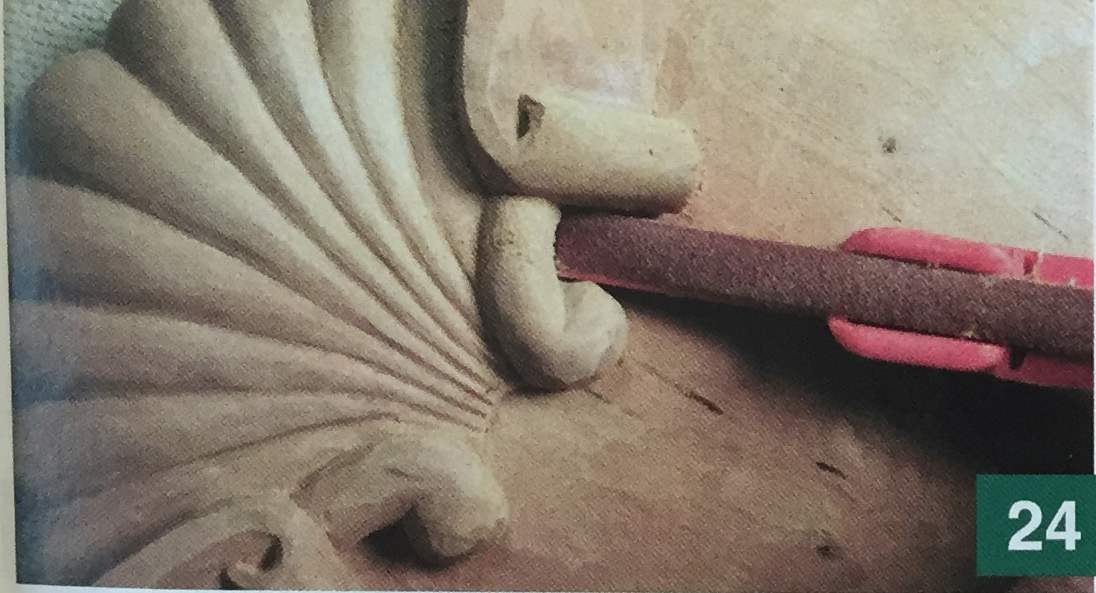
24. Sanding sticks are useful in getting to the small areas.
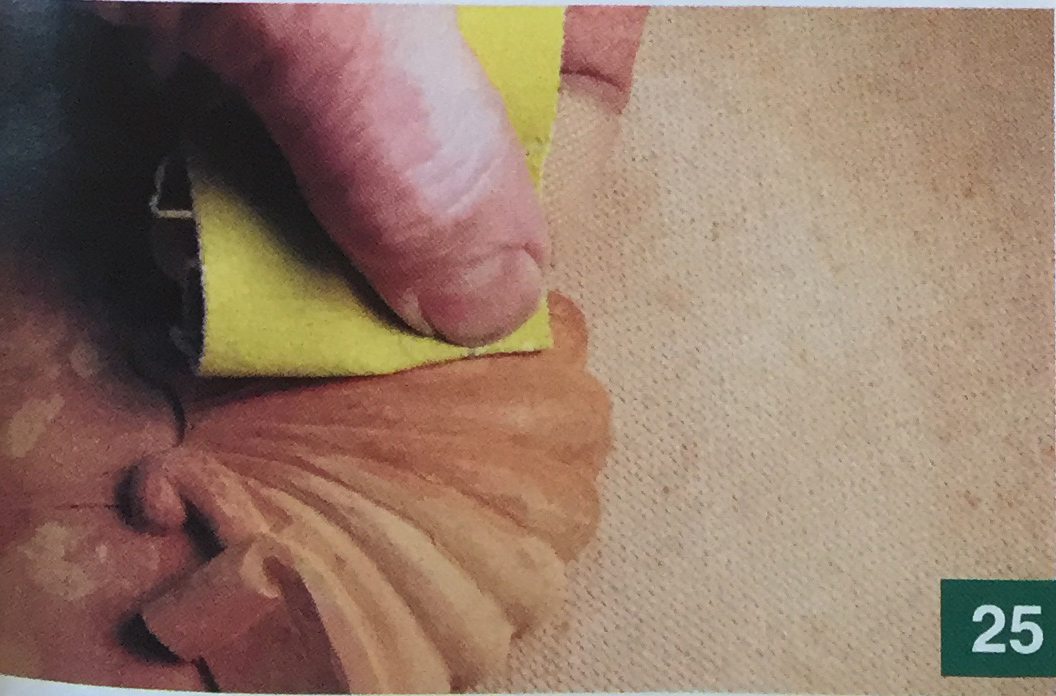
25. The round rays of the shells are best sanded by hand. If your tray is to be used to carry food, then satin, wipe-on polyurethane is the best finish to use. Put on three very thin coats. Once cured, it will give your tray a safe, durable surface. Products marketed as "salad bowl finish” could also be used and would give the same results as the polyurethane.
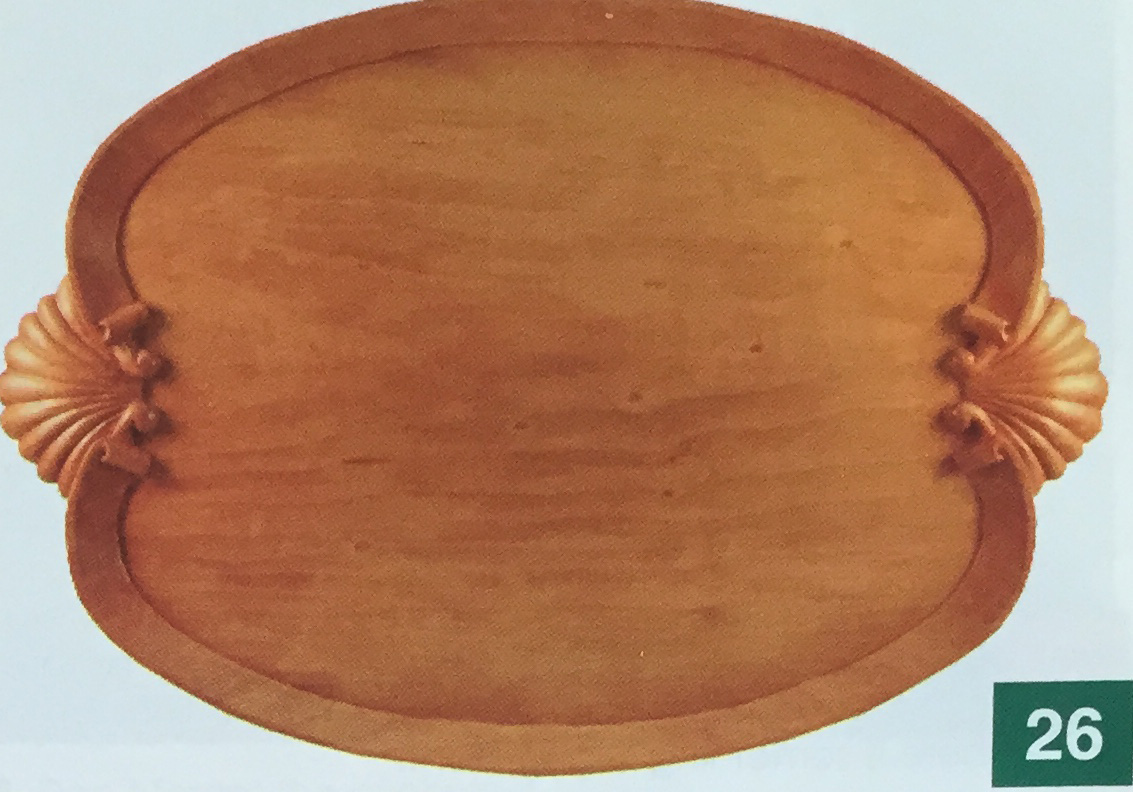
26. The finished tray.
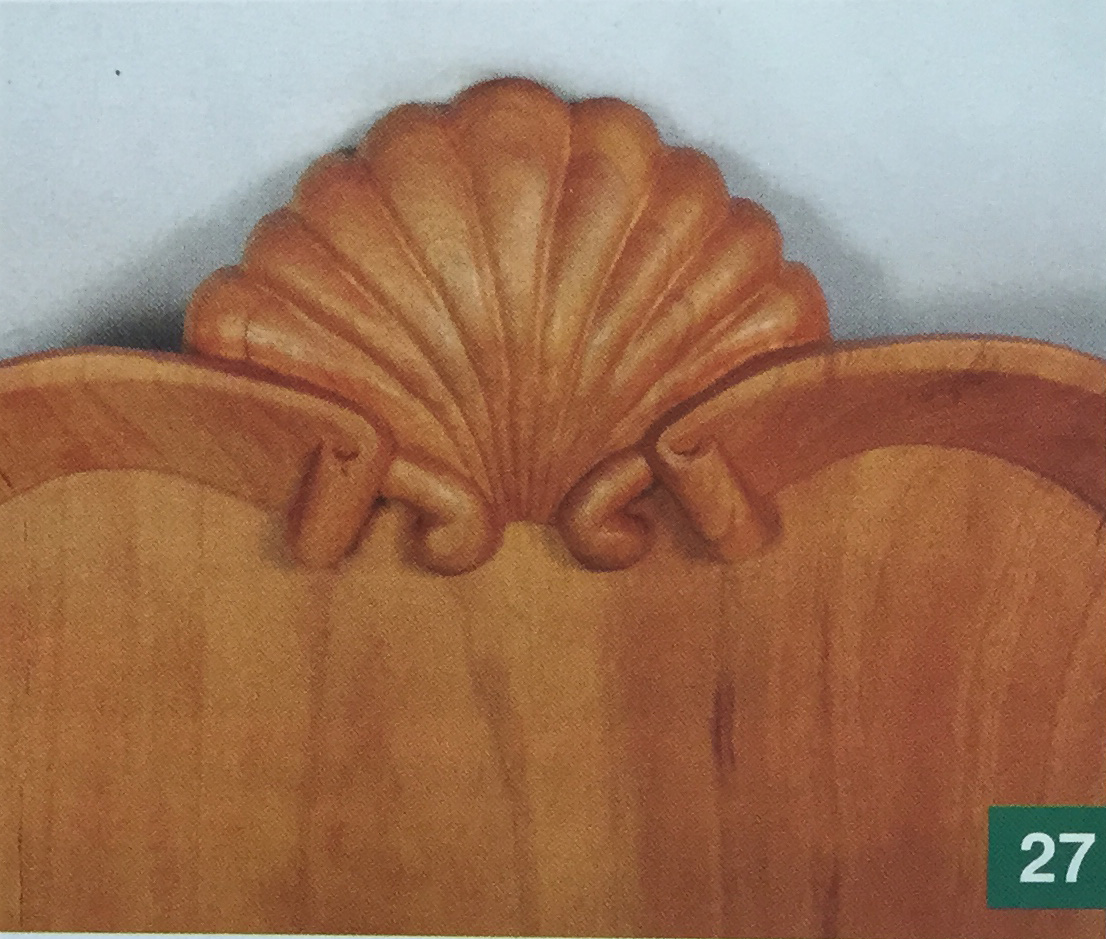
27. Detail of finished shell.
About the Author
Paul Rolfe currently resides in Raleigh, North Carolina. He started carving in 1974 while attending Appalachian State University in Boone, NC. During his career, Paul has carved originals for commercially cast reproductions, signs, portraits, statues and furnishings for churches, awards, and antique furniture reproductions. He has taught traditional woodcarving techniques at several locations, including Klingspor’s Woodworking Shops and the John C. Campbell Folk School.
Read our latest articles at Carving Magazine homepage.
